10 ethernet control interface configuration – Drake EH24A/EH24A ASI User Manual
Page 10
10
Ethernet Control Interface Configuration
There are two options for the ethernet control interface setup. If your ethernet network has a DHCP server available,
and you would like to use that to configure the IP address of your EH24A, you may enable DHCP on the EH24A. When
the unit's front panel has exited from configuration mode, you can press the button above ENTER twice to view the IP
address that was discovered by DHCP.
If your network does not have a DHCP server, or you choose not to use DHCP for configuration (this is the recommended
configuration, to avoid your EH24A's IP address changing in the future), you must obtain an IP address, subnet mask,
and default gateway from your network administrator. Once you have determined the correct values for your particular
network, set these values from the front panel.
Once the unit has an assigned IP address, you can view and change its settings from a web browser. For instance, if the
unit's IP address were 10.0.0.1, you would loan your web browser to view and configure your EH24A.
The username and password required to log into the unit are both set from the front panel.
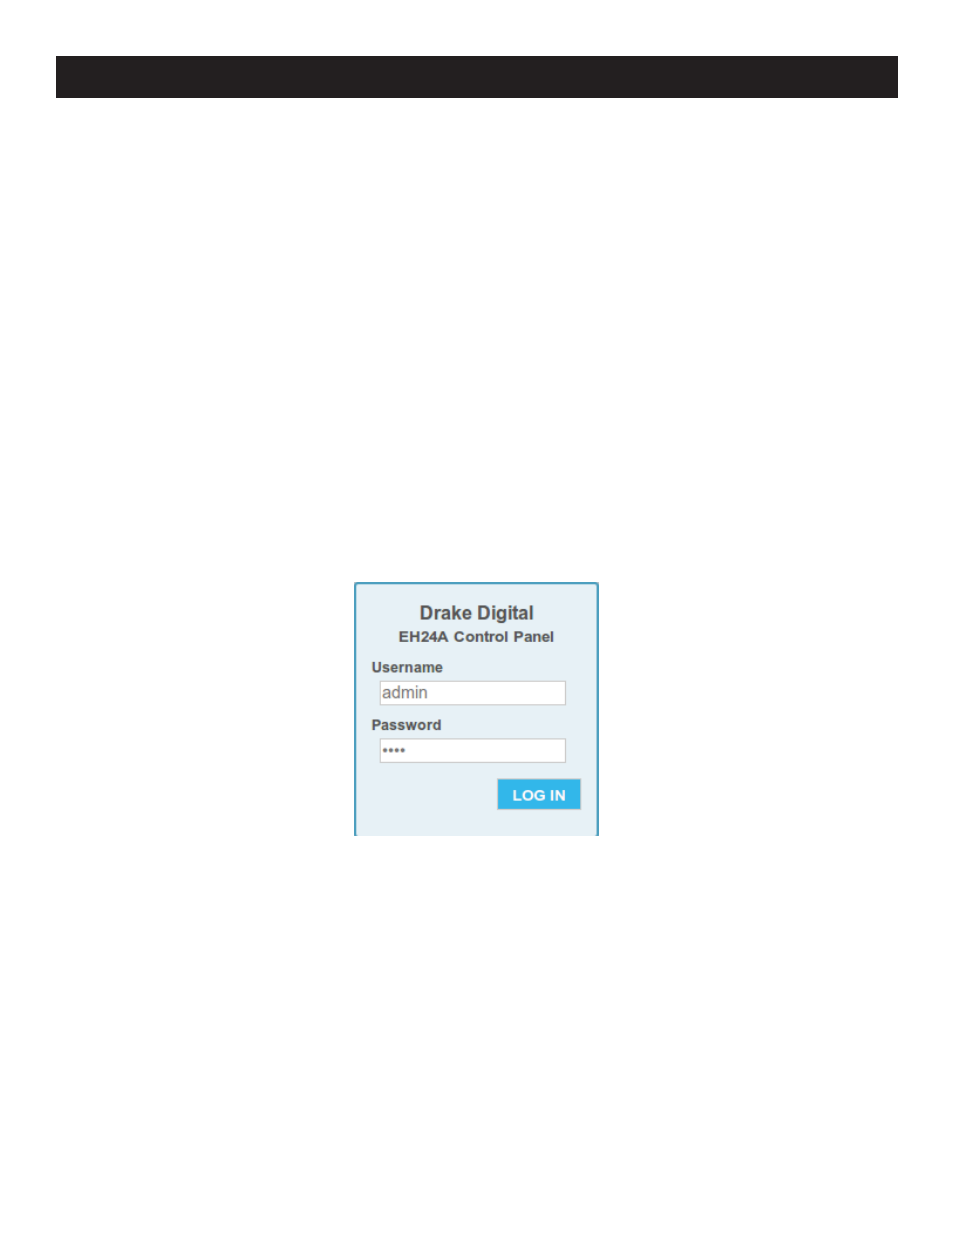
Once the EH24A web server has been loaded from your browser, you should see the login dialog (see Fig. 1). Enter the
username and password (configurable via the front panel interface) and click LOG IN.
Once you are logged in to the EH24A, you will be presented with the status page (see Figure 2). Along the top edge of
the page, there are five tabs listed; each tab allows you to view and configure different parts of the encoder host. The
Status tab gives the overall status of the whole unit, including firmware versions, output bit-rates for all 4 outputs, output
buffer usage, and links to the relevant encoder manuals.
Figure 1: EH24A Login Dialog