Heavy duty feed strut, Ku band feed assembly, Fine tuning the antenna – DH Satellite 60 Horizon to Horizon/Powered Dec User Manual
Page 15
Heavy Duty Feed Strut________________________
We have developed a new feed strut and collar for the heavier 4 Port Seavey and Chaparral feed assemblies. This
utilizes the rectangular aluminum tube for the feed strut. Refer to the drawing on page 11 for the bolt
placement of a C14FHD or C24HD. Each strut has 2 ‐ 5/16” x 2 ¼”bolts to attach to the feed collar. Attach one of
the angle brackets (2" x 2") to the antenna with the ½” x 3” bolts. Notice that angle brackets have two holes. The
bottom hole is for a Seavey type feed (C24HD). The top hole is for a Chaparral type feed (C14FHD). Next, attach
the base of the strut to the angle brackets with the 5/16 x 1 ½” bolts supplied. Align the feed to point directly at
the center of the antenna. Measure the focal length to the front of the scalar rings.
(Seavey recommends f/l is
measured to front of scalar ring.) (Chaparral measures ¼” inside the wave guide.)
Ku Band Feed Assembly-----------------------------
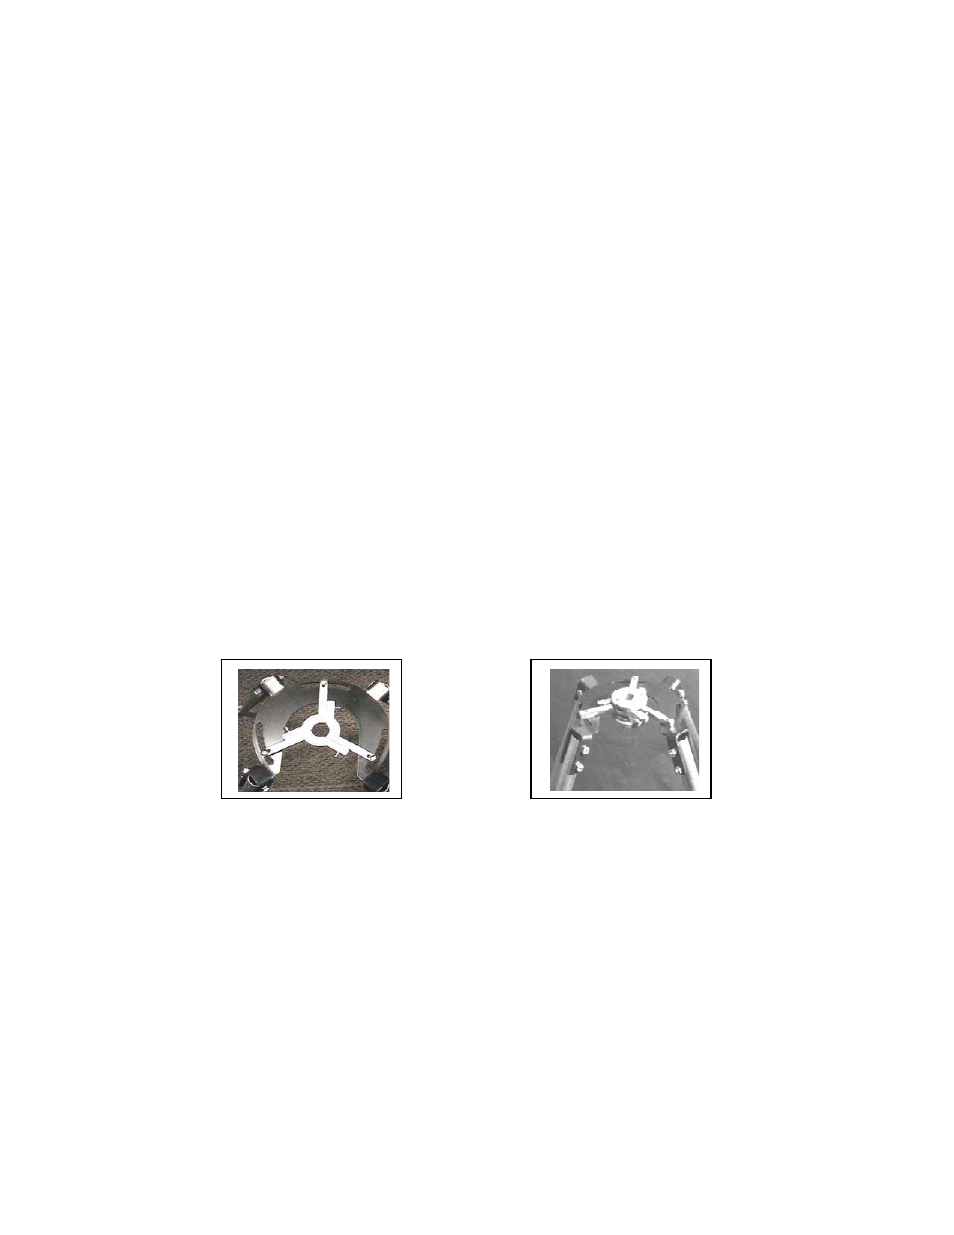
When using the Ku only feeds, you will be using the C14F feed plate and tri‐collar. See Figure #13. First, attach
the flat tri‐collar to the feedhorn as follows: attach the first two pieces by using the 8‐32 x 1" screws provided.
Now slide the collar onto the feedhorn and add the third piece; tighten evenly. Attach the tri‐collar to the larger
horseshoe collar by the 8‐32 x ¾” bolts and nuts; tighten down. You can adjust polarity by loosening these nuts
and rotating feed. Finish by assembling the struts to the feed collar as shown in Figure 14. (Fig#14 shows single
Ku feed inserted in collar)
Fine Tuning the Antenna--------------------------------
After the assembly is complete, we recommend you "string the antenna." Simply run a string from a back brace
across the front of the antenna to the brace 180 degrees apart. Now do this with each brace. If the strings all
meet in the middle and no pressure is on any of them, the antenna is perfect and no further work needs be done.
If one of the strings is not close to the others, then step back and sight across the dish and see where you will
have to push with the back braces. Only make small adjustments at a time and remember to start with all braces
loose. After you are sure the antenna surface is flat, you should double check to see that the feedhorn is set at
the proper distance, then check to see that it is pointed at the center of the antenna. In our years of setting up
antennas, these three items seem to cover over 98% of all problems of picture quality (See also page 12).
Figure #13
Figure #14
Page 10