DH Satellite GIBRALTER IV MOUNT User Manual
Page 16
Assembly Instructions
for the Fixed AZ-EL Gibralter ____________________
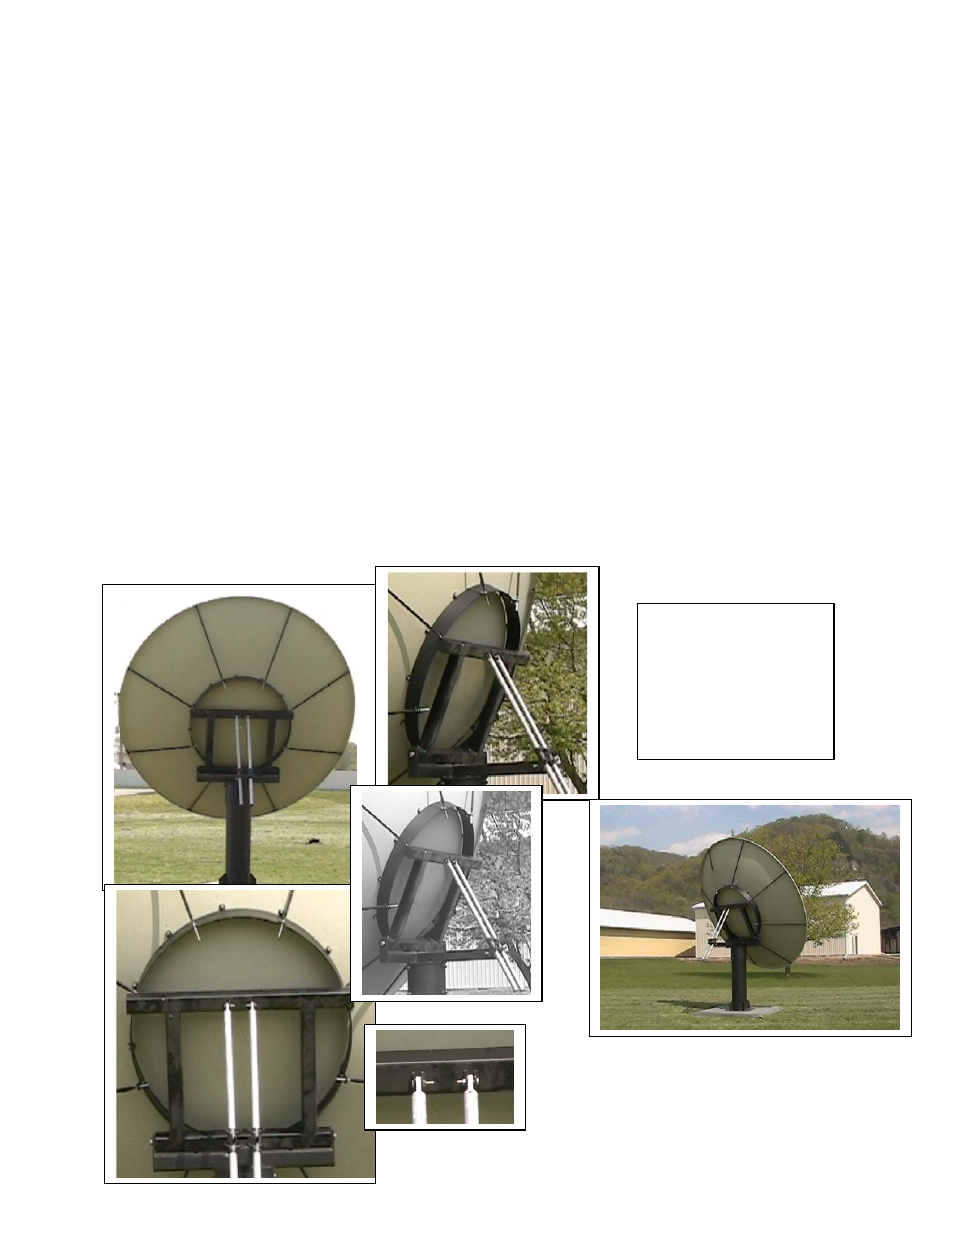
Please take a look at the sketch below. This shows the typical Gibralter Fixed Az-El
mount. This unit is designed to be moved manually and will not accept motorization.
When setting up for the first time or when changing satellites, you will have to make
adjustments in azimuth and elevation settings. Most of the installation on the Az-El is
identical to the previously discussed dual-powered Gibralter, so I will only handle the
differences. Once the base is set, you will have to put the base can over it. Most of the
time this is shipped assembled from the factory, but if yours wasn't, just fit the base can
with the welded "T" on top over the base post. Tighten the 6 set screws on the can. Now
assemble the ring to the can as in the dual powered unit. The antenna, back braces and
feed assembly are installed as previously instructed. To move the unit in azimuth, just
loosen the six set screws and rotate to desired location. When moving in elevation, you
will need help to raise or lower the dish. You can do this by loosening the stow bracket
and the fine tune bracket. Be sure the ring is supported as this unit will drop quickly and
any body parts found between metal parts will suffer dramatically. You can get close by
manually lifting or lowering the antenna assembly, but to get right on the satellite, you
must tighten the fine tune assembly u-bolt and then use the threaded rod to tweak the
unit. Refer to the next page for a parts list.
This system does not
have any motorization
and is only movable
by manually
relocating to another
satellite.
Page 11