Set time 12hr hh:mm am – Daktronics DF-1050/1051/1052/1053 User Manual
Page 42
5-6
Parking Garage Display Operation
Set Time
The display driver has the ability to retain the time for the display. In most cases this
will not be necessary and will not need to be set. In those cases when the time is
necessary, the following directions are used to the time on the display.
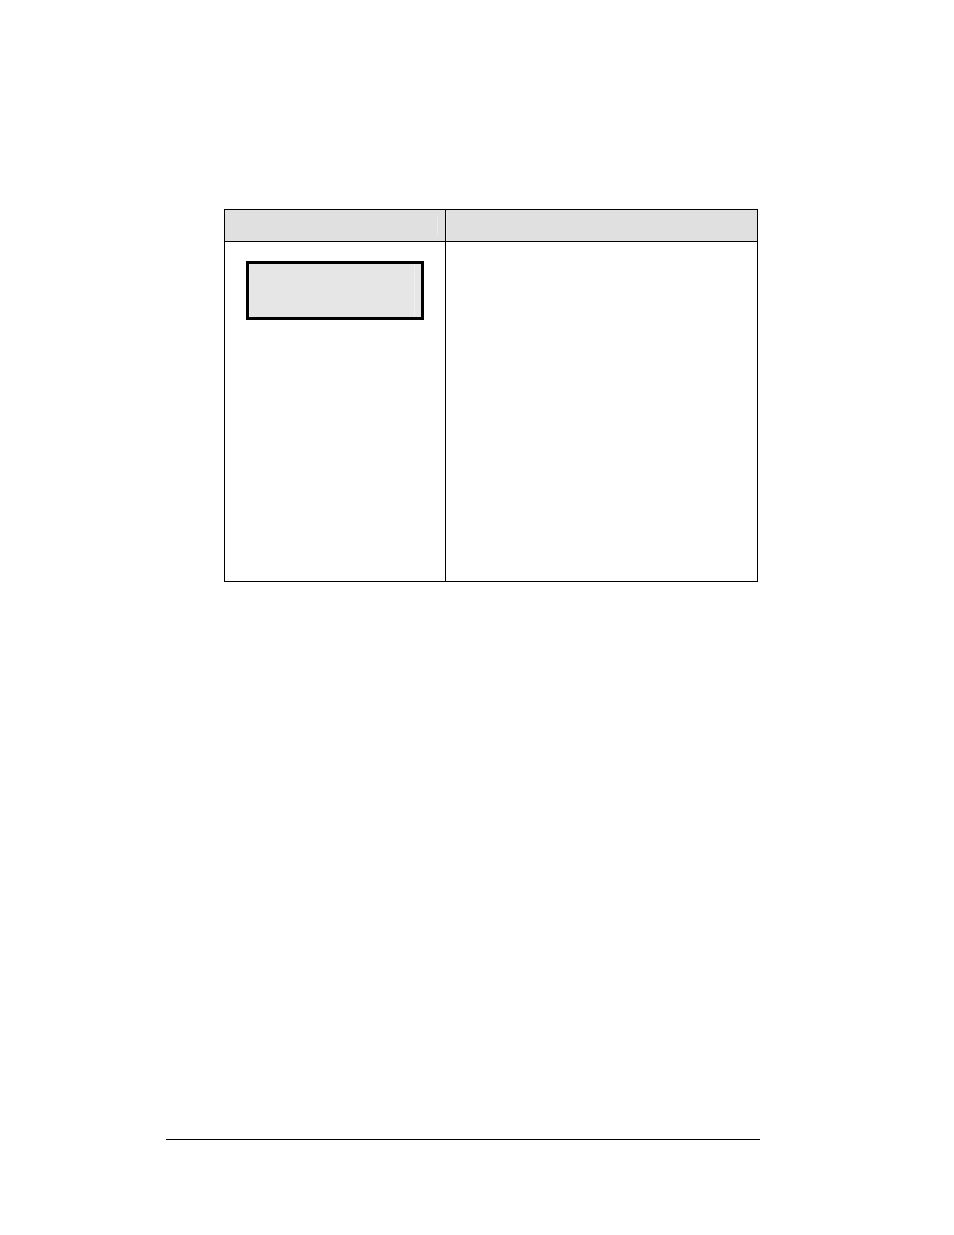
LCD Screen
Action
SET TIME 12HR
HH:MM AM
↓
HH – Current hours value
MM – Current minutes value
AM – Current AM/PM setting (not shown when
24-hour time is selected)
Using the number keys, enter the Time in the
12-hour format. Press the down arrow key <
↓>
to modify the AM/PM setting.
Note: The flashing asterisk shows the current
data being edited.
To save changes, press the <ENTER> key
when finished editing.
Press the <CLEAR> key to cancel changes
After setting the time you will need to set the date. If the date is already correct, enter
through the date and press
<
ENTER
> to send the time to the display.
Display Sequence
With the DM-100 connected to the display you may press <
DISPLAY SEQUENCE
> to
display the new sequence on the display. Pressing this button will also display the
new sequence on the LCD.
After pressing the <
MENU
> key, the following LCD prompt is displayed:
Dimming
The dimming level of the Parking Garage display can be adjusted in two ways. A
light sensor, mounted in the display, can detect the level of ambient light at the
display location and dim the sign's LEDs accordingly. This function is known as
Automatic Dimming. With the second option, Manual Dimming, LEDs remain at the
same level of brightness regardless of the level of light detected at the display.
To select either of these functions, or to enter the Blank Sign function, press
<
DIMMING
>. The current setting is shown on the bottom level of the LCD.