Dakota Digital MCL-3212 User Manual
Page 2
MAN# 650378
MOUNTING
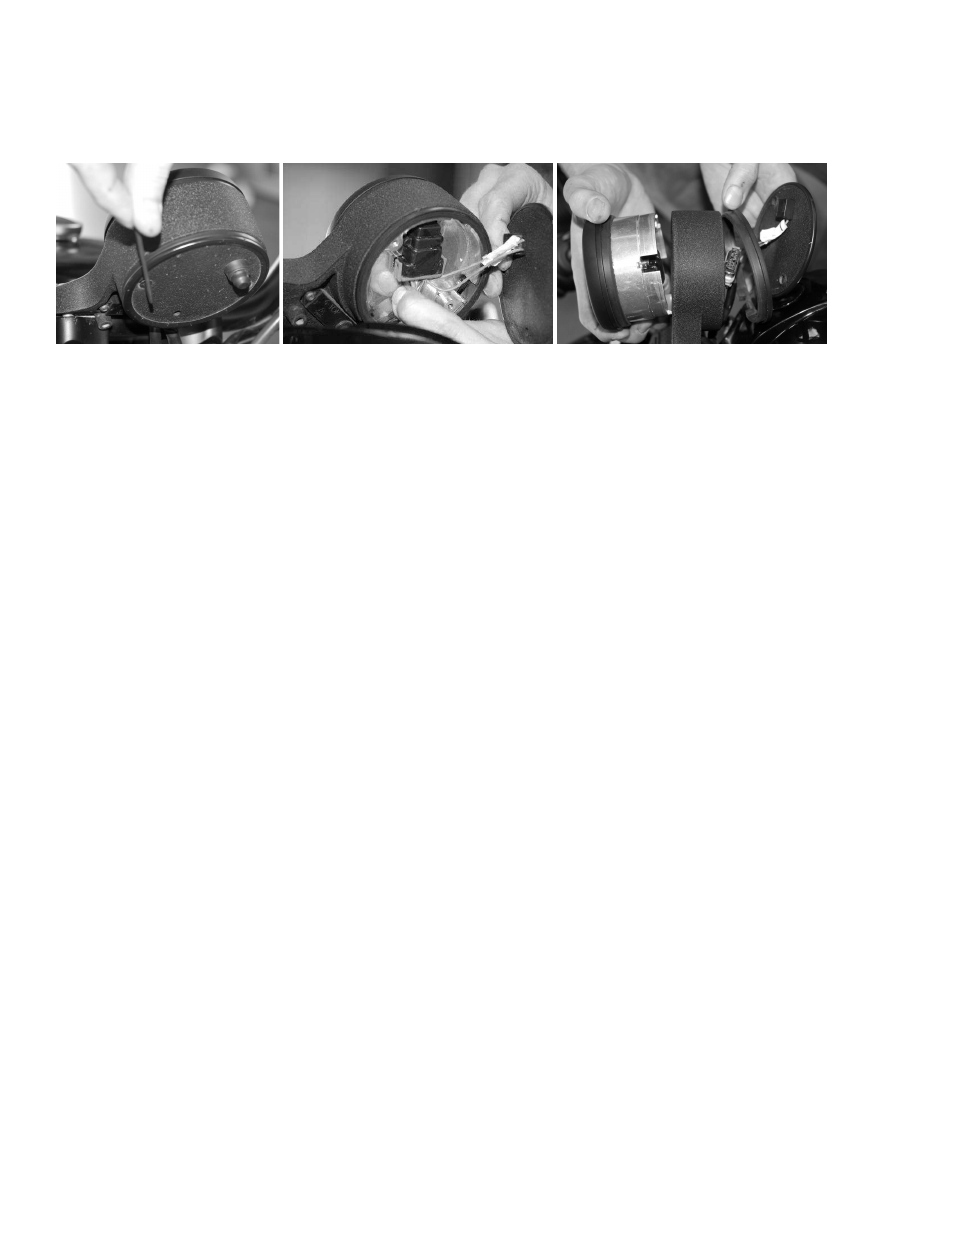
The gauge will mount using the original housing, grommet, and screws. Unbolt the two screws from the back
plate at the back of the gauge housing, then unplug the factory gauge, noting the position of the grommets. There is one
grommet on the front between the gauge and housing and one on the back between the housing and the back plate.
Install the Dakota Digital gauge in reverse order installing grommets and then plugging into the factory plug and securing
with the two screws.
FUNCTION SWITCH
The function switch on the side of the dash panel allows access to all of the mileage, rpm, and performance
information. Pressing and releasing the function switch toggles through the different displays. Press and holding the
switch will reset the current display. The display sequence is as follows:
CLOCK
>
12
:
00
12 hour clock
ODOMTR
>
000000
odometer mileage
TRIP A
>
A
000.0
trip meter mileage A
TRIP B
>
B
000.0
trip meter mileage B
SERVIC
>
S 0000
miles since last service (if programmed)
KPH
>
++++++
metric speed conversion (to mph if metric unit is selected)
* HI SPD
>
HI 00
high speed recall
* 0-60 T
>
60 00.0
0-60mph time (0-100kph)
* QUARTR
>
25 00.0
quarter mile time
* QT MPH
>
25 00
quarter mile speed
RPM
>
0000
RPM
rpm reading in alpha display
* HI RPM
>
H 0000
high rpm recall
VOLTS
>
00.0
V
displays voltage to gauge
TEMP
>
000 F
temperature reading, “C” if metric (only show if sender is connected)
* HOURS
>
HR 0.0
re-settable hour meter
RANGE
>
R 250.0
or
range
distance to empty (if turned on)
The 0-60 and ¼ mile timers are zeroed by pressing and holding the switch while that timer is displayed. The timer will not
restart until the speed reaches zero and you start driving again.
Display functions with a ‘*’ in front of them are only shown with performance readings turned on.
SPEEDOMETER SETUP
Press and hold the switch while turning the key on and starting the engine. Once the engine is running, release
the switch. Press and release the switch to change the menu selection.
dIAG
dIAG
dIAG
dIAG
Diagnostics mode for checking/clearing trouble codes
•
Press and release the switch until “
dIAG
” is displayed, then press and hold the switch until “
-
” is displayed.
•
Release the switch. The display will show “
ENGINE
”, “
SECvRE
”, ”
ABS
”, or “
DoNE
”.
•
Press and release the switch to change the selection, press and hold the switch until “
-
” is displayed to begin reading the stored
codes for the particular system. Release the switch. The display will show the current codes, “
none
”, or “
no rsp
”.
•
Press and release the switch to move to the next stored code. After all codes are displayed the module part number will be
scrolled across the screen. To clear codes, press and hold the switch when “end” is displayed. Consult a service manual for
trouble code descriptions.