Image viewing area, Timeline and time display – Adobe Media Encoder CC User Manual
Page 48
45
Encoding and exporting
Last updated 12/15/2014
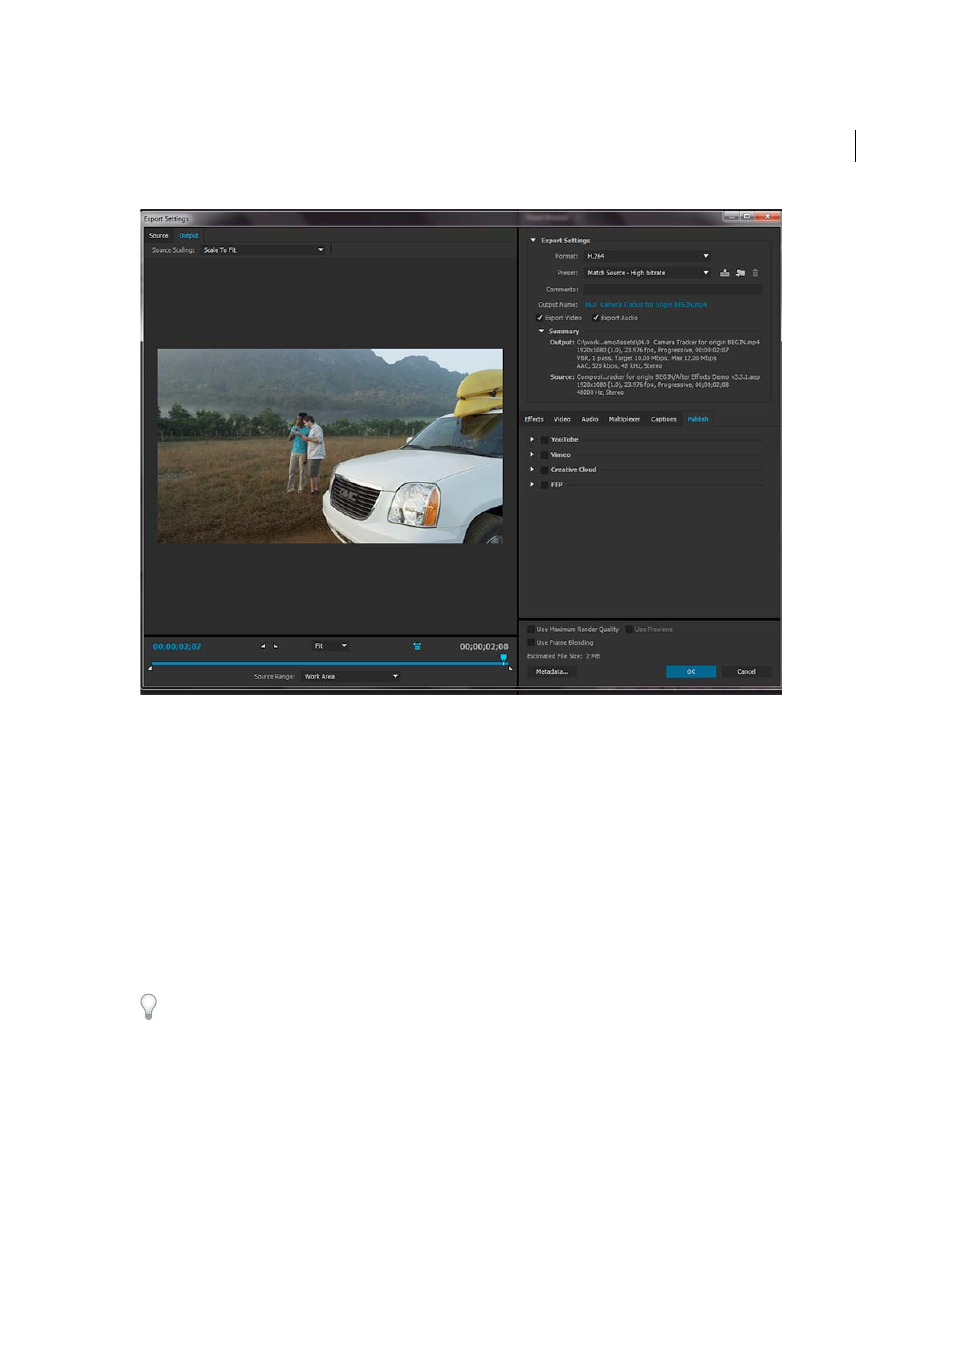
The Export Settings dialog includes a large viewing area on the left, which includes Source and Output panels.
Other tabs in the Export Settings dialog box include available effects, video and audio encoding, closed captions, and
Publish settings for the selected format.
For information about using the various encoding options in the Export Settings dialog box, see
.
For information about using the controls in the timeline area and the image viewing area to crop and trim the source
item, see
Crop and trim source before encoding
.
Image viewing area
• To toggle between previewing an image with or without pixel aspect ratio correction, click the Aspect Ratio
Correction toggle button to the right of the Zoom menu.
• To zoom into and out of the preview image, choose zoom level from the Select Zoom Level menu above the timeline.
You can also zoom out by pressing Ctrl+- (hyphen) (), or Command+- (hyphen) (Mac OS). Zoom in by pressing Ctrl+=
(equal sign) (Windows) or Command+= (equal sign) (Mac OS). These keyboard shortcuts use the main keyboard, not
the similar keys on the numeric keypad.
Timeline and time display
A time display and a timeline are located under the image viewing area in both the Source panel and Output panel. The
timeline includes a current-time indicator, a viewing area bar, and buttons for setting In points and Out points.
To move the current-time indicator, click or drag the current-time display or drag the current-time indicator. You can
also type the timecode directly in the current time display to move the CTI to the specific frame.