NEXCOM NISE 2100 User Manual
Page 56
Copyright © 2011 NEXCOM International Co., Ltd. All Rights Reserved.
43
Chapter 3: System Setup
NISE 2100, NISE 2100A, NISE 2110, NISE 2110A User Manual
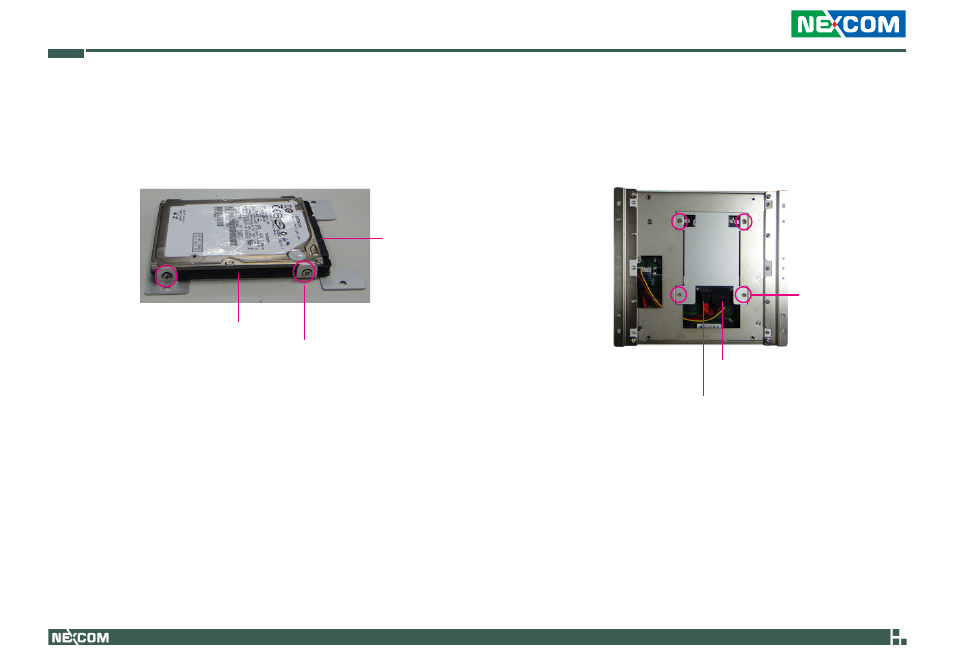
5. Place the SATA hard drive on the drive bay.
Align the mounting holes that are on the sides of the SATA drive with
the mounting holes on the drive bay and then use the provided mount-
ing screws to secure the drive in place.
SATA drive
Connector
side of the
SATA drive
Mounting
screw
SATA power
cable
SATA data
cable
6. Mount the drive bay back into the chassis and then secure it with
mounting screws.
7. Connect the SATA data cable and SATA power cable to the connectors
on the SATA drive.
Mounting
screw
This manual is related to the following products: