NEXCOM NISE 2100 User Manual
Page 54
Copyright © 2011 NEXCOM International Co., Ltd. All Rights Reserved.
41
Chapter 3: System Setup
NISE 2100, NISE 2100A, NISE 2110, NISE 2110A User Manual
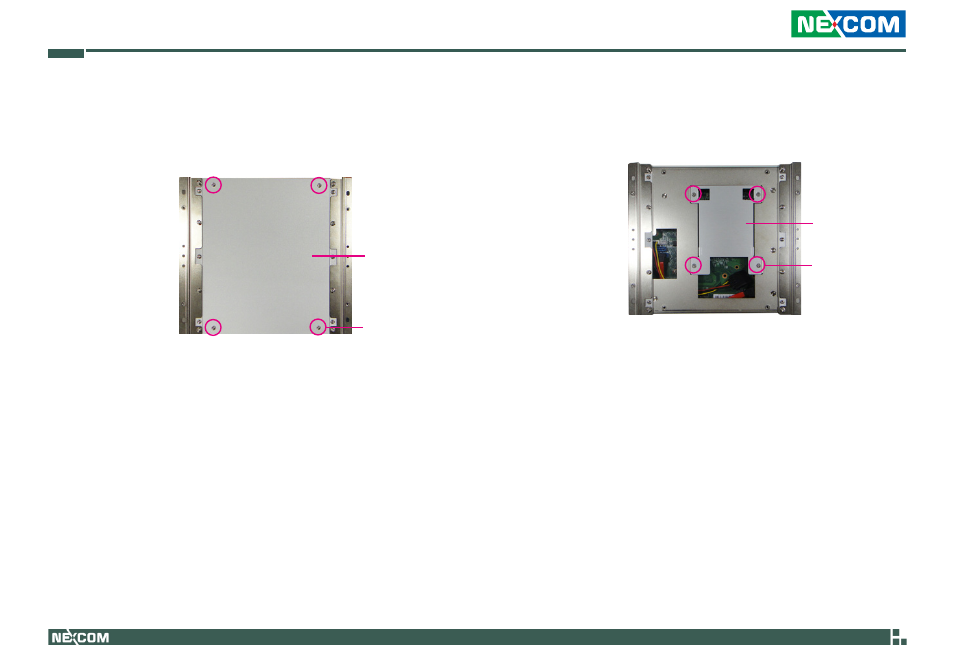
Installing a SATA Hard Drive (NISE 2100/2100A)
2. Remove the 4 mounting screws that secure the drive bay to the chassis.
1. With the bottom side of the chassis facing up, remove the mounting
screws of the bottom cover and then remove the cover.
Drive bay
Mounting
screw
Bottom
cover
Mounting
screw
This manual is related to the following products: