Casella CEL Software for the Microdust dust monitor User Manual
Page 21
30.
When the entries match the requirements of your PC (also see
Section 3.3.1), press
to accept the settings.
2.3
Calibration
Before making any dust measurements, it is necessary to confirm that the
instrument is correctly zeroed and that its span control (sensitivity) is correctly
adjusted.
For optimum accuracy, it is recommended that you also perform a user
calibration to correct your instrument for the type of dust to be measured.
2.3.1 Checking Zero and Span
1.
Select the Calibration option from the Main menu.
2.
Display the Calibration menu. The calibration menu can also be
displayed by pressing
while viewing the measurement screen.
When the instrument is to be calibrated for a specific type of dust
and/or a correction factor applied to the measured readings, refer to
Section 2.3.2.
3.
Select the Set Zero option.
For sensitive measurements that will use the 0 - 2.5 or 0 - 25 mg/m
!
ranges, it is important to purge the probe with clean air prior to
checking or performing any zero adjustments. Fine dust particles in
the probe assembly may never settle, even with the probe collar
covering the inlet chamber.
4.
Slide the probe collar over the inlet to the measurement chamber,
leaving only a small hole from which the purge air can vent.
5.
Attach the purge bellows (supplied) to the probe purge inlet (shown
in Figure 12) and rapidly squeeze the bulb 5 or 6 times.
This action will inject clean air into the chamber, and remove possible
contamination which may have settled on the surface of optical
components within the probe. The user will probably see the
indicated concentration increase and then decrease towards zero.
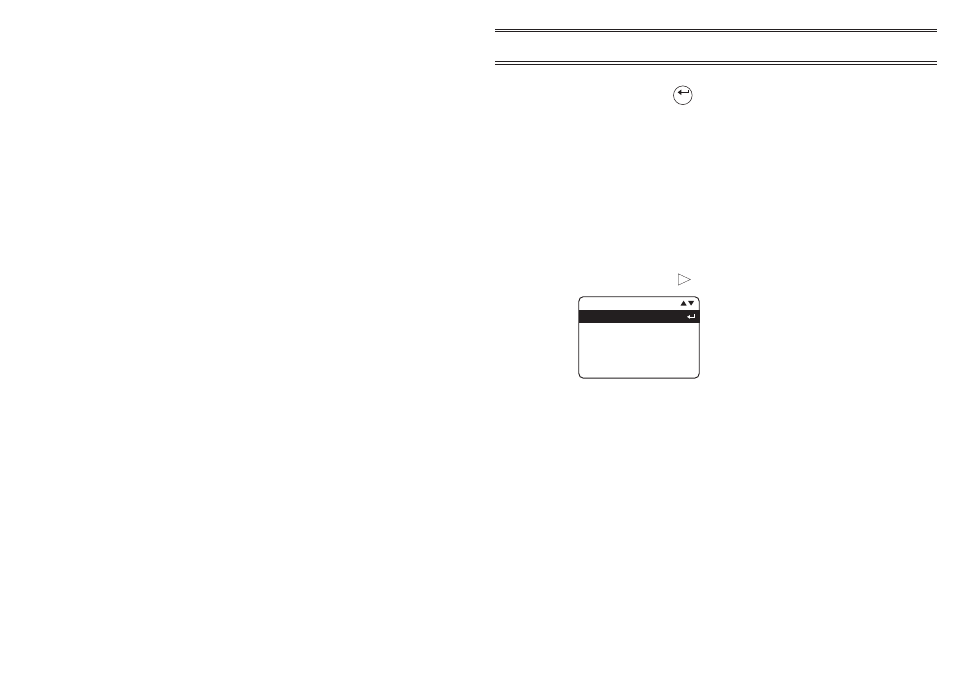
Enter
C A L I B R AT I O N
S e t Z e r o
S e t S p a n
S e t O p t i c a l F i l t e r
U s e r D u s t Ty p e s
R e s t o r e D e f a u l t C A L
MP21
Page 21 of 60
Operation
MICRODUST pro Aerosol Monitoring System &
WINDUST pro Application Software - Handbook