Step 6: run auto-eq, Remove the grille from the front of the subwoofer, Place the mic in your preferred listening position – Velodyne Wi-Q User Manual
Page 13: Step 7: set the phase, Step 6: run auto-eq step 7: set the phase
13
Setup
Wi-Q User’s Manual
Step 6: Run Auto-EQ
The automatic equalizer adjusts the subwoofer’s
sound to best suit its position in the room.
1.
Remove the grille from the front of the subwoofer.
2.
Insert the supplied mic into the supplied mic stand.
3.
Plug the mic into the Mic jack on the front of the
subwoofer.
4.
Place the mic in your preferred listening position.
5.
On the remote, press EQ for about 2-3 seconds.
The subwoofer emits sweep tones that span
frequencies between 20 and 150 Hz. While
making the frequency sweeps, the LED displays
“AU” and the system adjusts fixed-frequency
graphic EQ filters for the flattest response at the
mic. When the sweeps are done, the unit saves
the settings and returns to normal operation.
6.
To prevent accidentally activating Auto-EQ,
remove the mic from the Mic jack.
Step 7: Set the Phase
The Phase setting optimizes the transition from the subwoofer to the satellite speakers based on your
listening position. You can adjust the phase of the subwoofer’s output signal to correct any mismatch and
the resulting cancellation between the subwoofer and your main speakers/amplifier.
1.
While listening to music, press each of the four PHASE buttons on the remote control. The phase
setting shows on the LED as “PH” followed by the phase number: 0, 90, 180 or 270.
2.
Listen to the mid-bass transition for a few moments, and then press the next PHASE button.
3.
Select the PHASE button that provides the smoothest transition between the subwoofer and the
satellite speakers, without peaks or dips. If the settings sound similar, use the “0” position.
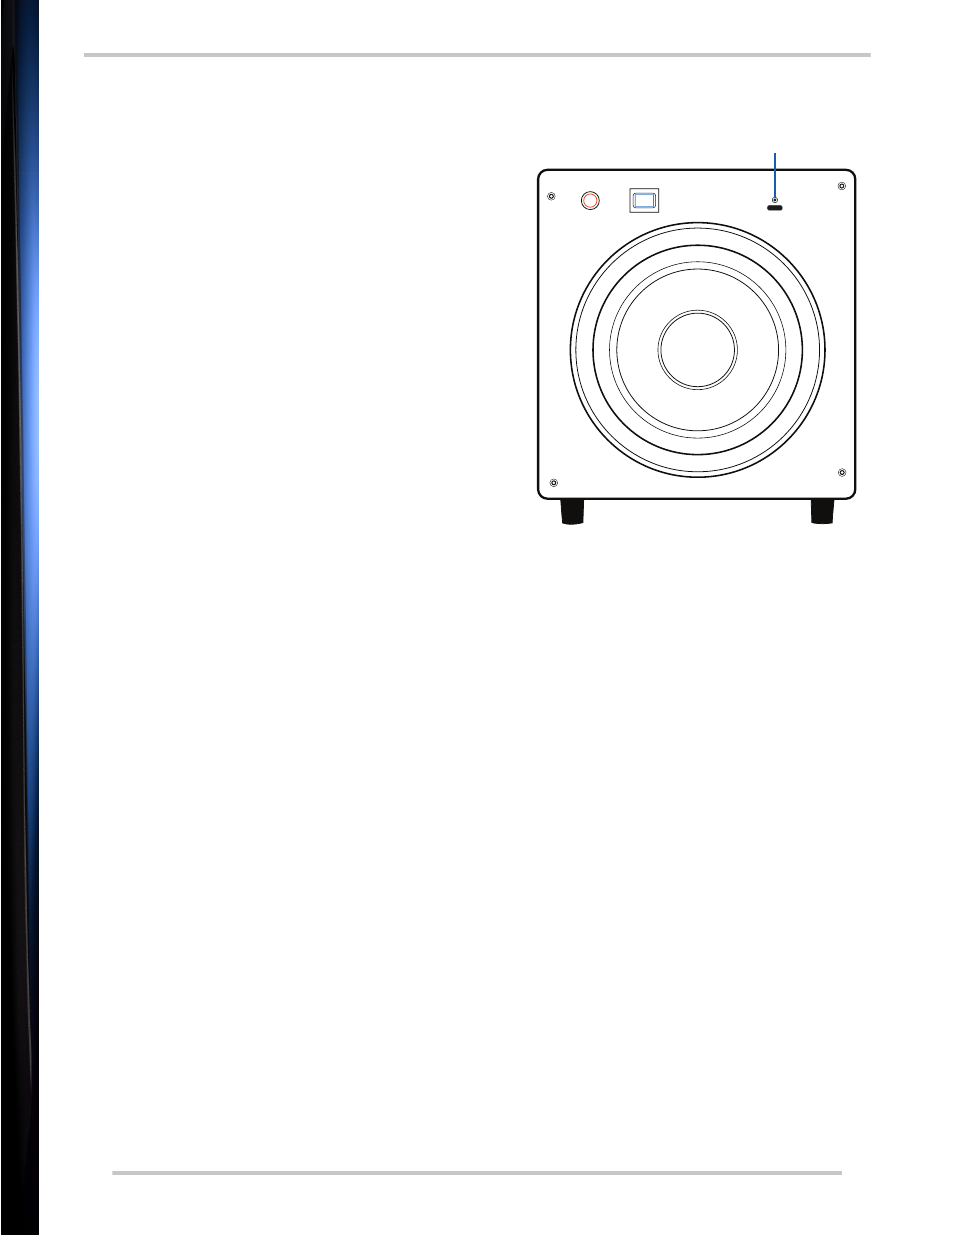
MIC
Mic jack
Figure 6: Mic jack