Stage 2: registering and assigning axon cameras – Taser Axon-Flex User Manual
Page 9
9 |
P a g e
5. From the Save drop-down menu, select Save as.
6. Navigate to the USB flash drive and click Save.
7. Eject the USB flash drive and connect it to the unconnected computer.
8. Navigate to the USB flash drive.
9. Double-click to the Evidence_SYNC_Setup icon.
10. Click Run.
11. Follow the wizard’s instructions to complete EVIDENCE Sync installation.
11.a Click Next to initiate the installation wizard.
11.b Read the License Agreement and click I Agree. If you do not agree with the License
Agreement do not use or install the software.
11.c Select the location for installation and click Install.
Note: It is recommended that you allow the EVIDENCE Sync software to install in
the default location.
12. Once the installation is complete, click Finish.
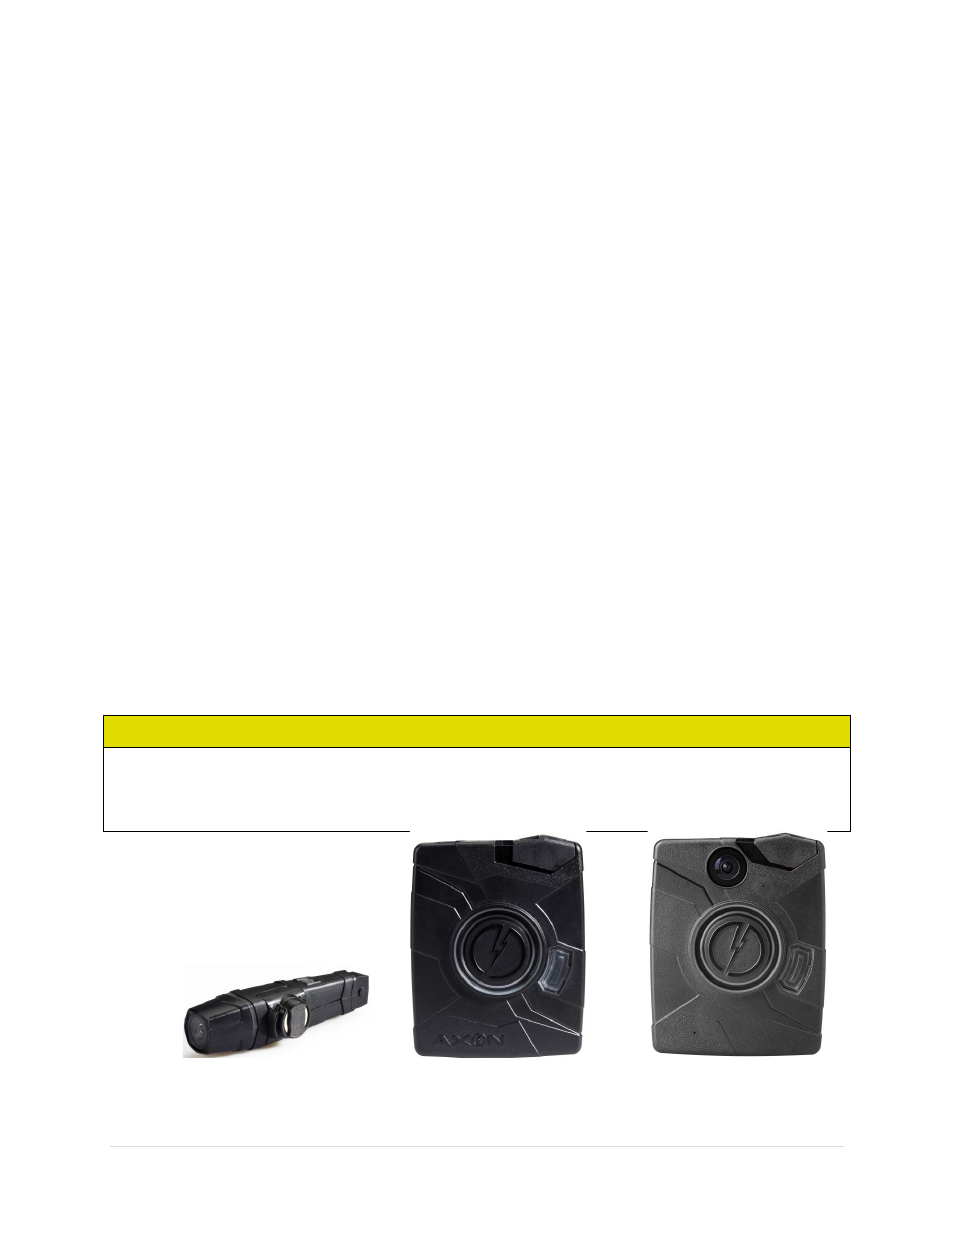
Stage 2: Registering and Assigning AXON Cameras
The step-by-step instructions show an AXON flex camera in use. If you are using the AXON body
camera, the procedure is the same.
CAUTION
Do not plug an AXON flex controller into a computer for registration or downloading. If your
agency uses both the AXON flex and AXON body systems, familiarize yourself with the
differences between an AXON flex controller and an AXON body camera.
AXON flex camera
AXON flex controller
AXON body camera