Taser Axon-Flex User Manual
Page 10
10 |
P a g e
Option A – Administrator Configures and Assigns All Cameras to the Officers
1. Click Start and select All Programs. (If you do not have the EVIDENCE Sync software
installed, see Download and Install EVIDENCE Sync.)
2. Click SYNC and select SYNC.
3. Type your login information and click Submit.
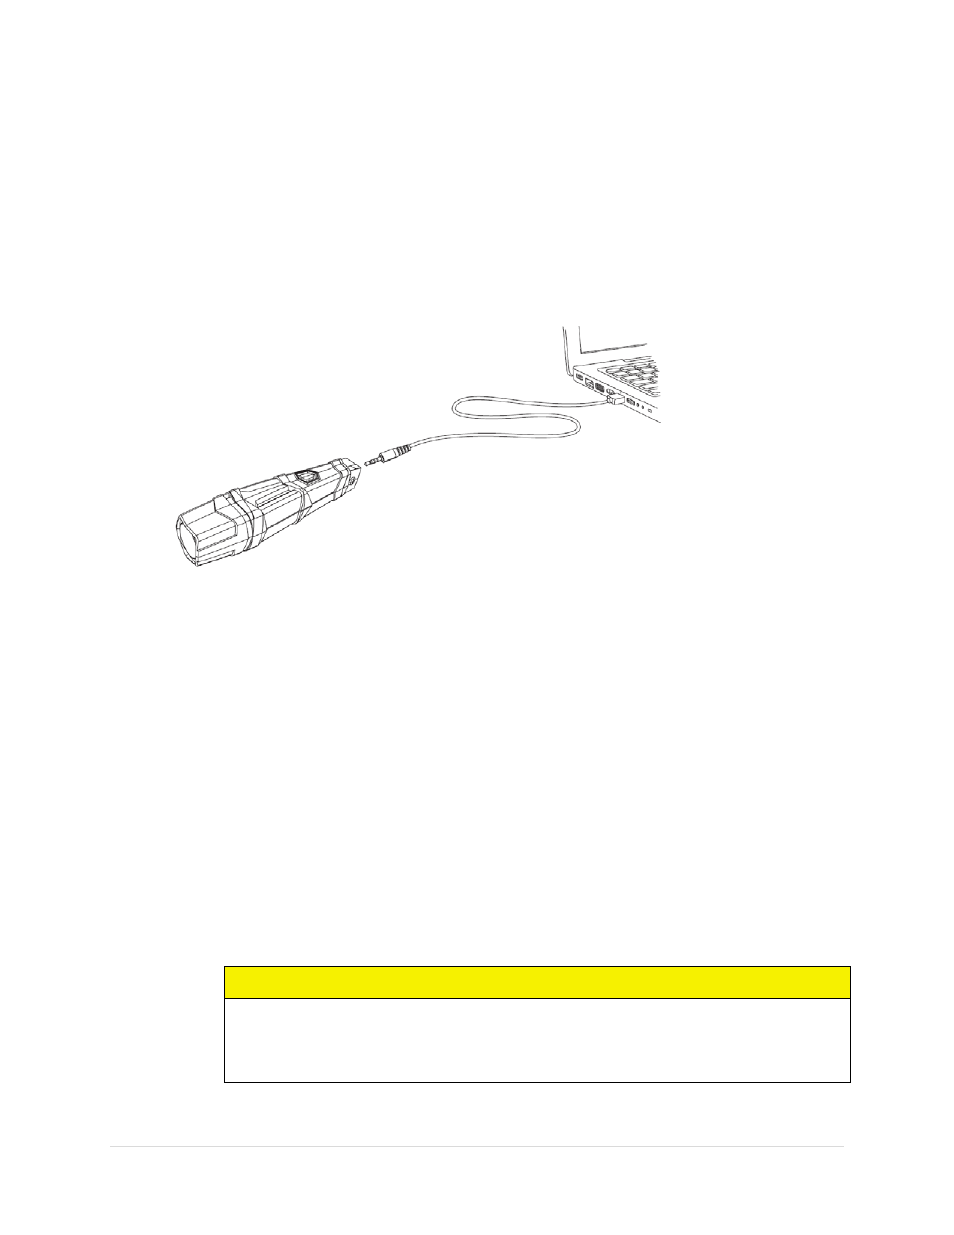
4. Connect an AXON camera to your computer using the 2.5 mm to USB cable.
5. When prompted, start typing the last name of the officer to whom the camera will be
assigned, select the correct officer from the drop-down list, and then click ASSIGN.
6. Click the Device Settings tab to review and confirm proper camera settings.
6.a Agency settings can be changed on but not in EVIDENCE Sync.
• Agency settings include microphone and video configuration.
6.b User settings can be changed either on EVIDENCE.com or in EVIDENCE Sync.
• Orientation – flips the video to match side of the body on which the officer
wears the camera. (This feature is intended for use with the AXON flex system.)
• Mode (EVIDENCE Sync Online or Offline) – can only be changed by an
Administrator or Armorer when the agency allows.
CAUTION
An agency that uses its EVIDENCE Sync system in the Offline mode is
responsible for the storage and management of its offline evidence. TASER is
not responsible for chain of custody of evidence saved in the Offline mode.
6.c If any settings are changed, click SAVE for the new settings to be applied.