Selecting the scsi id number – StorCase Technology DS90 User Manual
Page 17
Installation
11
DS90 User's Guide - Rev. C00
Kingston Technology Company
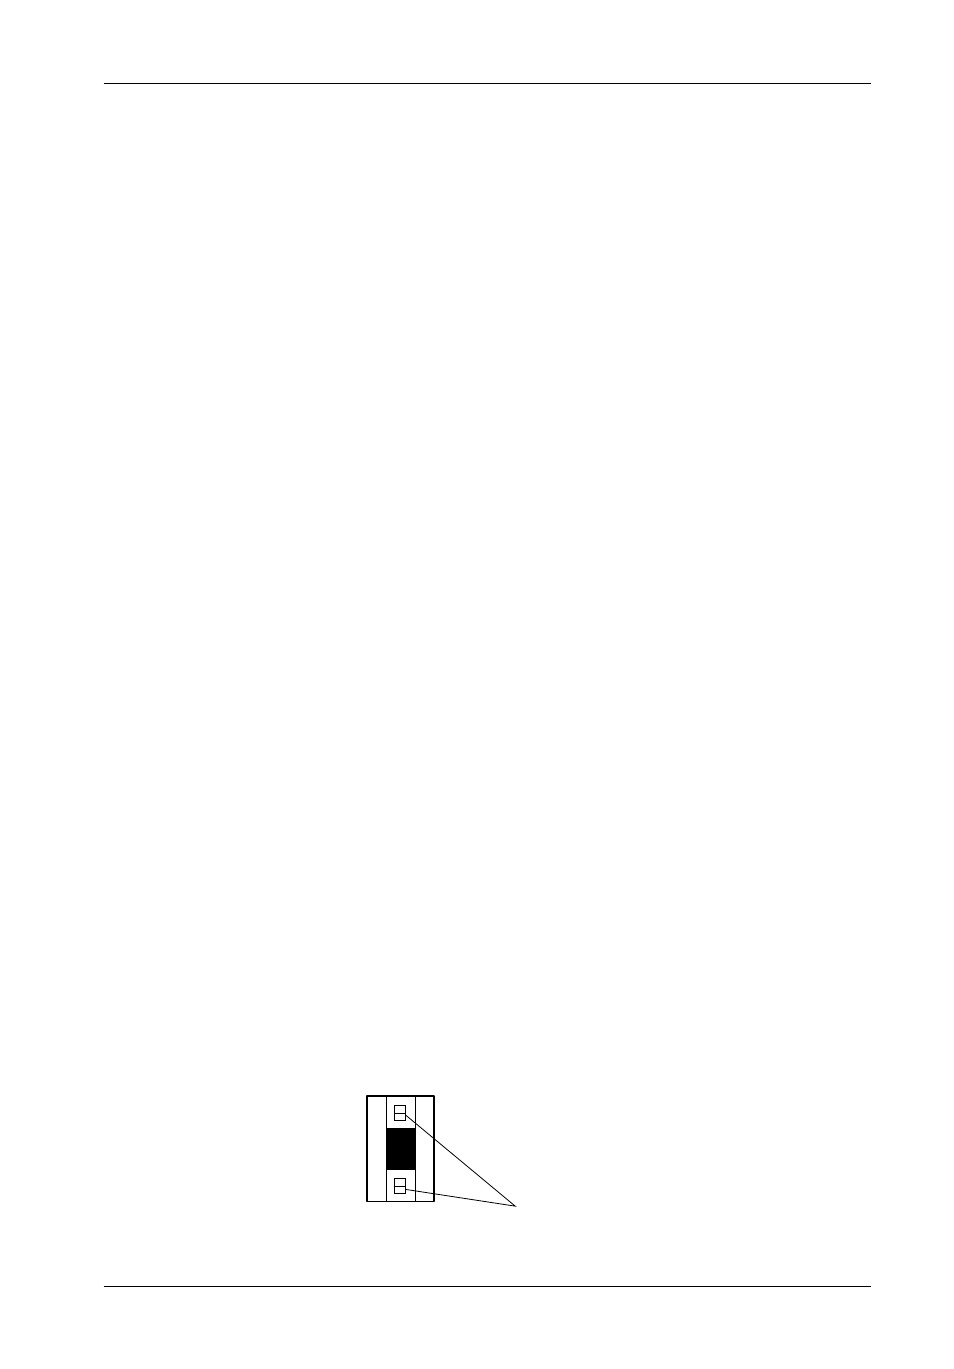
Selecting the SCSI ID Number
The SCSI ID is an address number (0 through 7 for 8-bit protocol and 0 through 15 for 16-bit
protocol) that is assigned to each SCSI device. In a SCSI daisy-chain, each device in the chain
must have a unique SCSI ID number. SCSI ID 7 is usually reserved for the host controller. If
the computer system is already equipped with internal or external SCSI storage devices, some
ID numbers will already be reserved. For instance, if the computer system came with an internal
SCSI hard drive, it may be designated as SCSI device 0. Refer to the computer system
documentation for additional information.
The Data Silo SCSI ID selection switch is located on the rear panel of the chassis enclosure
(Figure 10). The selection switch has a push button selector that can be adjusted with the tip
of a pen or straightened paper clip.
3.
Once the drive has been fastened into the mounting bracket, carefully insert the
bracket back into the DS90 chassis using the reverse procedures described earlier,
carefully reattaching all cables, connectors, and ground wire.
4.
If applicable, verify that the device bezel is flush with the front of the chassis. You
may need to remove the mounting bracket again to access the screws to adjust
the drive's position in the bracket. Tighten the screws.
5.
Connect the SCSI I/O interface cable to the drive. Make sure the pin 1 indicator
on the cable is aligned properly. Refer to the drive manufacturer's documentation
for more information.
6.
Connect the 4-pin DC power cable from the DS90 to the drive.
NOTE:
Use the provided tie wraps included in your installation kit to prevent the
power and ID Select cables from possible fan contact.
7.
Attach the drive activity LED cable (Figure 5) to the appropriate drive pins. Refer
to the drive manufacturer's documentation for the location of these pins. Connect
the red wire to signal and black to ground.
8.
If applicable, install the audio connectors as shown in Appendix B.
9.
Replace the DS90 cover.
10.
Connect the power cable to the DS90 and turn the switch on to verify that the fan
is operating and clear of obstruction. Should you hear any unusual sound, turn
the Data Silo off immediately, disconnect the power cable, and remove the cover
to find the source of the problem. Verify that the power and ID Select cables are
securely fastened with the provided tie wraps and are not contacting the fan.
Figure 10: Selecting the SCSI ID Number
0
SCSI ID SELECTION SWITCH
(Push Button)
Use Pointed Tool
to set SCSI ID
0545A