Installing to a network (shared by multiple users) – Pitney Bowes AnySite User Manual
Page 19
AnySite v9 Install Guide
19
Installing to a Network (Shared by Multiple Users)
In a shared setup, you install AnySite to a single machine in a network of connected machines. You then install the Any-
Site Client on to those machines in the network that access AnySite.
This sections describes how to install AnySite. After completing the instructions in this section, you will install the Any-
Site client on all machines that will access AnySite.
Note
There is an option to install the AnySite Client as part of this main installation if the machine used to install to
the network location will also be used to run AnySite.
You must have a mapped drive to your network location and full write permissions to the drive to install the AnySite
Client. The mapped drive is only required for the installation process:
To install AnySite on a network:
1. Place the AnySite installation DVD in the media drive.
If the installation does not automatically start, click Run from the Microsoft Start menu, and click the Browse
button. Go to the media drive and select Setup.exe.
Note: If the .NET Framework Pending screen appears, then you do not have a compatible version of Microsoft .NET
Framework installed. Microsoft.NET Framework version 3.5 Service Pack 1 is required to run AnySite. (For information
about the Microsoft.NET framework, see www.microsoft.com/net.) If the Pending .NET Framework dialog does not
appear, skip to step 3.
Installing the .NET Framework
2. The Pending .NET Framework dialog appears.
Click Install to continue.
The screen, Installing .NET, appears with a progress bar indicating the status of the installation process.
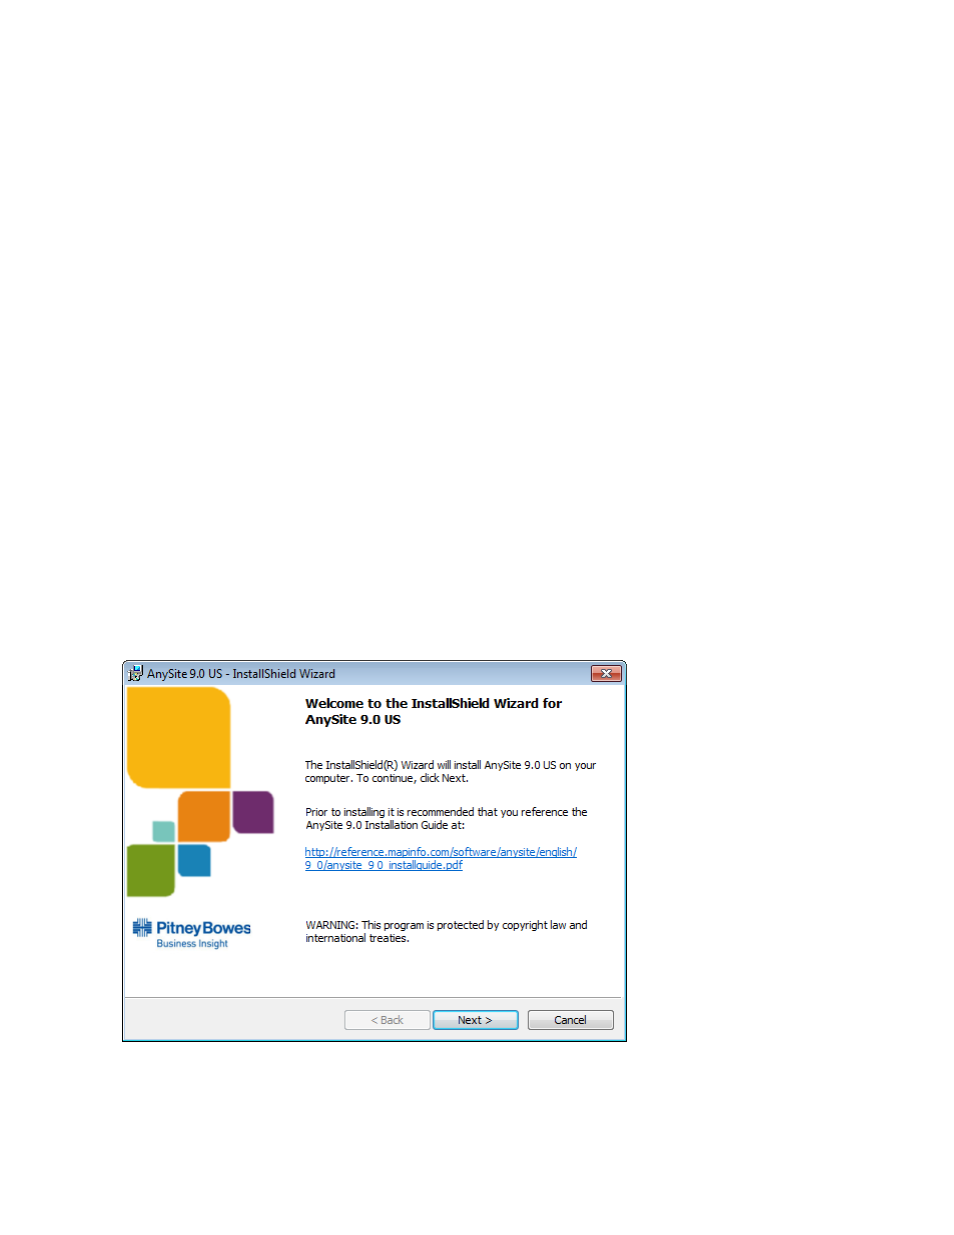
3. When .NET installation completes, the AnySite Welcome screen appears.
Click Next to continue.