Hanna Instruments HI 504910 User Manual
Page 11
20
21
• Connect a HI 931001 or HI 8427 simulator to the BNC
socket.
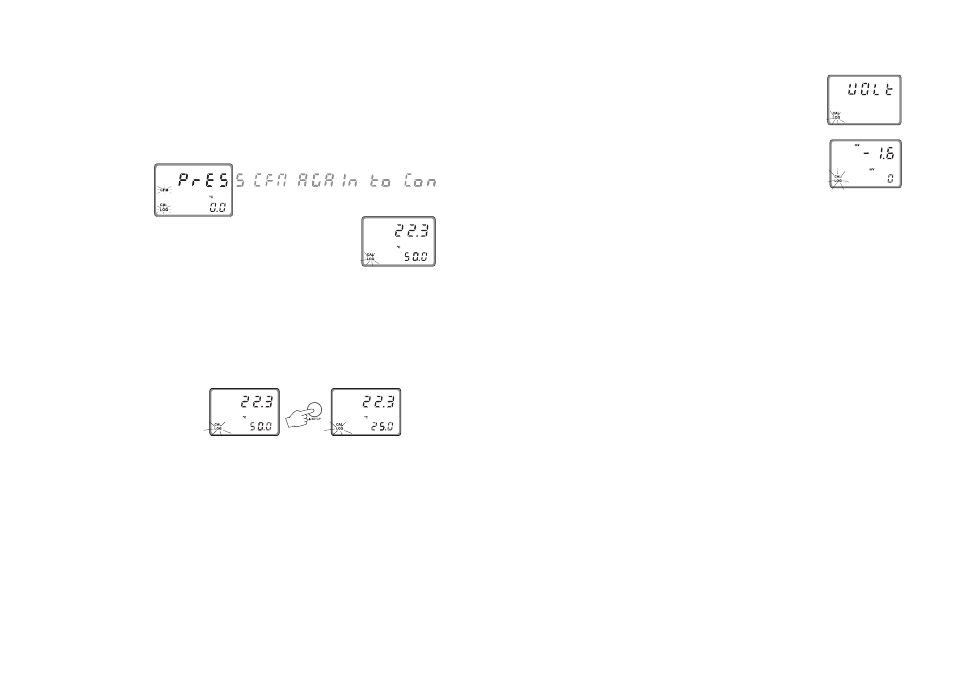
• Once entered the calibration mode,
move through the menu with
æ or
key, select the Volt calibration (the pri-
mary LCD shows “UOLt” message) and
confirm it by pressing the CFM key.
• After confirmation the primary LCD will
show the actual mV value and the sec-
ondary LCD will display the first
calibration point.
• The calibration is performed over two points, 0 mV and
350 mV.
• Set the HI 931001 or HI 8427 simulator to 0 mV.
• When the reading becomes stable, if the measured value
is close to the calibration point the CFM tag starts blink-
ing, otherwise the WRONG indicator will flash.
• In the first case press the CFM key to confirm calibration.
The meter will proceed showing the scrolling message “Press
CFM to confirm the current buffer or right to escape” (to
prevent from confirming the calibration point inadvertently).
• Pressing again CFM the secondary LCD will display the
second calibration point.
• Set the HI 931001 or HI 8427 simulator to 350 mV and
follow the same procedure as for the first point.
• If the measured value is not close to the calibration value,
the meter will remain in the WRONG status until the read-
ing becomes unstable or the calibration mode is exited (by
pressing the CAL key).
• When the reading becomes stable, if the temperature value
is close to the calibration point the CFM tag starts blink-
ing, otherwise the WRONG indicator will flash.
• In the first case press the CFM key to confirm calibration.
The meter will proceed showing the scrolling message “Press
CFM again to confirm the current buffer or right to es-
cape” (to prevent from confirming the calibration point
inadvertently).
• Pressing again the CFM key, the sec-
ondary LCD will display the second
calibration point.
• In the case the measured temperature is not close to the
calibration value, the meter remains in the WRONG status
until the reading becomes unstable or the calibration mode
is exited (by pressing the CAL key).
• When performing the second calibration point, it is pos-
sible to choose between two values, 25°C and 50°C. Pressing
the
æ or key the value on the secondary LCD will switch
between the two possibilities.
• Once selected the value, immerse the temperature probe
in the second beaker as near as possible to the Checktemp
and the calibration procedure will be the same as for the
first point.
VOLT CALIBRATION
Check that the code 90 has been entered in Setup mode.
The instrument is factory calibrated; however the user may
also perform the Volt calibration, which is a procedure avail-
able for the instrument configured as pH meter only.
During pH measurements the instrument reads a mV value
from the electrode and then converts it into a pH value.