3 connecting the flight control arm assembly – Chicago Gaming Redline GT User Manual
Page 11
11
3.3 Connecting the Flight Control Arm Assembly
NOTE: Flight Control Arm installation is optional. Install
only if you intend to purchase flight controls.
If you are not planning on installing flight controls, please skip to page 15.
Remove the two screws on
the side of the Seat Cabinet
just below the armrest
release. These will be used
to connect the Flight
Control Arm to your cabinet.
Align the Flight Control Arm
Mounting Bracket with the
mounting holes, and
attach the bracket with
the screws you just
removed.
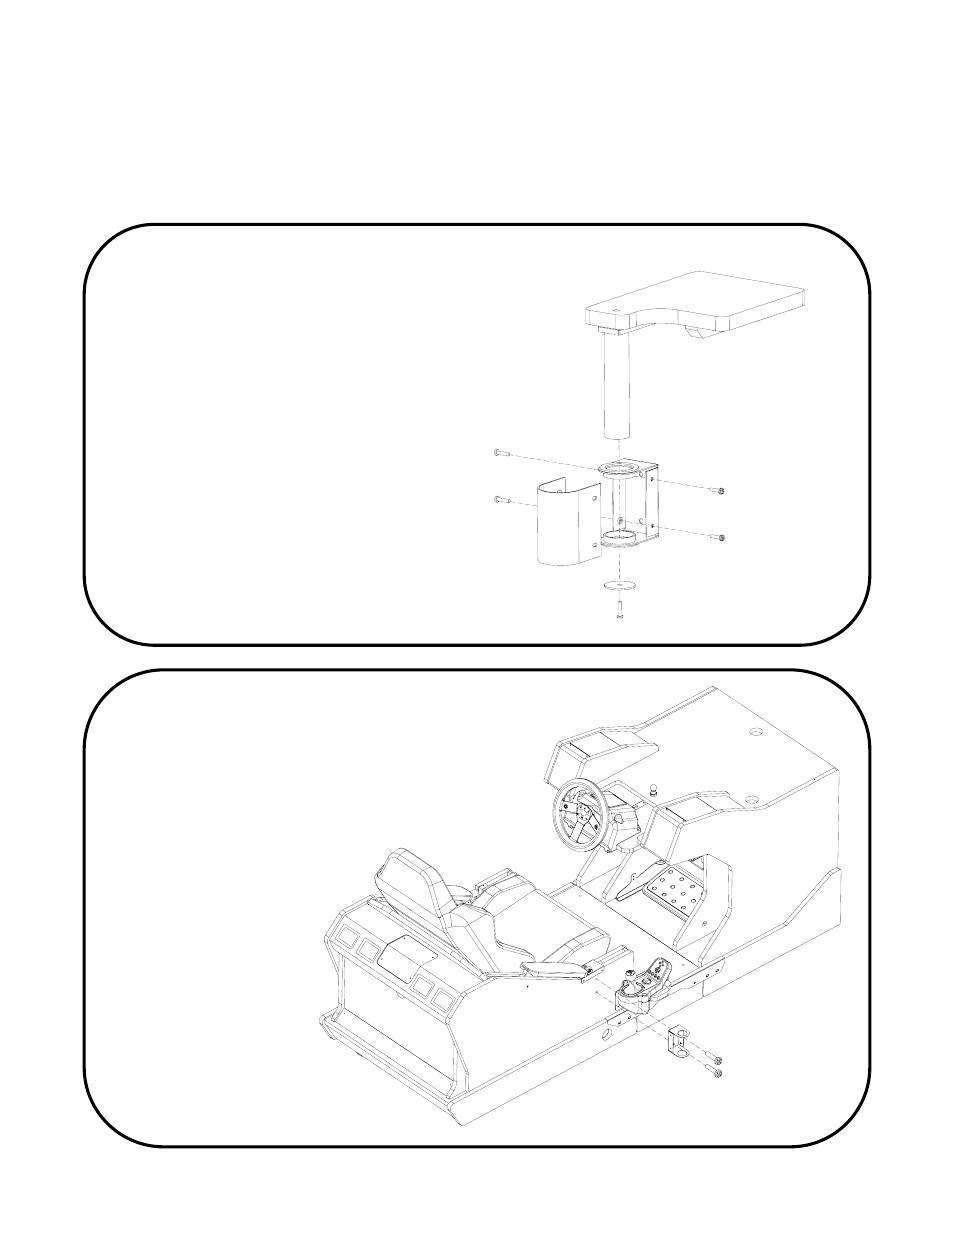
The image on the right shows an
exploded image of the left Flight
Control Arm. The Flight Control Arm
comes assembled, but you must
disassemble it to connect it to Redline
GT. Start by removing the screw and
washer from the bottom of the
assembly. Slide the tube up to free it.
Next, remove the four screws on the
side of the Tube Cover, which will then
come free.