Operation – Bullard Eclipse Powerhouse User Manual
Page 2
Electrical Wiring
The unit is provided with a pair of wires for attachment to the
power supply in the vehicle. The wires are color-coded, with red
signifying the positive (+) conductor and black signifying the
negative (-) conductor. Provide power to the mounting location
from a 5-Ampere fused power source with a voltage of 12-24
VDC. Securely fasten the vehicle’s power supply wire to the
matching positive or negative wire from the Powerhouse using
twist-on or crimp-style connectors. Consult an electrician if you
experience difficulty or require assistance.
NOTE
For best results, the Powerhouse should be connected to
an un-switched circuit that continues to provide power
when the vehicle is not in use. Wiring the Powerhouse to a
switched circuit may result in discharged imager batteries
if the vehicle is left idle for periods of more than a few
days at a time.
Marking and Drilling the Panel
Print Figure 3 (located on the next to last page of this manual)
and place the template in the desired position in the truck.
Mark the locations of the four countersunk holes and electrical
wire hole using the template as a guide. Drill four (4) pilot
holes using a #25 (0.1495”/3.75mm) drill bit from which the
Powerhouse brackets will hang. Also drill a suitably-sized hole
in the truck panel through which the Powerhouse wiring will
pass, ensuring that there are no sharp edges or burrs that
could harm the wiring insulation.
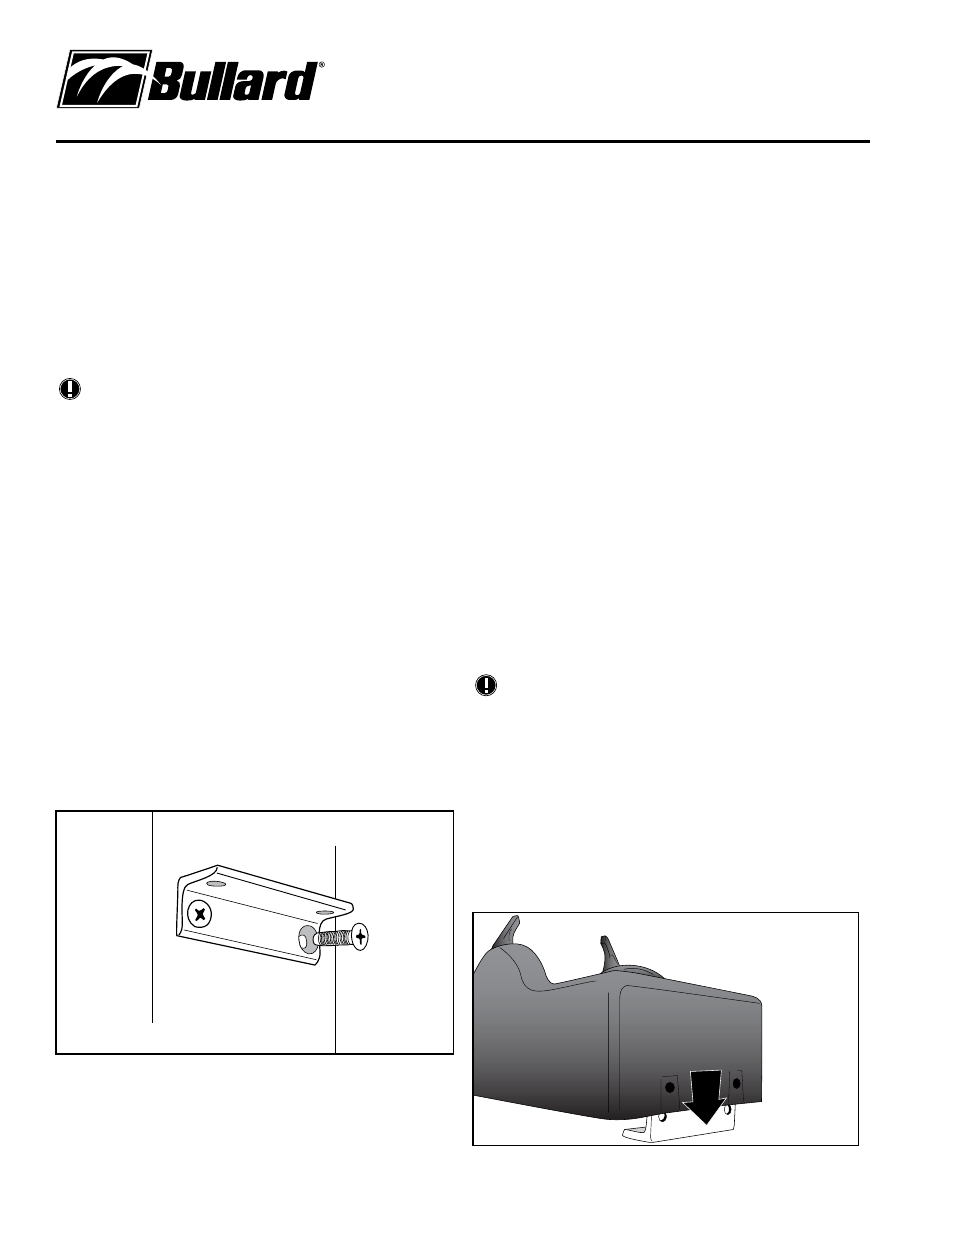
Mounting the Powerhouse
Once the five holes are drilled, attach the panel-mount brackets
with four (4) #10 stainless steel countersunk thread-forming
Phillips-head screws that are provided (Figure 4).
Preparing the Powerhouse unit for installation
First, make sure that the power is disconnected from the supply
wiring. Next, connect the positive power source wire securely
to the red conductor located on the back of the Powerhouse.
Then connect the negative power source wire securely to
the black conductor located on the back of the Powerhouse.
The Powerhouse attaches to the same bracket with the four
(4) #10 stainless steel Phillips-head pan screws included in
your installation kit (Figure 4). You may have to press gently
to compress the four rubber anti-vibration pads on the bottom
of the Powerhouse in order to properly seat the screws
Installation is now complete.
Operation
The Powerhouse charging station is designed to perform the
following functions:
• Securing the imager in the vehicle in accordance with NFPA
1901-14.1.11.2.
• Storing and recharging the battery in the imager and
maintaining the battery at full charge.
• Securing a spare rechargeable battery in accordance with
NFPA 1901-14.1.11.2.
• Storing and recharging the spare battery and maintaining it
at full charge.
Inserting the Eclipse into the Powerhouse
NOTE
In order to store the Eclipse in the Powerhouse, a battery
must be installed in the camera. Without a battery
installed, the gripper arms will not automatically secure
the camera properly. Therefore, storing a camera without
the battery installed can result in non-compliance with
NFPA 1901-14.1.11.2, if the arms are not manually closed.
Depress the “Bullard” button at the top of the Powerhouse to
open the gripper arms. For ease of use, the Eclipse should be
oriented so that viewing window is at the top and the lens is
at the bottom, with the on/off switch and “Bullard” facing the
user (Figure 5).
Figure 4
Figure 5
www.bullard.com