1] id entry screen – Denso BHT-7500 User Manual
Page 120
100
BHT-7500W
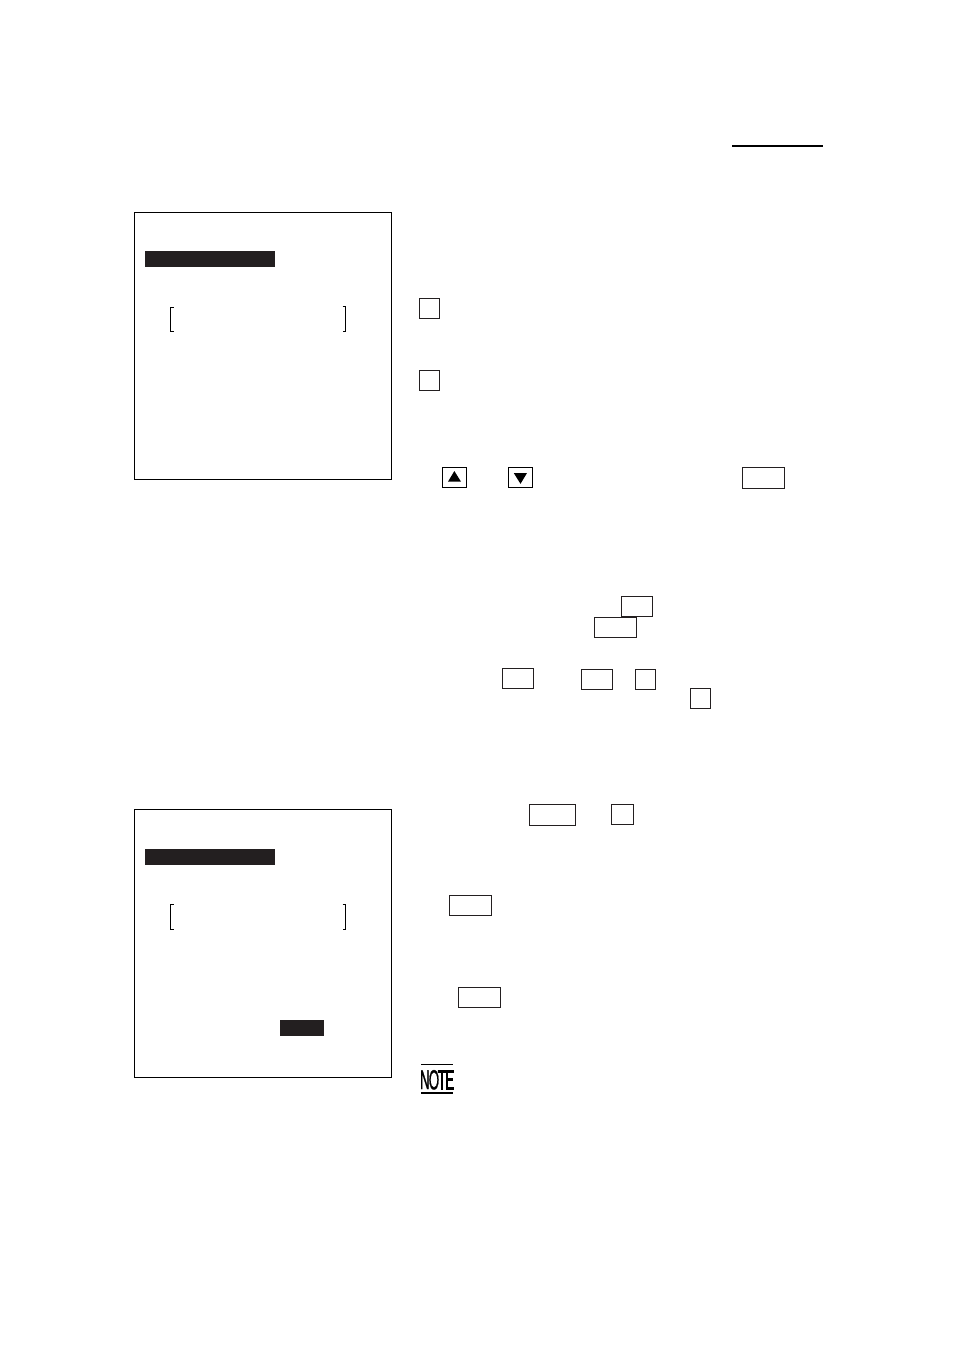
SET ID
1:CLIENT NAME
[ ]
2:SSID
tsunami
SET ID
1:CLIENT NAME
[ ]
2:SSID
tsunami
Set up?
1:Yes
2:No
[8.1.1]
ID entry screen
Selecting the "1:ID" on the RF parameter menu
displays the "** Now Loading **." After that, the
screen shown at left will appear where the current
settings are displayed.
1 CLIENT NAME
Sets a client name that is the
BHT name to be used on the
network.
2 SSID
Sets a service set ID to be used
on the RF communications net-
work.
Select a desired item by using the numerical keys
or
and
keys, and then press the ENT key.
The screen enters the alphanumeric entry mode in
which a cursor appears.
Make the desired settings with the numerical keys
and period (.) key. To switch the entry mode be-
tween the numeric mode (without guidance) and
alphabet mode, press the SF key. After comple-
tion of settings, press the ENT key.
In the entry mode, to delete a single character,
press the BS key ( SF + C keys). To delete the
whole entry you made, press the C key.
For details about the client name and service set
ID, refer to Subsection 3.1.2.
Pressing the ENT or C key when any item is
highlighted will display the confirmation message
as shown at left.
To save the new entry, choose "1:Yes" and press
the ENT key. The "** Now Setting **" will appear
and the screen will return to the RF parameter
menu.
To cancel the new entry, choose "2:No" and press
the ENT key. The newly entered data will be
discarded and the screen will return to the RF
parameter menu.
When the "** Now Setting **" is displayed,
the new entry will be written onto the
EEPROM of the wireless module built in the
BHT-7500W.
While this message is displayed, do not turn
the BHT off. Writing halfway onto the
EEPROM will not bring any assured settings.