Aiwa XR-M1000 User Manual
Page 27
Attention! The text in this document has been recognized automatically. To view the original document, you can use the "Original mode".
f
.........
|: q
ZT5 p era
... 1!
___f|
pi !
:_ •
mmmm
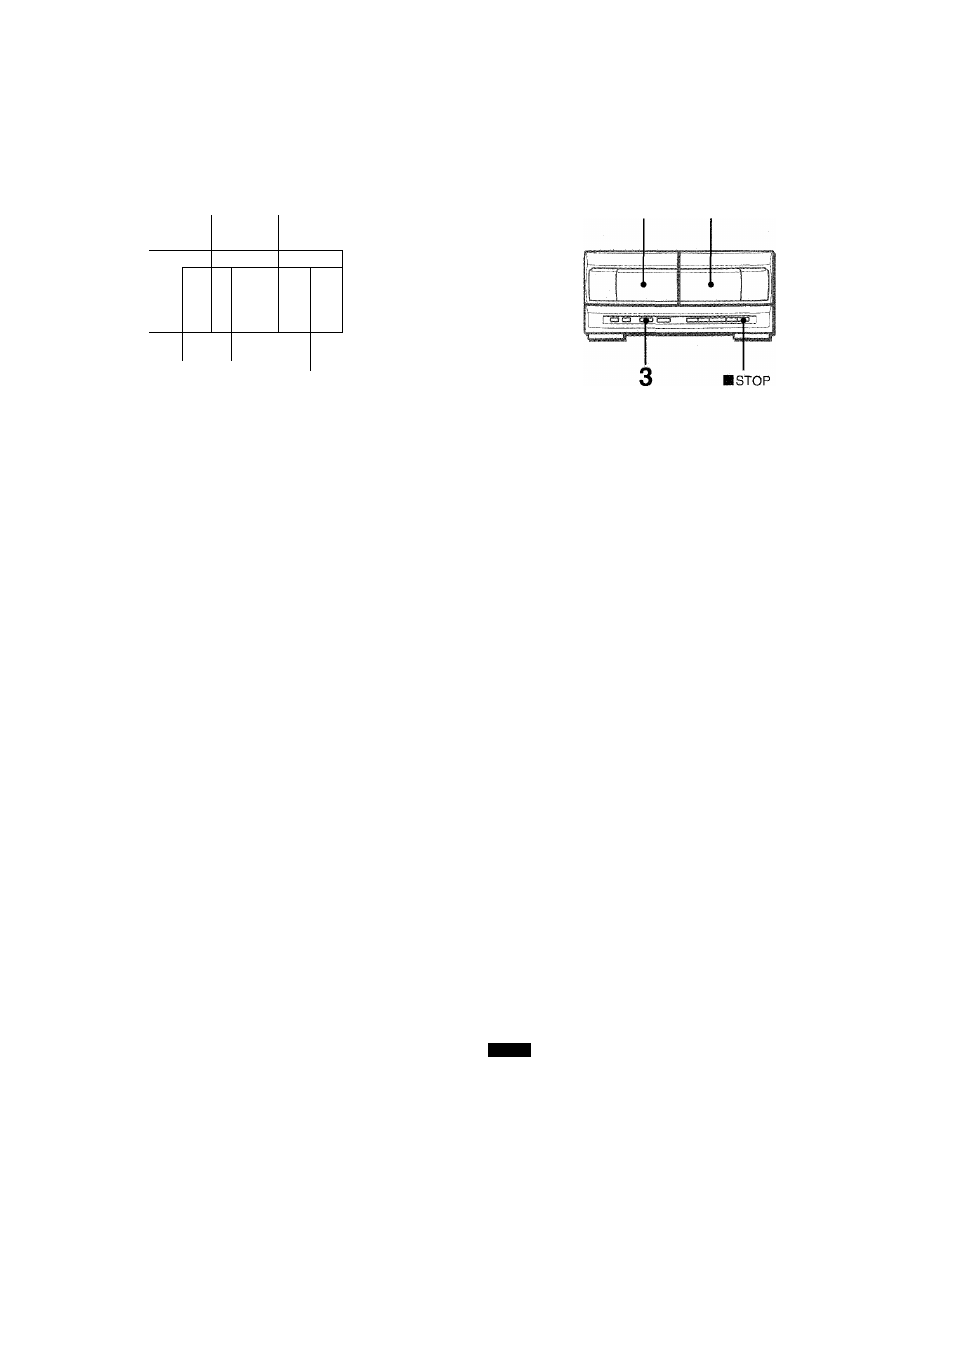
3
5
I STOP
• Set the tape to the point where recording wiii start.
* The reverse mode is automatically set to Z.
Note that recording wiil be done on one side of the tape oniy.
1
Press TAPE on the stereo receiver.
2
Insert the original tape into deck 1 and the tape
to be recorded on into deck 2.
insert the tapes with the sides to be played back or recorded
on facing out from the unit.
3
Press DOLBY NR to turn off the Dolby NR.
□□
nr
on the dispiay of the stereo receiver disappears.
4
Press TAPE on the stereo receiver to select deck
1
.
“TP 1” is dispiayed.
5
Press #REC/REC MUTE to start recording.
Piaying and recording start simuitaneously.
To stop dubbing
Press BSTOP (or BCLEAR on the remote control).
To set the Dolby NR when playing back the dubbed tape
Press DOLBY NR and turn Dolby NR on or off to match the
original tape.
This function ailows you to make exact copies of both sides of
the original tape. The reverse side of both tapes wiii start
simultaneousiy as soon as the iohger tape has been reversed.
• Dubbing does not start from a point halfway in the tape.
• The reverse mode is automatically set to Í1).
• The Dolby NR does not affect recording.
1
Press T
ape
on the stereo receiver.
2
Insert the original tape into deck 1 and the tape
to be recorded on into deck 2.
Insert each tape with the side to be piayed back or recorded
on facing out from the unit.
3
Press SYNC DUB once or twice to start recording.
® For recording at normal speed, press it once to dispiay
NORM-DUB.
® For recording at high speed, press it twice to dispiay
HIGH-DUB.
®
(D
The tapes are rewouhd to the beginning of the front sides,
and recording starts.
Ü
LU
a
lU
I
H
U1
M
(/>
<
Ü
To stop dubbing
Press BSTOP (or I ■ CLEAR on the remote control).
To set the Dolby NR When playing back the dubbed tape
Press DOLBY NR and turn Dolby NR on or off to match the
original tape.
NOTE
Recording does not start, if the erasure prevention tab on either
side of the tape to be recorded on is broken off.
TO erase a recording
Make sure the microphone is not connected to this unit and the
Rhythm play function (page 12) is canceled.
1 Insert the tape to be erased into deck 2 and press TAPE on
the stereo receiver to display “TP 2”.
2 Set the tape to the point where the erasure is to be started.
3 Set the reverse mode by pressing REV MODE.
4 Press • REC/REC MUTE to start the erasure.
ËNQUBH
27