Bernina 532-2 User Manual
Page 35
Attention! The text in this document has been recognized automatically. To view the original document, you can use the "Original mode".
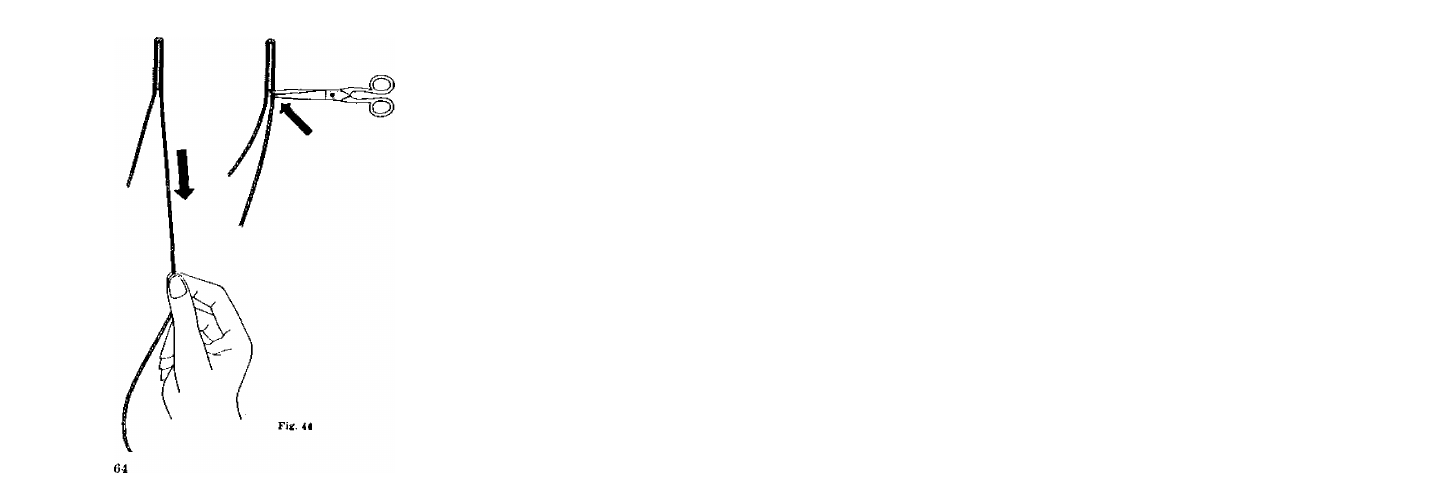
The
c o r d
loop
p r o j e c t in g b e y o n d
the back
end of the sewn buttonhole, is tightened
in such a way that the loop under the back
fastening disappears. Then the two thread
ends are cut fFig,
4 4 ) .
C. The raised buttonhole
This buttonhole is sewn with a slack lower thread tension and a strong upper thread
tension. The upper thread tension has to be so strong that the bottom thread appears
in a straight line on the upper side of the cloth. For raised buttonholes, the top thread
must be unglased, ti-ply, No. 4 thread, while a very thin thread is required for the
bobbin (60/2).
Adjusttno (he machine from automatic buttonhole eewlng to dg-rag or atralghl-atitch aowing
Push lever a (Fig. 28) forwards into the position in Fig.29. The sig-zag lever 12a can
now be moved as desired beyond the stops 1 and II from 0 to 4. Move lever 13
into the vertical position. Again press the stitch length lever 16 towards the machine,
the ball-shaped end turned to the left until the zig-zag mark (Fig. 31) until the zig-zag
mark shows on top.
Buttonhola without using lha autnmallc
Buttonholes may also be sewn without using Uie automatic buttonhole device. In such
case check that
1. the lever 12a (for actuating the locking catch) is in position for zigzag sewing;
2. the stitch length lever, i. e. its ball-shaped end, shows the zigzag mark (Fig. 31);
3. the needle displacement lever is set to its normal “ left" position, i. e. not in position
opposite the mark on the zigzag knob, as is correct
f o r
automatic buttonhole sewing;
66