Operation, Caution, Figures – Bolens 120-270A User Manual
Page 7: Note, Break-in instructions, Before starting, To start engine, I warning
Attention! The text in this document has been recognized automatically. To view the original document, you can use the "Original mode".
OPERATION
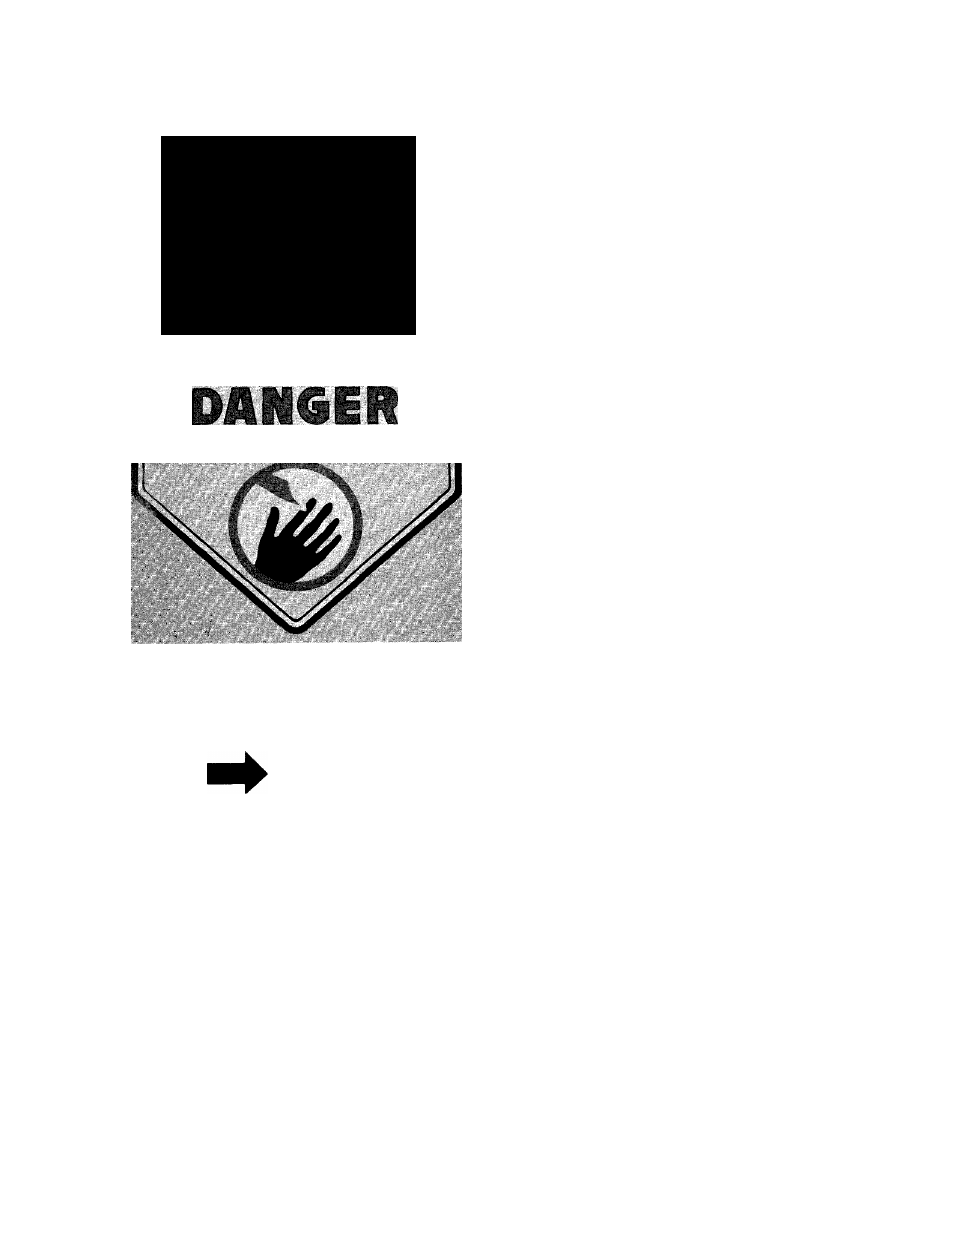
CAUTION
DO
NOT
OPERATE
M O W E R
U N L E S S
GUARD
OR
ENTIRE
GRASS
CATCHER
IS
IN ITS PROPER PLACE.
KEEP HANDS and FEET AWAY
FIGURES.
Keep hands and feet away from the chute area on
cutting deck. See figure 9.
NOTE
For shipping purposes your mower
is set with the wheeis in a iow cut
ting
height
position.
For
best
results, raise the cutting position
until it is determined which height is
best for your lawn. See adjustment
section.
BREAK-IN INSTRUCTIONS
This mower should be broken-in following the pro
cedure described below. The added effort here
will double the service life of the unit. Particular
attention should be paid to the drive assembly ad
justment.
1. Before starting the engine, lubricate all the
bronze bearings on the drive shaft. The same
oil which is used for the engine may be used
for this.
2. Check drive assembly adjustment. When the
handle is lifted, the clutch rod is moved to the
self-propelled position. The black nylon drive
pinions should mesh simultaneously with the
gear tread tires. When the handle is lowered,
the pinions should clear the wheels by 1/8".
See clutch rod adjustment for further details.
BEFORE STARTING
1. Follow “Break-In Instructions.” See above.
2. Fill sump with oil, using a high quality
detergent oil classified “For Service SC, SD,
SE or MS.” Use SAE 30, SAE 10W-30 or SAE
10W-40 viscosity grade oil. Nothing should be
added to the recommended oil.
Place engine level. Remove oil dipstick. Fill oil
sump to full mark on dipstick. Pour slowly.
Capacity 1V4 pints.
3. Fill fuel tank, using clean, fresh, lead-free or
leaded “regular” grade automotive gasoline.
Fill tank completely.
DO NOT MIX OIL WITH GASOLINE.
TO START ENGINE
1. Make sure handle is all the way back (free
wheeling position).
2. Move throttle control lever to “START” posi
tion.
3. Place foot on left side of deck and hold handle
to prevent tipping the unit. Grasp starter han
dle as shown in figure 10 and pull out rapidly.
Return it slowly to the engine. Repeat if
necessary.
I WARNING
\
When starting the unit, place the
unit facing a solid object to stop it
if it is not correctly adjusted to be in
“Neutral” position. If the unit shows
signs of motion with the handle
back in the “free-wheeling” posi
tion, shut off the engine imme
diately. Readjust the clutch rod as
necessary. See clutch rod adjust
ment on page 9.