Engine lubrication, Transmission lubrication, Maintenance – Troy-Bilt 12001 User Manual
Page 16
Attention! The text in this document has been recognized automatically. To view the original document, you can use the "Original mode".
Remounting the tine gangs takes just a couple
of minutes and you’ll need a pliers at most. The
Figures to the right show the conventional tine
configuration where there is a narrow gap be
tween the center (inner) tines, and the special
stony soil tine pattern where the inner tine gangs
have been swapped in position. The stony pat
terns creates a much wider gap between the
inner tine gangs— rocks are much less likely to
become lodged between them and the tine hood.
Important— Remember that when you re
mount the tines on the tine shaft, they must be
turned in the direction that allows the curved por
tions of the blades to enter the soil first! Don’t
turn the tines so they face backwards or tilling
will be very difficult.
Figure 11D: Normal tine gang pattern.
Figure 11E: Tine gang pattern for very stony soii.
Section 4:
Maintenance
ENGINE LUBRICATION
The engine on your Tiller is a two-cycle (“two-
stroke”) engine. Engine lubrication is provided
by mixing the proper type and amount of two-
cycle oil with the gasoline. Refer to “The
Gasoline/Two-Cycle Engine Oil Mixture” for cor
rect proportions and mixing instructions.
Attempting to run the engine on just gasoline
alone (without the correct amount and type of
two-cycle oil mixed with it) will cause the engine
to overheat and seize up from lack of lubrication.
TRANSMISSION LUBRICATION
After the initial five hours of operation, and
every twenty-five operating hours afterward, the
transmission should be lubricated with grease.
Replacement grease should be a high quality,
automotive petroleum-base grease usually avail
able at most hardware or auto parts stores.
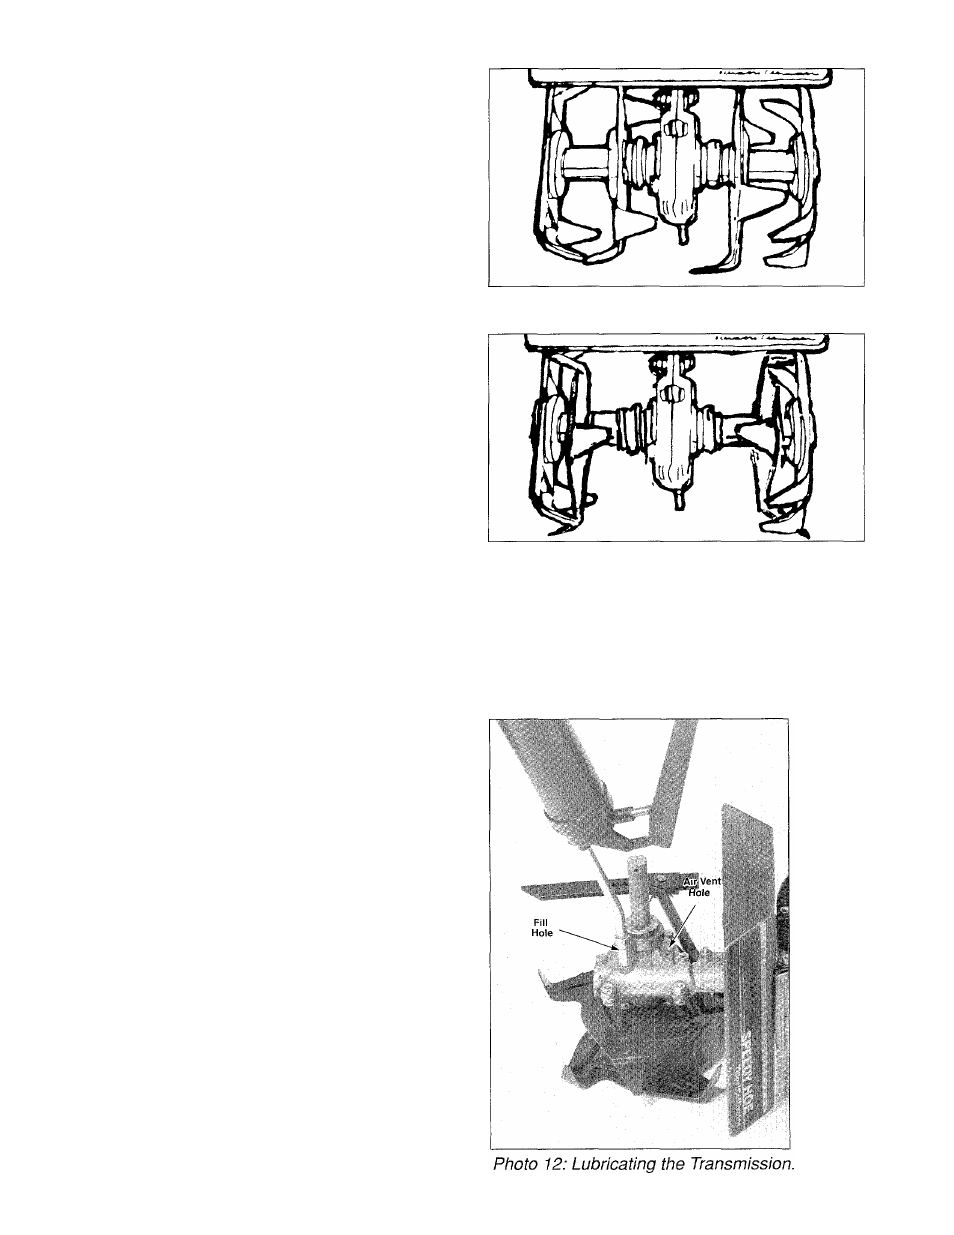
To lubricate the transmission:
1. Lay the machine on the left side so that the
tine shaft is vertical.
2. Remove both right-side tines. See “Tine
Removal and Installation,” this Section, for in
structions.
3. Clean any dirt or debris away from the trans
mission so that none will enter the housing.
16
4. Use a 3/16” alien wrench to remove the air
vent screw and the fill plug from the right side of
the transmission housing. See Photo 12.