Tips and techniques, Cultivating and weeding, General recommendations – Troy-Bilt 12001 User Manual
Page 14
Attention! The text in this document has been recognized automatically. To view the original document, you can use the "Original mode".
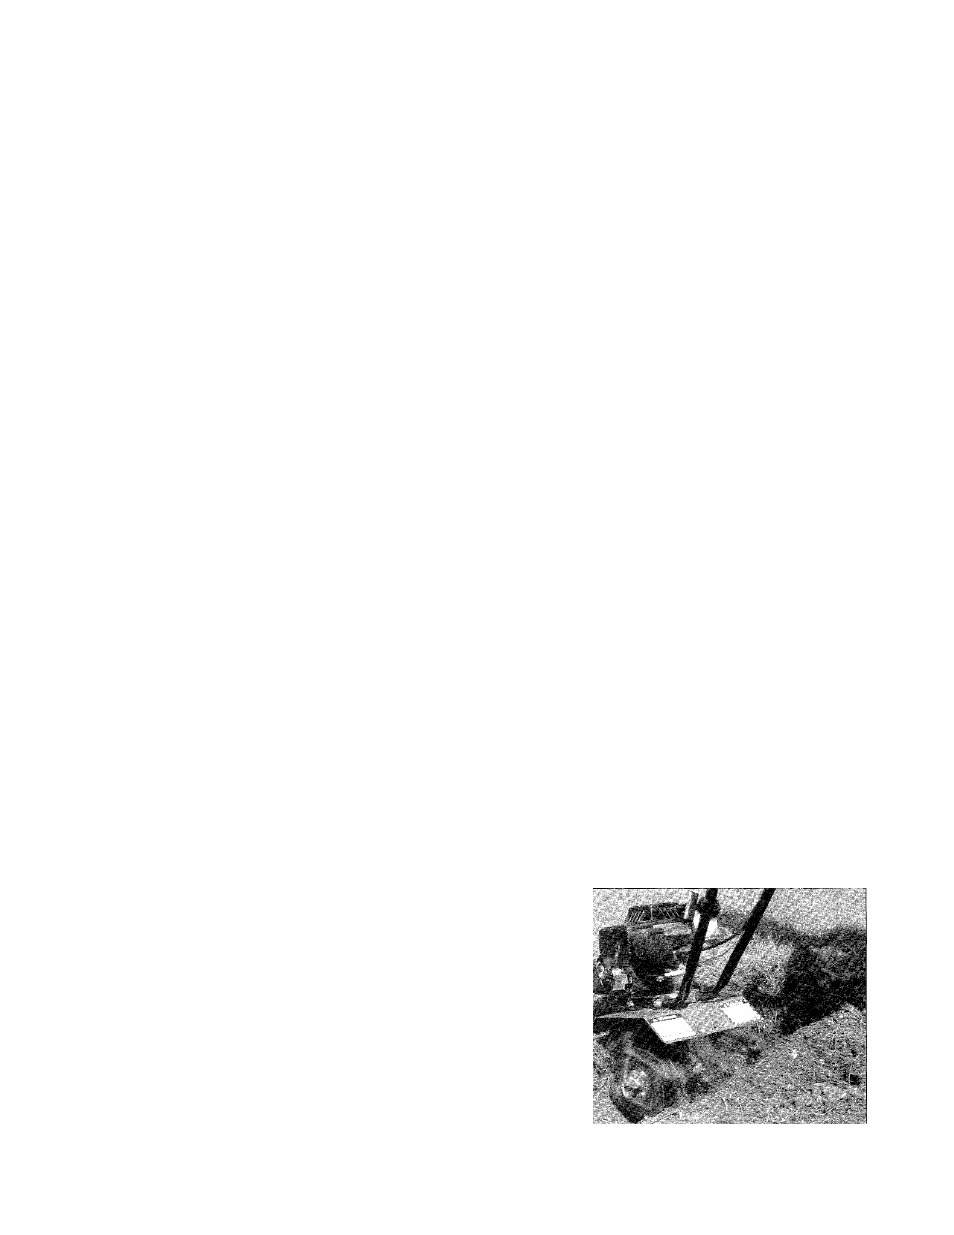
6. If you need to make any adjustments to the
tilling depth:
a.
Turn the engine OFF. Disconnect the spark
plug wire.
b.
Remove the hairpin cotter and the clevis pin
from the depth stake bracket.
c.
Move the depth stake up for deeper tilling and
cultivating, or down for shallower work.
d.
Reinsert the clevis pin through the aligned
holes (in depth stake and depth stake bracket),
and secure it in place with the hairpin cotter.
GENERAL RECOMMENDATIONS
Avoid tilling and cultivating in soil that is either
too dusty or too wet. Neither of these soil condi
tions lend themselves to proper cultivation.
If the tiller/cultivator tends to stay in one spot
and just dig a hole instead of moving forward,
move the handlebars from side to side to start
the machine moving forward again.
When cultivating to get rid of unwanted plants,
it is best to use a shallower setting to prevent
bringing any weed seeds to the surface.
If you need to cultivate between very closely
spaced plants, you can remove the outer tines
as instructed in Section 4. This will give you a
cultivating width of approximately 6 inches.
After you’ve finished cultivating, check the
tines for any tangling. Stop the engine, and dis
connect the spark plug wire before untangling
the tines. Be sure to reinstall the tines in the
same position from which you removed them. If
you reinstall the tines incorrectly, they will not
work as well and will make the equipment jump.
To till deeply, hold the tiller/cultivator in one
spot and allow it to dig as deep as you want.
The drag stake can be removed to allow the
tiller/cultivator to dig to maximum depth.
If a rock should get stuck between the tines
and the hood, you can remove the drag stake
and use it to pry the rock loose. You can also
use a block of wood and a hammer to remove
the rock. The tines only turn in one direction
(clockwise as viewed from the right side). Do not
attempt to force them to turn the opposite way.
IMPORTANT: Running the engine when the tines
are immobilized by a wedged rock or root can
burn out the clutch. Always remove an obstruc
tion binding the tines before it causes damage.
TIPS AND TECHNIQUES
Cultivating and Weeding
Here’s a strategy we suggest for effective
weed control: Prepare the ground thoroughly, as
early as you can, and till it again several times
before you plant. Each time you do this, you
bring buried weed seeds to the surface where
they begin to sprout and are killed next time you
till. Then, just before you plant, do one last
shal
low
tilling to destroy the latest batch of weed
sprouts. From then on, keep all cultivation shal
low, so buried weed seeds stay buried too deep
to germinate.
Your tiller is ideal for this kind of shallow culti
vating, and the work goes quickly because you
only need to dig an inch or so deep. Some other
tips:
• Set the depth stake with its sloped edge for
ward (point backward) to minimize tangling on
weeds. Don’t set it too deep; remember, cultivat
ing should be shallow.
• For weeding and cultivating in very tight spots,
you can remove the outer tines and work with
just the inner tines which provide a 6" tilling
width. In these tight situations, you may want to
remove the depth stake too.
• The machine can be “steered” by tipping it
slightly to either the left or the right.
• To catch weeds growing very close to more
mature garden crops or plants, you can pull the
tiller backward so the tines lift up the plant
leaves. This allows close weeding without dam
age to the foliage.
• When cultivating around short ornamentals or
flowers, place the machine on the
far side
of the
plant so the earth is moved toward it, rather than
stripped away from its roots.
Photo 11A
14