SINGER W217 User Manual
Page 16
Attention! The text in this document has been recognized automatically. To view the original document, you can use the "Original mode".
STRETCH STITCHING
When sewing knitted or stretch fabrics, choose one of the stretch stitches which
allows the seam to stretch with the fabric without breaking the thread. Select
polyester or cotton covered polyester thread which has an extra amount of give
and is designed for knits and stretch fabrics. Use a ball point needle, especially
on lightweight knits.
Machine Setting — ¡¡j
III
STRETCH STRAIGHT STITCH
Presser
foot
Stitch
pattern
Needle
position
Zig-zag
width
Stitch
length
Fabric
feed
Zig-zag
il -2
Ô
•
Stretch straight stitch is a triple lock
stitch, combining stretchability and
strength. Use for stitching regular
seams in knits and stretch fabrics.
Use for stitching seams in woven
fabrics that receive a lot of strain when
worn, such as side seams, crotch seams,
and armholes in sportswear and child
ren’s clothes.
Machine Setting -
| RICKRACK STITCH
Presser
foot
Stitch
pattern
Needle
position
Zig-zag
width
Stitch
length
Fabric
feed
Zig-zag foot
II -2
^3 @
Dam Sew
1 f¥
Rickrack stitch is a triple stitched zig-zag that resembles rickrack trim,
reversible, looking the same on both the right and wrong sides.
It is
Fig, 42
Rickrack stitch can be used as a heavy-
duty all-purpose stretch stitch. Each
zig-zag stitch consists of three threads
or stitches, giving strength and perma
nence
-26-
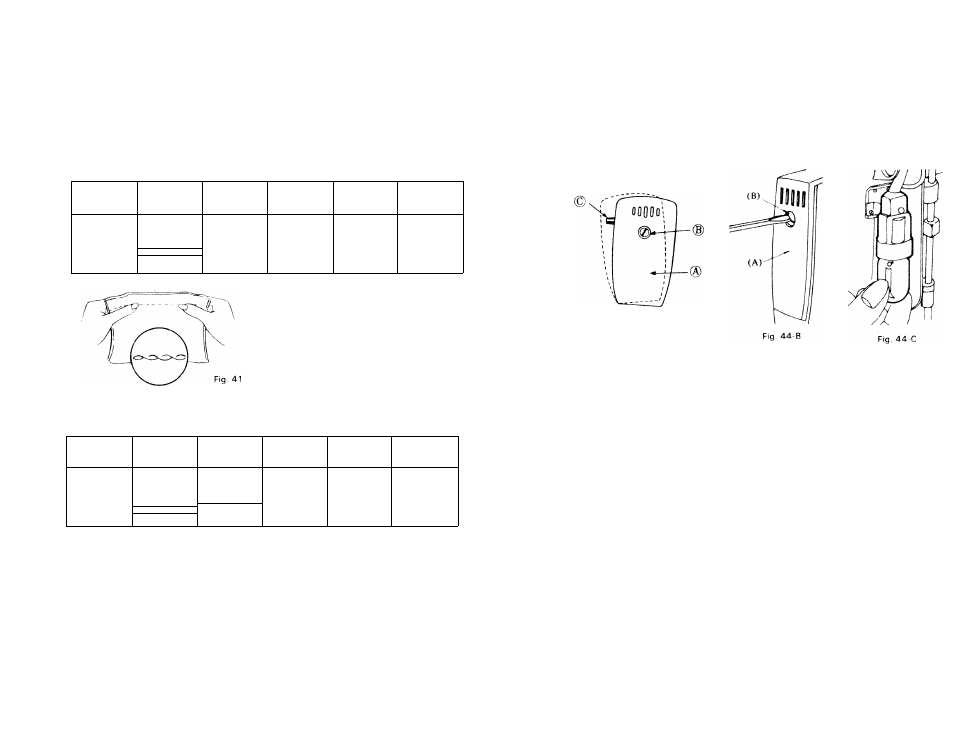
SEWING LIGHT
If your machine has the sewing light inside the -face plate (A), by turning
pushing in the light switch (C) on the back of the machine the light can '
turned on and off as you wish. Fig. 44-A
To operate the machine, the switch must be turned on.
Î.-
Fig. 44-A
TO REPLACE THE BULB
2
.
3.
4.
5.
Turn the light switch (C) off.
Loosen the Screw (B) with a screwdriver or a coin as shown in Fig. 44 1:
Move the face plate away from you (-...............) as shown in Fig. 44 A until th
switch (C) passes through the hole which is at the back of the face plat<
and then lift up ( f ) the face plate so that you can remove it from th
machine.
When bulb has the “screw in socket” type base, remove the bulb as you di
a conventional light bulb. Fig. 44-C.
When bulb has the “bayonet socket” type base, push in the bulb and 1/4
turn to the left and the bulb will drop out. Fig, 44-C.
Replace the bulb, and place the face plate in the correct positon b
securing the Screw (B).
-27-