Three positions of feed dog, Adjusting the pressure – SINGER W217 User Manual
Page 14
Attention! The text in this document has been recognized automatically. To view the original document, you can use the "Original mode".
THREE POSITIONS OF FEED DOG
Fig 36
The drop feed or feed dog moves
fabric forward or backward under the
preser foot. It can be .raised or
lowered by turning(iww ^ icic| )knob
located on the machine base plate.
For ordinary straight or zigzag stitch
ing, turn knob to(-;vvw)' This raises
drop feed to its highest position.
For light weight fabrics, knob can be
moved slightly to the left of^AAAZA )to
prevent feed from marking fabric.
For darning, embroidering and sewnig
on buttons, turn knob to(^ ) to
lower the feed so fabric can be moved
freely by hand
ADJUSTING THE PRESSURE
The pressure of the presser foot (11)
must be regulated for different types
of fabric to obtain proper feeding.
To adjust pressure push down outer
ring (A) Fig.
37-A
with thumb and
forefinger.
The
center
button
(B)
Fig.
37-A
will spring up and then the
pressure can be easily adjusted by
teing pushed down partially for light
fabrics (Fig.
37-B
, or all the way
down for medium to heavy fabrics
(Fig,
37-C
TO DO EMBROIDERY, DARNING AND
FOR SEWING ON BUTTONS
Press the fringe (A) of the darner down with thumb and index finger and the
presser knob (B) will pop up. (Fig.
37-A)
The pressure will be completely
released. As well, press the "darn” button on the Drop Feed (29)
completely down,
22
--
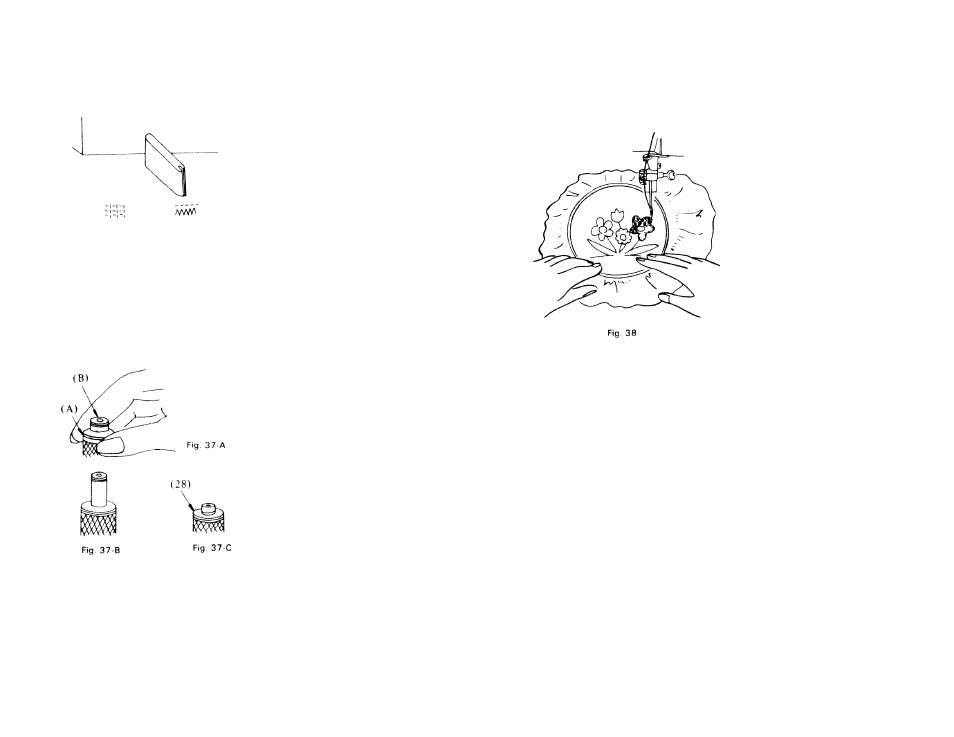
EMBROIDERY
Machine Setting-
or
Free-motion embroidery allows you to
move the fabric in any direction under
the needle in order to create your de
sign. Use either a straight stitch or a
plain zig-zag stitch.
Trace design on right side of fabric.
For best results, place fabric in an
embroidery hoop.
Remove all pressure from fabric -
• turn fabric feed to DARN
• press down on outer ring of pressure
regulator to release pressure com
pletely
Place hoop under needle. Run machine
at medium speed, guiding hoop care
fully so needle moves along pattern
lines.
Use straight stitch for outlining and
zig-zag stitch for filling in design. Vary
length of stitch simply by moving hoop
faster or slower under needle. Place
stitches close together for a smooth,
satiny surface. Overlap stitches for an
irregular surface.
-
23
-