U i j, Buttons, 01 2 __ i – SINGER 4314 User Manual
Page 36
Attention! The text in this document has been recognized automatically. To view the original document, you can use the "Original mode".
buttons
• Pattern Group Selector;
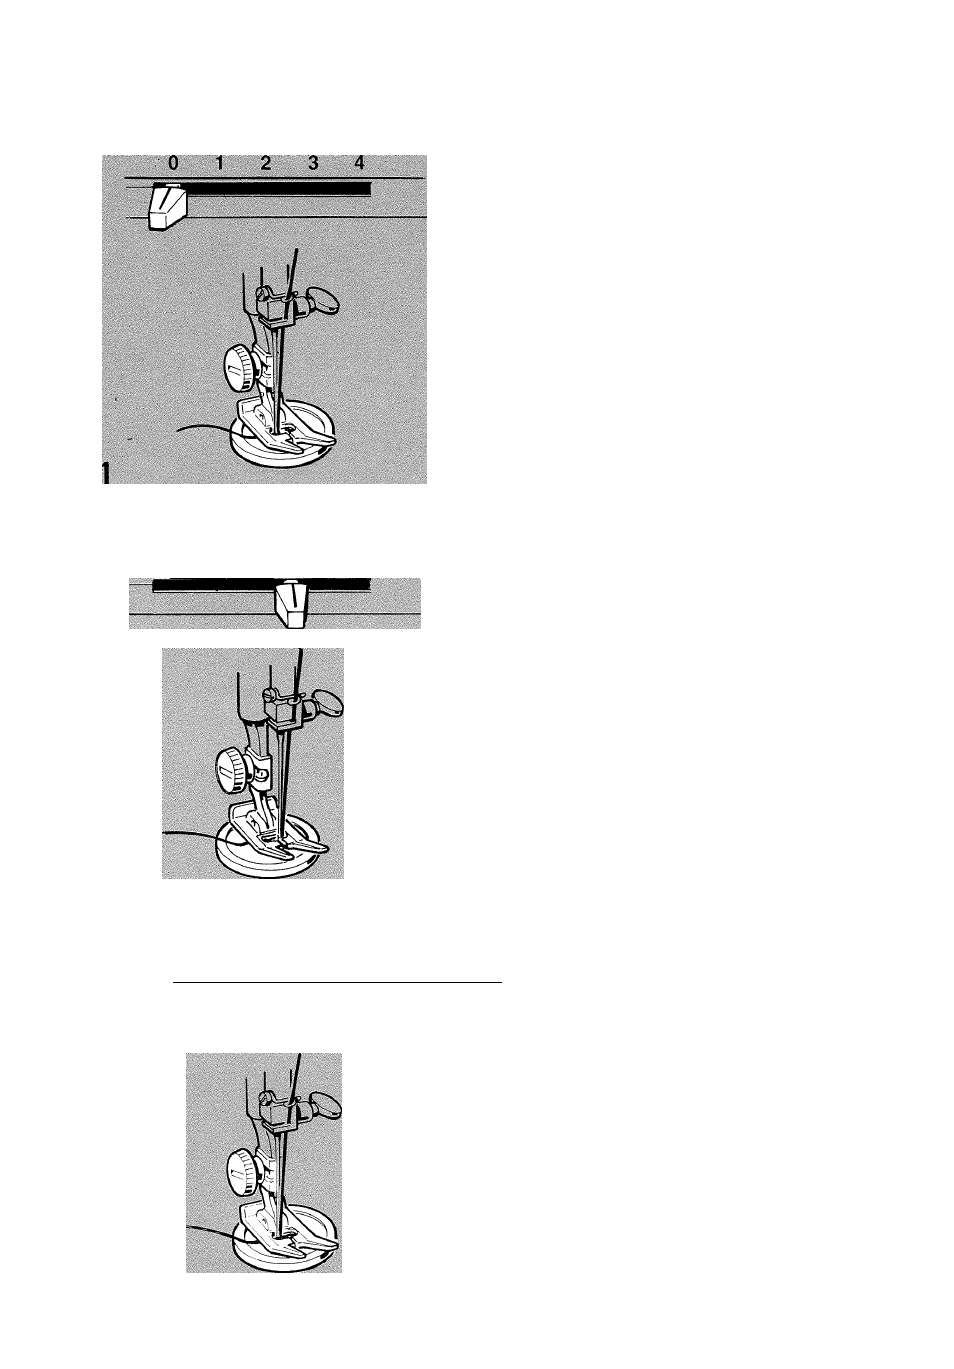
1
U I J
• Needle Position:
• Stitch Width: To suit button
• Stitch Length:
0
• Snap-in Feed Cover
• General Purpose Foot
——
xaa
AA/\/\
0
1
2__ 3__ i.
0
1
2
3
4
EX
ATTACHING A BUTTON
Flat buttons can be sewn on by nnachine using
the zig-zag stitch.
•
Attach
snap-in
feed
cover
to
general
pur
pose needle plate.
1. Set stitch width selector at 0.
• Set needle position at leftL..
•
Place
button
positioned
on
fabric
under
foot
and
lower
needle
into
centre
of
left
hole.
• Lower presser foot.
•
Turn hand wheel
toward you
until the ne
edle
rises
out
of
button
hole
and
is
just
above the presser foot.
2. Set stitch width selector to a medium width
zig-zag setting.
•
Continue
turning
hand
wheel
until
the
needle
is
above
right
hole,
adjust
stitch
width,
as
necessary,
until
neecfle
enters
the centre of the right hole.
•
Take
six
or
more
zig-zag
stitches
and
finish with the needle on the left.
3. Move stitch width selector to
o
and take a
few stitches to fasten threads.
•
Pull thread ends through to back of gar
ment
knot
close
to
fabric
and
snip
off
loose ends of thread.
34