Adjusting the stitch width, Creative embroidery, Removing the work – SINGER W610 User Manual
Page 16
Attention! The text in this document has been recognized automatically. To view the original document, you can use the "Original mode".
14
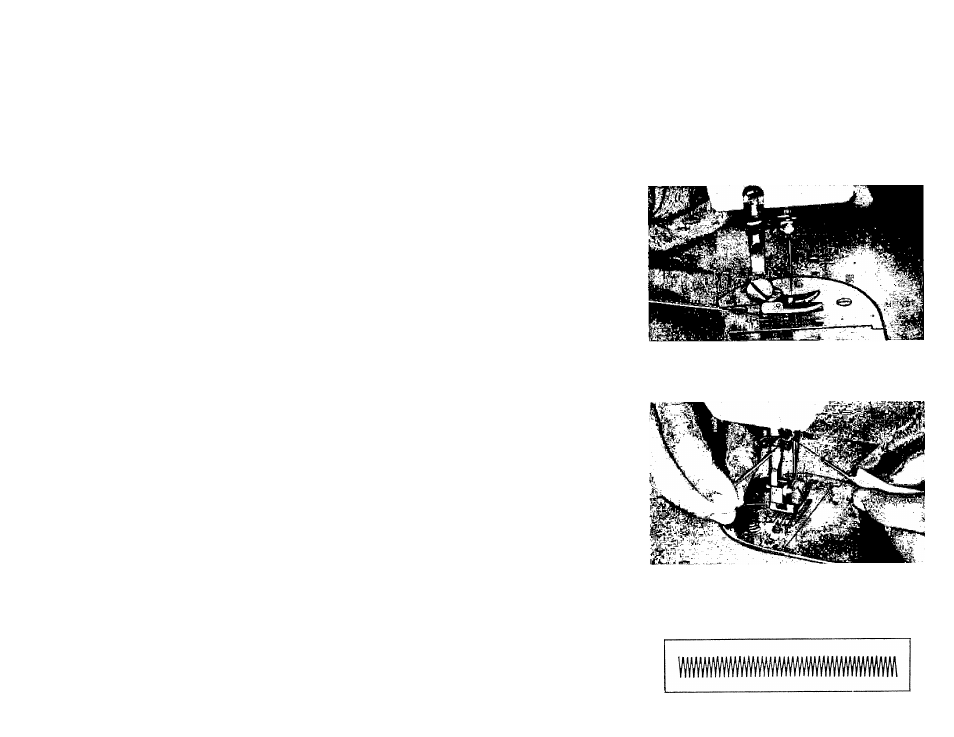
Be sure to stop the machine when the thread take-up lever
and needle bar are at their highest position. Now raise the
presser foot and draw the fabric back and to the left (Figs.
22 and 23), and pass the thread over the thread cutter.
Pull down slightly, holding thread in both hands, so as not
to bend the needle. Leave the ends of thread under the pres
ser foot.
REMOVING THE WORK
Fig.
22
ADJUSTING THE STITCH WIDTH
To stitch continuously at one width of zigzag stitching set
pattern
selector
dial
(5,
Fig.
1)
at
“MANUAL”,
buttonhole
lever (10, Fig. 1) at “M” and zigzag stitch width control (
8,
Fig. 1) at the chosen stitch width and lock In position with
zigzag stitch width lock (7, Fig. 1).
CREATIVE EMBROIDERY
Be sure zigzag presser foot and zigzag needle plate are in
place. The satin stitch (Fig. 24), which is really just a very
short zigzag stitch, and the basis for most embroidery, is
obtained by setting the stitch length as near O as possible
without stopping the feeding action.
The width may be set anywhere from just past O to 5.
Fig.
23
Fig. 24