Appliqué, Preparation, Method 1 - trimming after stitching – SINGER 5102 User Manual
Page 25: Method 2 - stitching after trimming, Applications
Attention! The text in this document has been recognized automatically. To view the original document, you can use the "Original mode".
applications
APPLIQUÉ
Appliqué adds beauty and interest to clothing and household linens. You can create your own
design, trace a simple outline from a colouring book, or use a motif cut from a printed fabric.
Fabric of similar or different textures combine equally well.
A closely spaced plain zig-zag stitch, commonly referred to as a satin stitch, is used for appliqué
work. Although you may vary stitch width to accommodate fabric weave and texture, never allow
the stitch to be too wide.
Make a test sample to help you decide which of the following methods is best for your fabric and
design.
• Needle Position:
im
[A] J.
• Stitch Width: To suit fabric
• Stitch Length: Between 0 and 1
• General Purpose Needle Plate
• General Purpose Foot
Preparation
• Baste appliqué design to fabric and outline
the design with a short, straight stitch.
• Remove basting and press.
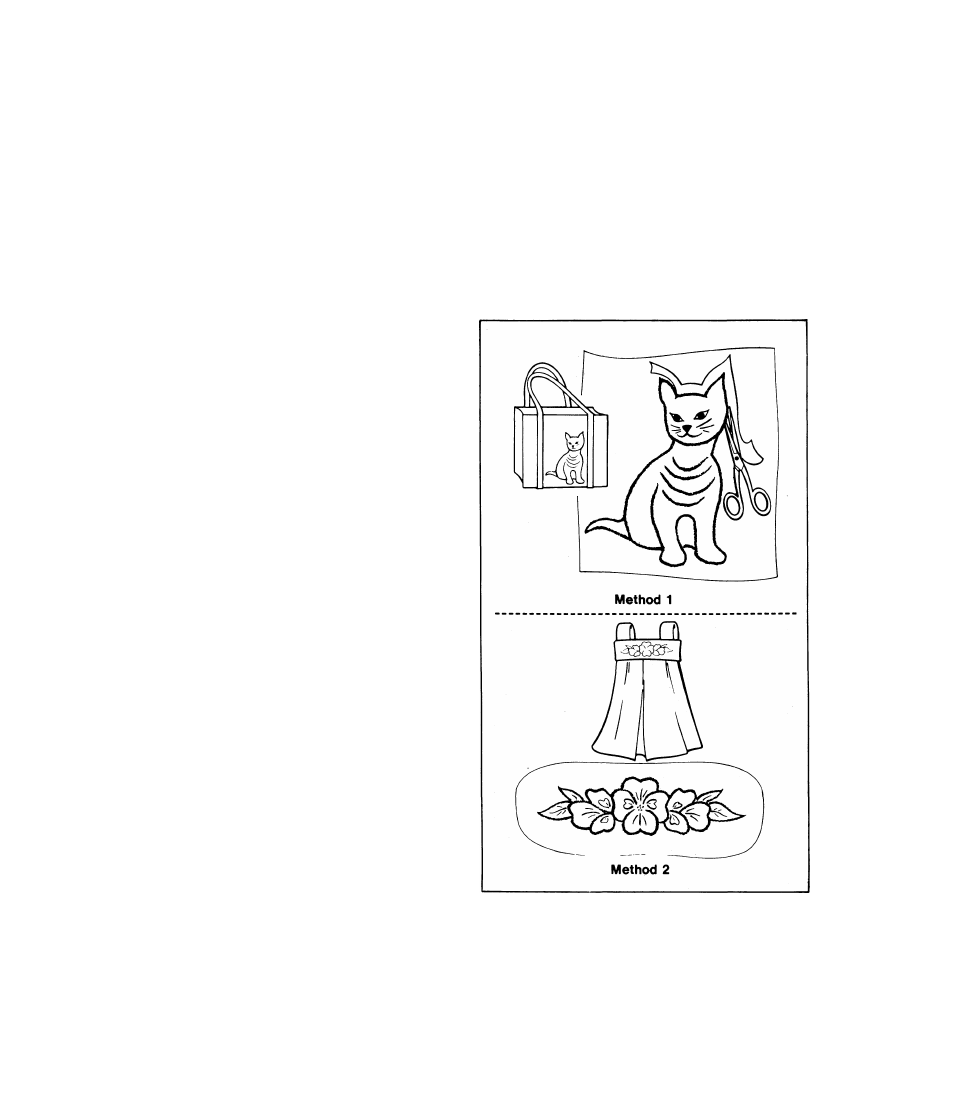
Method 1 - Trimming after Stitching
• Set machine as code recommends.
• Outline the entire design with satin stitching.
• Cut away the fabric or the outer edges of the
stitching with embroidery scissors.
Method 2 - Stitching after Trimming
• Trim outside fabric edges close to straight
stitch outline of design.
• Set machine as code recommends.
• Overedge the design with satin stitching. This
step will produce a smooth, lustrous finish
that requires no additional trimming.
23