SINGER 95-100 User Manual
Page 22
Attention! The text in this document has been recognized automatically. To view the original document, you can use the "Original mode".
20
then securely fasten the position bracket by means of the screw
(G,Fig.22). Replace the needle and time the sewing hook as In
structed on pages 17 and 18. When tightening the three screws
(L,Fig.22) In the hub of the hook, draw the hook shaft toward the
needle bar end of the mchlne and press the hook toward the bal
ance wheel to take up the end play In the shaft. Then replace
the bobbin case and slide plate.
To Remove and Replace the
Sewing Hook Shaft
Remove the sewing
hook as Instructed on
page 19. Take out
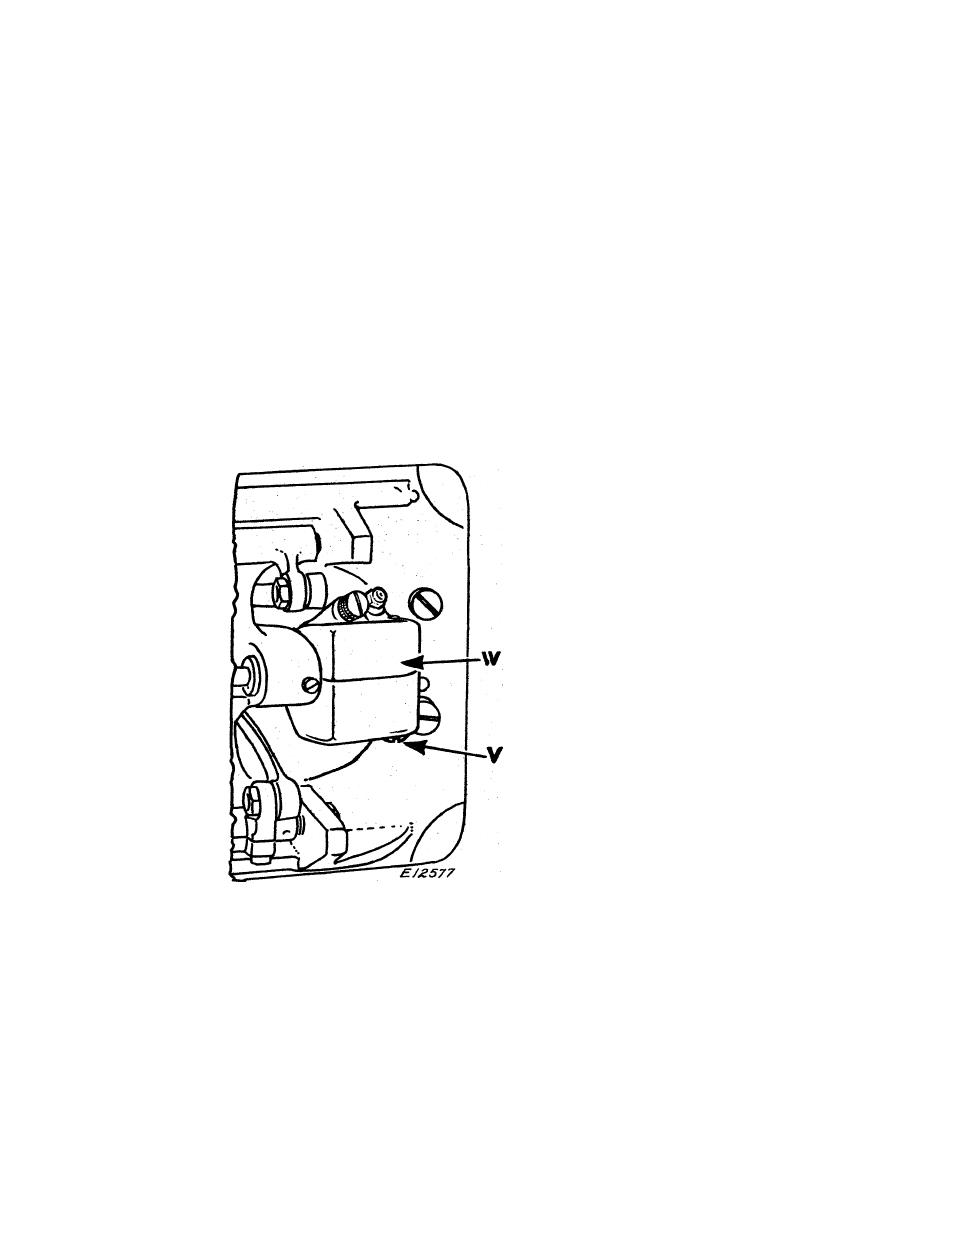
the screw (V,Flg.24)
and remove both sec
tions
of
the
gear
case (V,Fig.24), then
wipe the grease away
from the gears.
Before
removing
the hook shaft (X,Flg.
25) from the machine,
the gears (Y and Z,
Fig.25)
should
be
marked with chalk or
red pencil on one of
the teeth of the gear
(Y) and the space of
the gear (Z) In which
the
marked
tooth
meshes. This Is Im
portant, as the gears
may become dislodged
when
removing
the
hook shaft, and the
marks will enable you
to retain the origin
al relative positions
Fig.24. Vlev^k of Underside of №chlne of the gears.
Showing Gear Case
To remove the hook shaft, loosen the two set screws in the
gear (Y,Fig.25), then insert the new hook shaft Into the gear