Making button hole, Making button-hole – SINGER W7317 User Manual
Page 21
Attention! The text in this document has been recognized automatically. To view the original document, you can use the "Original mode".
19. MAKING BUTTON HOLE
No.l
No.2
No.3
No.4
T
1
Fig. 28
Right side
row
(reverse)
tacking
: Left side
i row
(forward)
tacking
2nd step
3rd
4th
step
step :
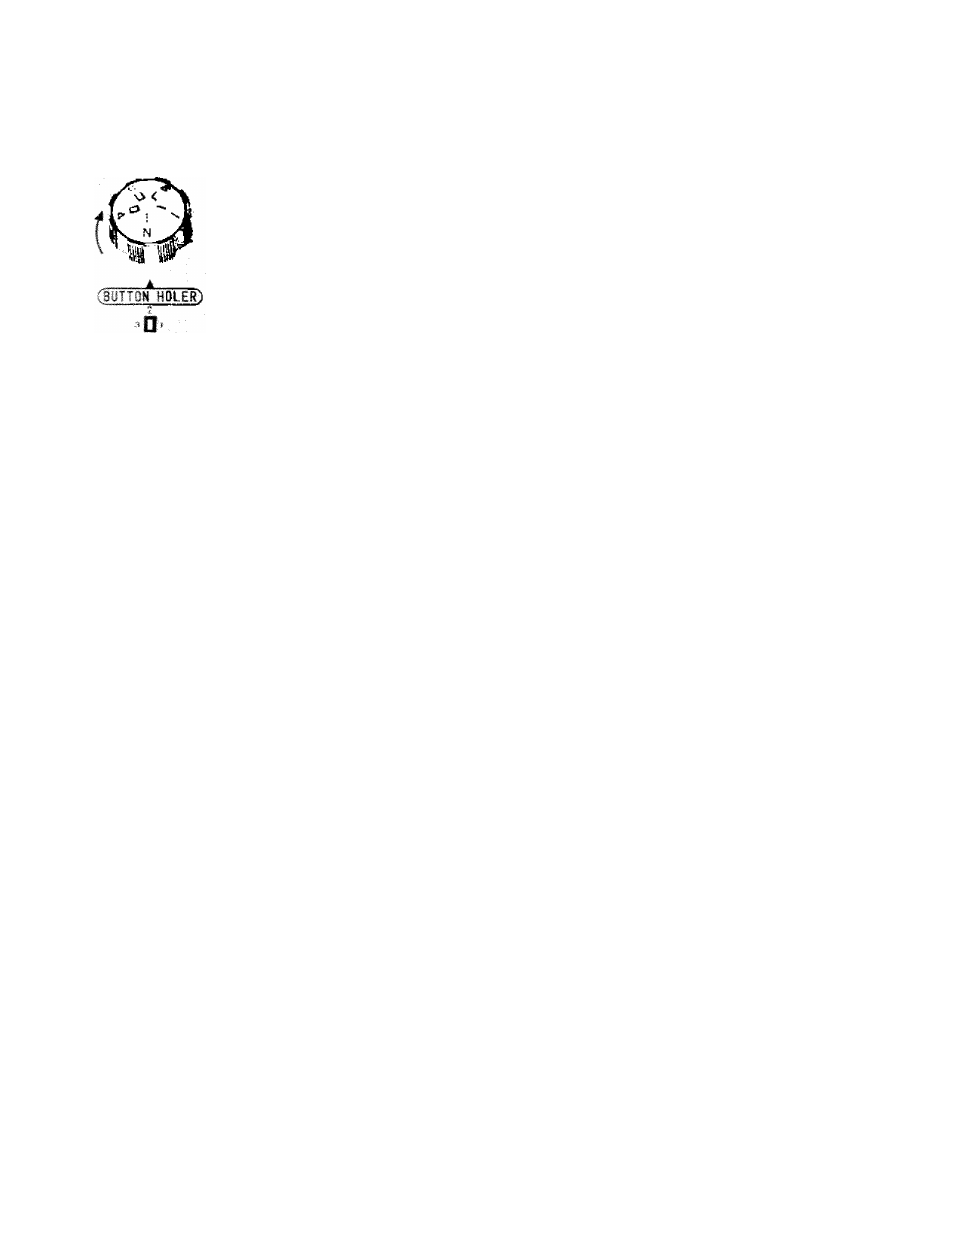
Your zigzag sewing machine stitches button holes automatically by means of button
hole knob, without turning the fabric.
1st step:
set the needle position lever to LEFT.
Turn
the
regulating
knob
(A)
clockwise
until
mark
1
(over
the
knob)
comes to the arrow-mark printed on face plate.
Sew with desired length, (little longer than button size) as Fig. No. 1.
Turn the knob (A) to mark 2. Sew 4 or 6 stitches as Fig. No. 2. (tacking).
Turn the knob (A) until mark 3. Sew with power same length as 1st
reverse sewing, as Fig. No. 3.
Turn the knob (A) to mark 4. Sew 4 or 6 stitches as Fig. No. 4. (tacking).
Before starting to sew button holes on cloth, try one or two times on a separate piece of material.
After finishing button-holes, lift the presser foot, take out the fabric, then cut off inside of the button-hole pattern with
seam ripper in the accessories box.
NOTE
(1) Do not set stitch length control knob to "0” position, where machine does not feed material, must be
at "1" or longer position.
In sewing second row of stitches, (3rd step). Fig. No. 3, be sure to guide first row of stitches in groove
provided for it one bottom face of button hole foot, then both row of pearl stitches will be spaced
apart
properly.
This
also
prevents
row
edge
after
the
space
between
these
rows
of
stitches
have
been cut open.
5fh step :
(2)
20