Sewing on button – SINGER W7317 User Manual
Page 20
Attention! The text in this document has been recognized automatically. To view the original document, you can use the "Original mode".
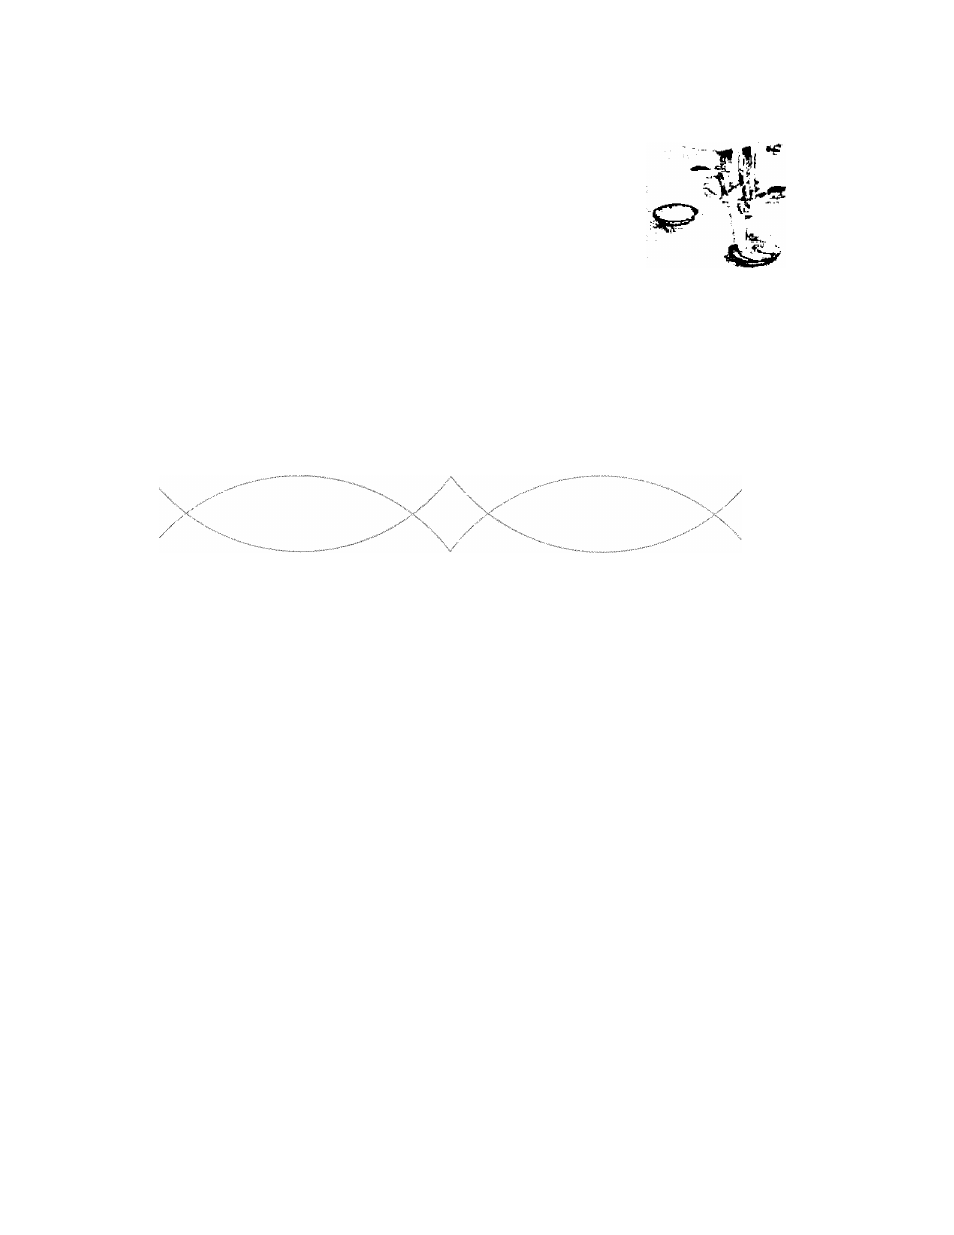
18. SEWING ON BUTTON
Replace
the presser
foot
for
Button sewing
as
in (Fig.
27). Drop down the feed
dog
by
setting
the
drop-feed
controller
to
embroidery
position.
Place
the
material
or garment with button under the presser foot, so that holes in button align with
oblong hole in presser foot.
Adfust the width of zig-zag stitch to permit the needle to pass through the center
of holes in the button. Before sewing with power, turn the balance wheel by lever
(toward you) forming one stitch in each hole of the button. Then with power sew
five to six stitches to attatch the button. Revert the zig-zag width control knob to
marking "0”and let the needle stitch two or three times through the same hole to
lock the thread. Remove the garment from the machine and snip the threads.
When
attaching
four-hole
buttons,
first
sew
one
set
of
two
holes,
then
stitch
into
second set of two holes and lock the thread with two or three plain stitches in last hole same as described above.
Hooks, eyes, or rings are attached in the same manner.
Fig. 27
19