Embroidering with a hoop – SINGER WS1112 User Manual
Page 17
Attention! The text in this document has been recognized automatically. To view the original document, you can use the "Original mode".
8. Slit the buttonhole between the two rows of stitching with
the buttonhole cutter or seam ripper. Be careful not to cut
the stitching or the bar tacks.
If you plan to make buttonholes on sheer or soft material,
place tarlatan or paper, which can be torn away after
stitching under the fabric.
NOTE; When the left side pitch is different from the right side
pitch, adjust the pitch by means of the stitch length
control, so that pitches on both sides will be the same.
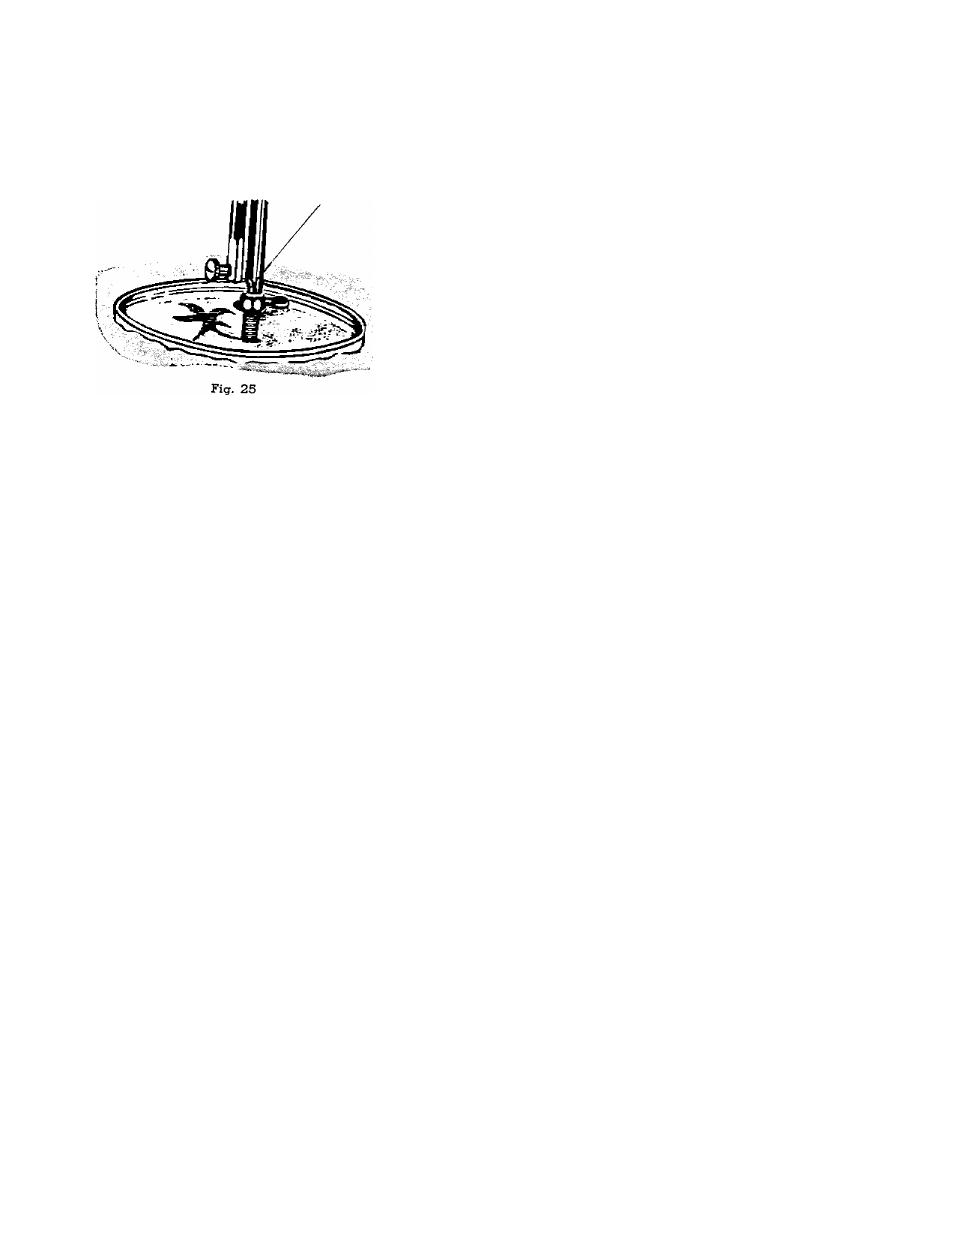
EMBROIDERING WITH A HOOP
^ It is easy to follow a stamped design or to work free
hand when embroidering or monogramming. Release the
pressure from the foot by pressing down the snap lock on the
darner. Drop feed dial to "DOWN" position. Then hang the
upper end of the embroidery spring on the needle clamp.
(See Fig. 25).
Stretch the fabric in an embroidery hoop, and place under
the needle after removing the pressure foot. Set the zigzag width
at the size you prefer and lower the pressure bar lifter. Then
operate the machine at a rather high speed while moving the
hoop slowly with both hands. Work carefully and be sure to
keep fingers out of the needle.
FOR BEST RESULT A WOODEN HOOP WITH TENSION
ADJUSTMENT IS RECOMMENDED"