Checking food temperature, Refrigerator features, A caution – Sears 10062603 User Manual
Page 18
Attention! The text in this document has been recognized automatically. To view the original document, you can use the "Original mode".
Checking Food Temperature
Twenty-four hours after the unit is
installed, check the food temperature in
the refrigeiator and freezer sections.
Use a quality thermometer that can reg
ister beiow zero temperatures.
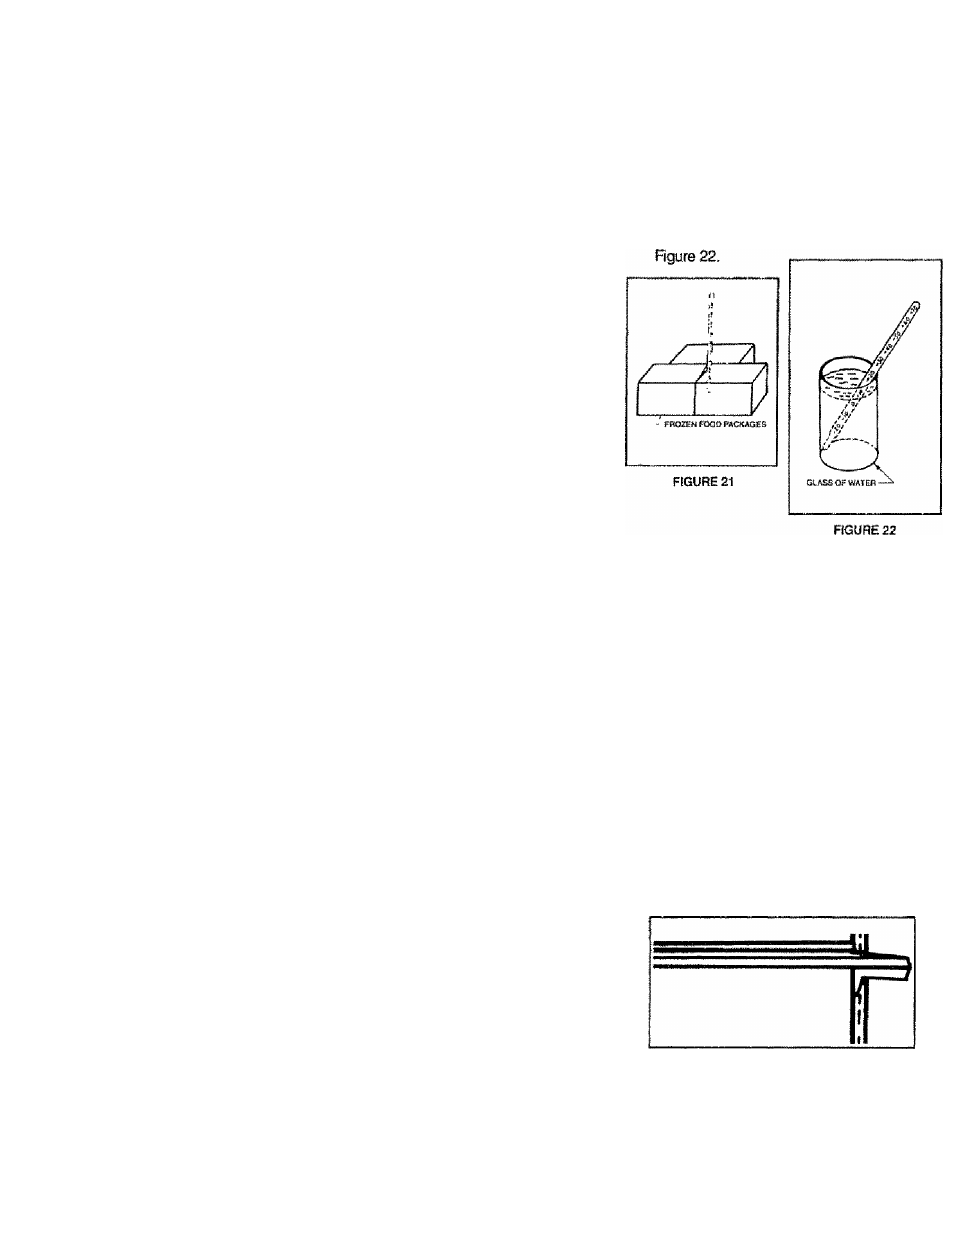
FREEZER: Pi ace the thermometer in
the center of the freezes surrounded by
frozen packages. Wait 5 to 8 hours,
then check the reading, if temperature
is not within 0“ to 4-2“ F, adjust control
as needed, one position at a time and
check temperature again after 4 to
6 hours. See Rgure 21
REFRIGERATOR; Place the thermom
eter in a glass of water and place the
glass in the middle of the refrigerator
section. Be sure air can flow around it.
Wail 3 to 4 hours, check the tempera
ture and adjust the control as needed
Power Miser Control
The 2-Position Power Miser Control lets
you save energy by adjusting refrigera
tor operation to humidity level in your
house. During hot, humid weather, any
refrigerator/freezer wilt form moisture
around the doors, similar to the way
condensate forms on a glass of ice
water The cabinet has special heaters
to minirnize this conderisation. The
Power Miser Control lets you turn these
heaters higher or lower
The upper position is tor periods of
high humidity
one position at a time to achieve the
38“ to 40“ F range. Watt 3 to 4 hours
and check the temperature again. See
The tower position is for maximum
energy savings. Use for periods of iow
humidity. A minimum amount of con
densation is normaL During extreme
high humidity, condensate may also
form on the cabinet sides and doors.
This is normal
and will disap
pear when cli
matic condi
tions return to
normal
POWER MISER
RHOUOES
MOISTURE
Refrigerator Features
SAVES
ENERGY
Adjustable Cantilever Glass Shelves,
These shelves attach to metal tracks in
the back of the interior. To remove, tap
upwards at rear of shelf hooks Lift shelf
and pull out. To instaii, tilt shelf and
engage upper hooks in desired track
slots. Lower shelf front and tap down
wards near the tracks until shelf hooks
are securely seated and shelf is level.
18
A CAUTION:
To Avoid Personal injury Or Prop- ^
erty Damage test for proper instal
lation by exertirjg some pressure
downward on the front edge. Shelf
should not move.