Charging your drill-driver, To install battery pack, To remove battery pack – Sears 315.10186 User Manual
Page 9: Operation, Warning, Caution
Attention! The text in this document has been recognized automatically. To view the original document, you can use the "Original mode".
OPERATION
WARNING:
Do not allow familiarity with your drill-
dhver to make you careless, ftemember that a
careless fraction of a second is sufficient to inflict
severe injury.
CHARGING YOUR DRILL-DRIVER
The battery pack for this tool has been shipped in a low
charge condition to prevent possible problems. Therefore,
you should charge it at least 6 hours prior to use.
Note: Batteries wlii not reach fuil charge the first time they
are charged. Atiow several cycles (drilling followed by
recharging) for them to fully charge.
■ Charge battery pack only with the charging assembly
provided.
n Make sure power supply is normal house voltage,
120 Volts, 60 Hz, AC only.
■ Connect charging assembly to power supply.
■
Place battery pack in charging assembly. Align raised
rib on battery pack with groove in charging assembly.
See Figure 2.
■ Press down on battery pack to be sure contacts on
battery pack engage properly with contacts in charg
ing assembly. When properly connected, red light will
turn on and remain on until battery is removed or
charger is unplugged.
II After normal usage, 3 hours of charging time is
required to be fully charged. A minimum charge time
of 6 hours is required to recharge a completely
discharged battery.
D The battery pack will become slightly warm to the
touch while charging. This is normal and does not
indicate a problem.
■ DO NOT place charging assembly in an area of
extreme heat or cold. It will work best at temperatures
between SO^F-IOO^F.
BATTERY
PACK
CHARGE
INDICATOR
UGifT (LED)
CHARGING
ASSEMBLY
Fig. 2
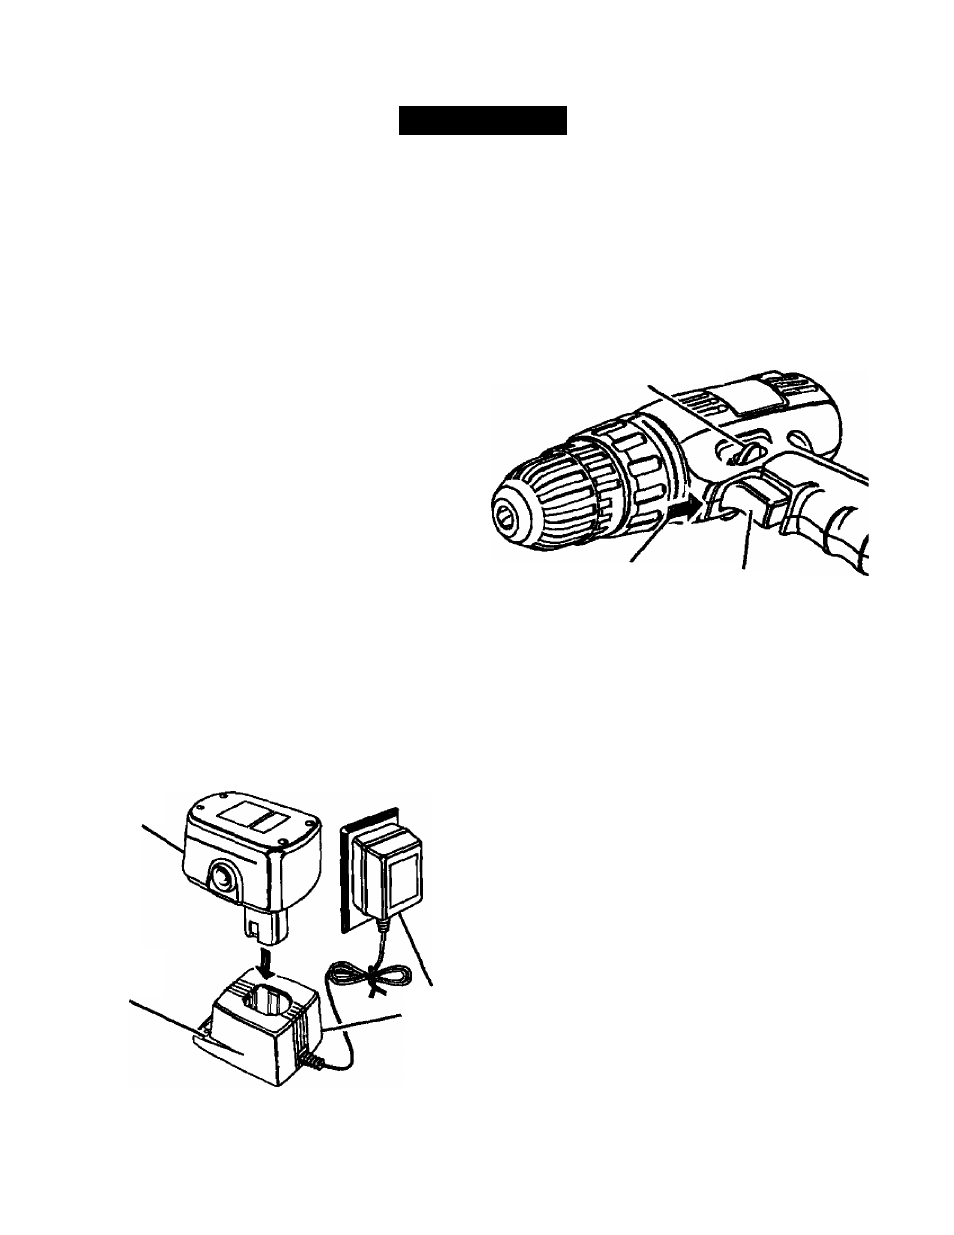
TO INSTALL BATTERY PACK
■ Lock switch bigger on your drill by pladng the direcbon
of rotation selector in center posibon. See Rgure 3.
■ Place the battery pack in your drrii. Align raised rib on
battery pack with groove in drill's battery port.
See Figure 4.
■ Make sure №e latches on each »de of your battery
pack snap in place and that battery pack is secur^ in
drill before beginning operation.
DIRECTION OF
ROTATION SELECTOR
(FORWARD/REVERSE)
CENTER POSmON
(LOCK)
SWITCH TnGGER
Fig.3
TO REMOVE BATTERY PACK
■ Lock switch trigger on ^ur drill by placing the direction
of rotation seteclor in center position. See Figure 3.
■ Locate latches on side of battery pack and depress both
sides to release battery pack from your drllL See Figure 6.
■ Remove battery pack from your dri((.
CAUTION:
When placing battery pack in your drill,
be sura raised db on battery pack aligns with groove
in drill's battery port and latches snap in place
property. Improper assembly of battery pack can
cause damage to internal components.