VACUUBRAND PC 620 User Manual
Page 43
Documents are only to be used and distributed completely and unchanged. It is strictly the users´ responsibility to check
carefully the validity of this document with respect to his product. Manual-no.: 999029 / 01/10/2009
page 43 of 48
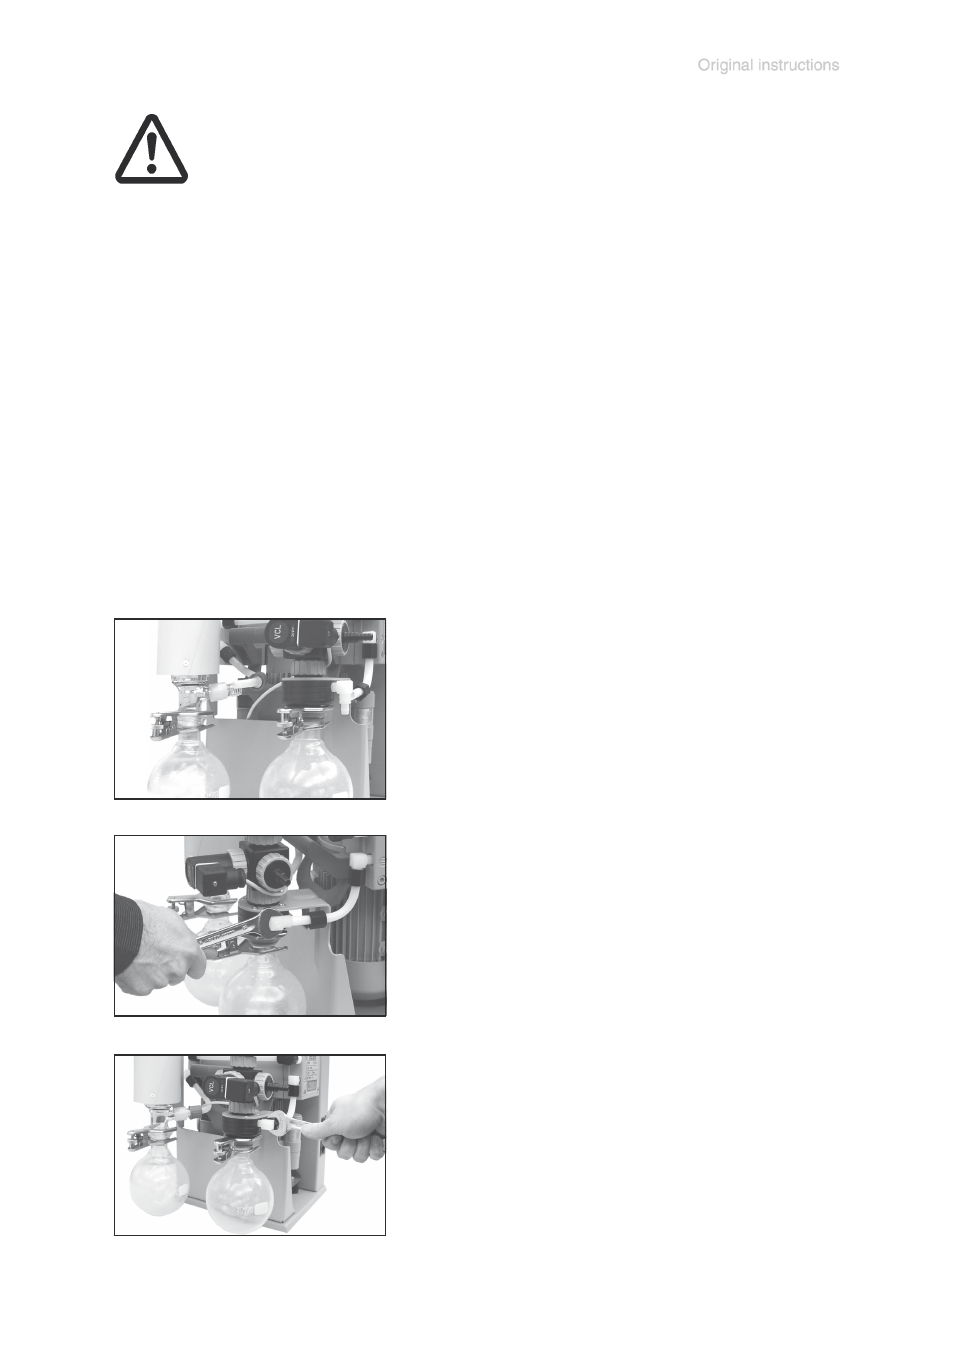
➨ Tighten union nut first by hand and then tighten by one full
turn using open-ended wrench.
➨ Reconnect hose to the inlet of the condenser and tighten
union nut.
➨ Use open-ended wrench to reconnect hose to elbow fitting.
Assembling the pump at the pump support and on the base plate
PC 610 / 611 / 620:
➨ Assemble pump at pump support. Support pump appropriately.
➨ Screw in at each case two socket head screws at the rear and the front of the pump with hex key size 5.
Pay attention to washers.
➨ Position pump with pump support on the base plate and tighten the four hexagon nuts on the feet of the
pump support with an open-ended wrench w/f 10.
PC 510 / 511 / 520 / 610 / 611 / 620:
➨ Screw controller to holding plate.
☞ Using hex key size 7 fix socket head screw at rear of controller.
➨ Reassemble connections at controller.
If the pump does not achieve the ultimate pressure:
☞ In case the diaphragms and valves have been replaced, a run-in period of several
hours is required before the pump achieves its ultimate vacuum.
If all pump heads achieve a vacuum below 120 mbar but pump does not achieve the
ultimate total pressure:
Check hose connectors between pump heads and manifolds for leaks. If necessary
recheck pump chamber. If necessary disassemble fittings again and screw in the el-
bow fittings another turn, use PTFE sealing bond as necessary.