USL HSW-602 User Manual
Page 17
Page 17 of 26
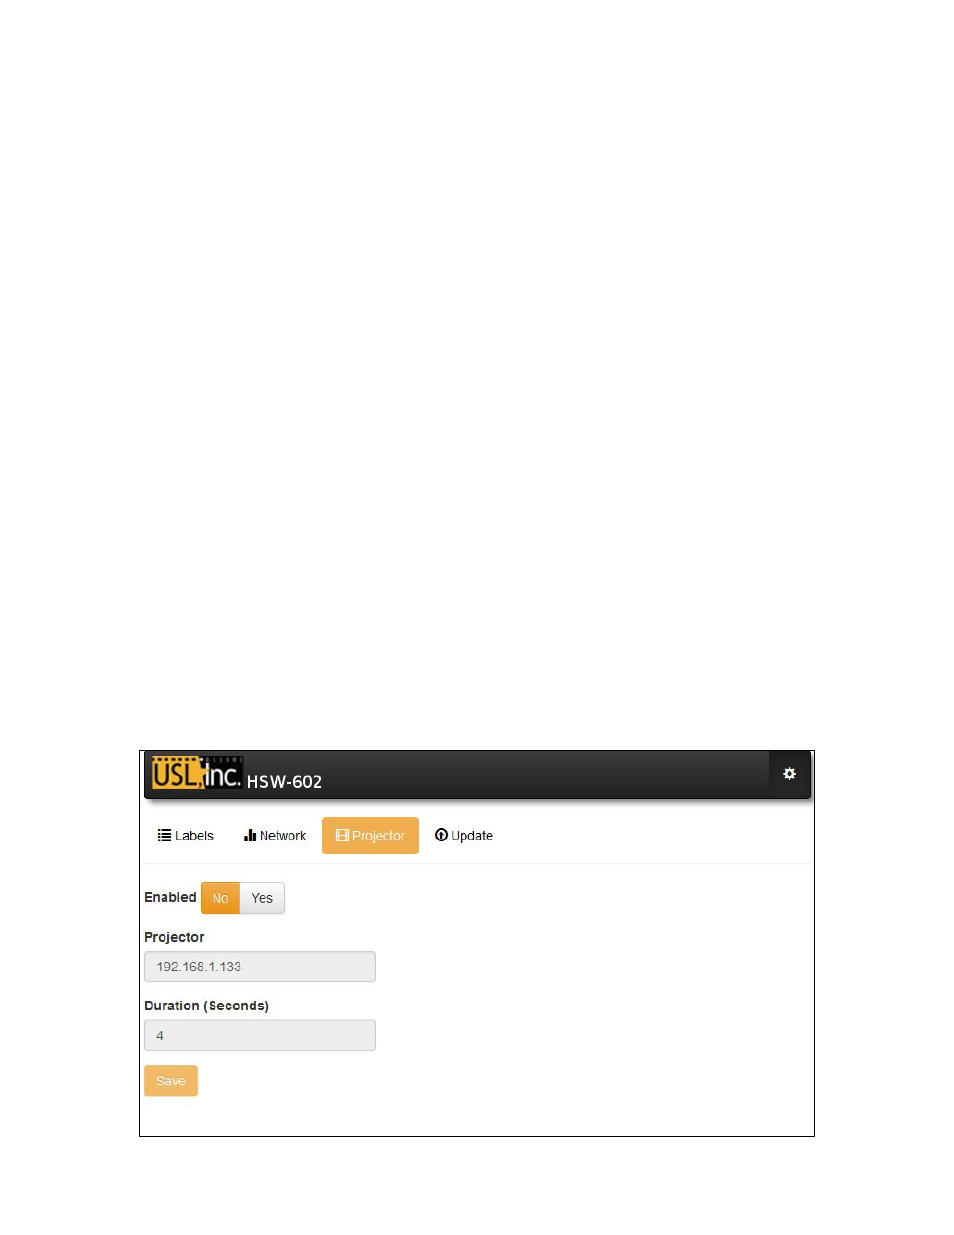
Projector
These
settings
allow
the
HSW-‐602
to
communicate
with
a
digital
cinema
projector.
If
the
projector
is
accessible
through
the
network,
the
HSW-‐602
will
enable
ICP
blanking,
showing
a
blank
screen
when
the
HSW
is
switching
between
HDMI
outputs.
To
enable
or
disable
the
projector
blanking,
click
Yes
or
No
for
the
Enabled
setting.
Enter
the
IP
address
of
your
projector
once
enabled,
and
set
the
number
of
seconds
Duration
you
want
the
image
to
blank
during
each
switch.
Press
the
Save
button
and
the
Web
Interface
will
confirm
when
the
settings
have
been
saved
to
the
memory
of
the
HSW-‐602.
The
blanking
can
be
configured
to
make
clean
transitions
between
content
during
presentations.
Please
note
that
projector
blanking
will
be
done
every
time
the
Live
output
on
the
HSW-‐602
is
switched
between
different
channels.
The
blanking
done
by
the
HSW
is
with
the
ICP
of
the
projector,
and
not
the
dowser.
The
HSW
can
still
blank
the
projector
image
when
a
different
input
on
the
projector
is
being
used,
such
as
a
Media
Block.
If
the
HSW
is
moved
between
auditoriums,
it
can
still
blank
the
image
on
the
previous
projector
until
the
projector
IP
setting
on
the
HSW
has
been
reconfigured,
or
blanking
disabled.
To find the best blanking time:
1. Disable
Projector
blanking
on
the
HSW.
2. Setup
2
inputs
on
the
HSW
with
different
types
of
connections,
such
as
a
1080p
60Hz
source
with 5.1 audio, and a 720p 24Hz source with 2 channel audio.
3. With the projector showing the image on screen from the Live output, switch the source
between the two.
4. Time
how
long
it
takes
from
button
push
until
good
stable
image
shows
on
screen.
5. Round
up
to
the
next
whole
number
and
set
the
Duration
to
that
many
seconds.
F
IGURE
8
-‐
P
ROJECTOR
C
ONFIGURATION