Fieldpilot, Installation of engage/disengage switch – TeeJet FieldPilot Install ACGO Gleaner R62-65-72-75 User Manual
Page 16
www.teejet.com
14
FieldPilot
®
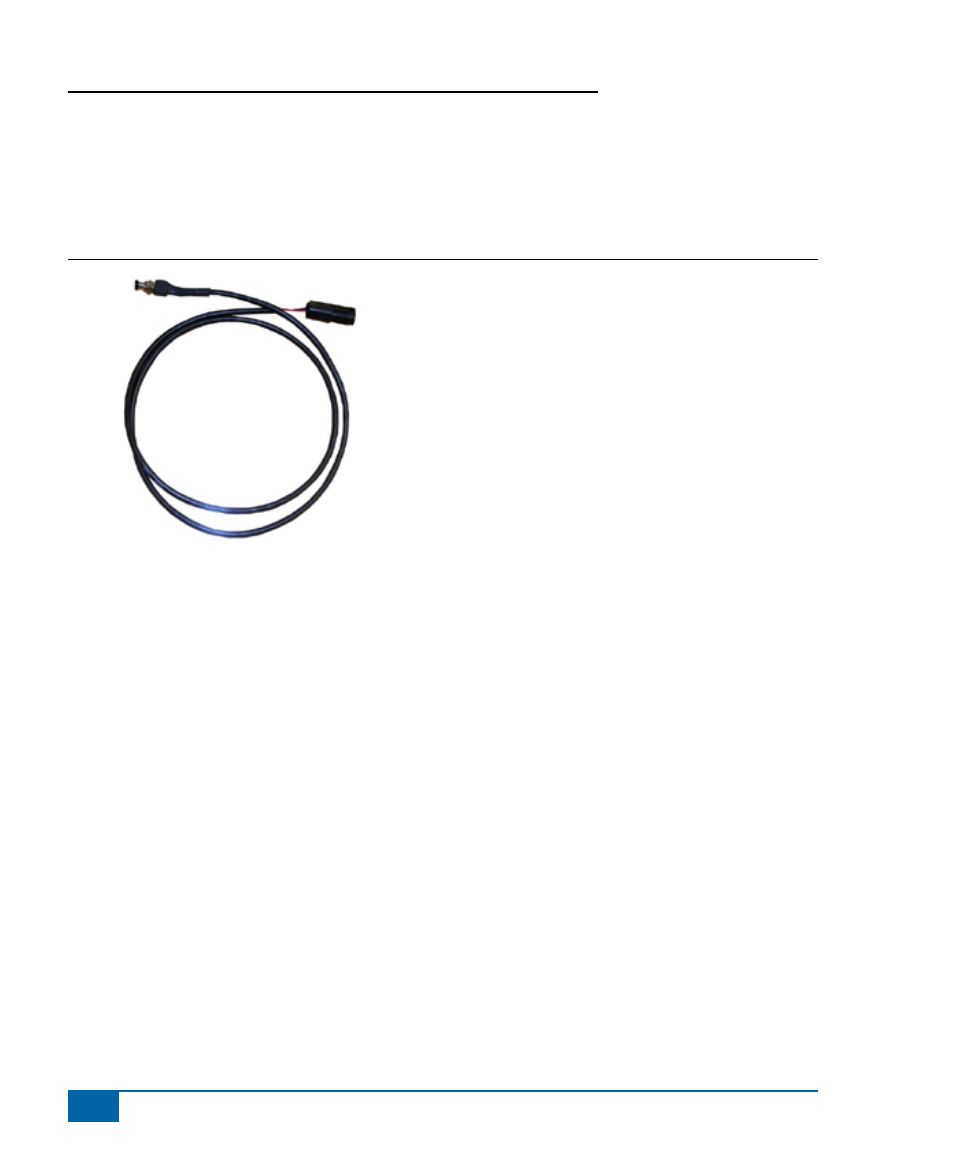
10. installatiOn OF engage/disengage switch
Connect item
(A)
to the connector on the SCM harness labeled Remote Engage/Disengage. Install the push
button in a location that is easily accessible during operation of the machine. This switch
(A)
is not required
if the optional foot switch 32-04020 is used.
Figure 1-12: Engage/Disengage Switch
11. install steering disengage switch (kit 91-07011)
Remove the left side steering column cover below the steering wheel. Cut the provided self-adhesive
magnets in half so they fit better, and stick at least two of these magnets to the shaft immediately above the
universal joint. Bend the aluminum mounting bracket as illustrated, and mount the disengage sensor on the
backside of the steering column as shown (hose clamp not included).
Set the clearance between the sensor and magnets to 1/8” and rotate the steering wheel in both directions
to be sure that the sensor does not contact the magnets or the shaft. Connect the sensor to the Steering
Control Module Cable labeled ‘Steering Wheel Sense’ and secure the cables in position so that they cannot
interfere with the rotation of the steering shaft, or the full range of the fore/aft and extended/retracted
positions of the adjustable steering column. It may be necessary to remove the convoluted tubing from the
sensor cable in order to route the cable nicely inside the steering column cover.
Note: These illustrations are for the R75 model. Other models may vary.