SeaLand 8900 Series MasterFlush Installation User Manual
Page 9
9
5 . Plan flush switch panel and electronic control module loca-
tions so that electrical connections can be made with cables
provided with toilet . Be sure module and wires cannot get wet .
Note
Several flush switch options are available from Dometic .
Instructions for installing the Dometic flush touchpad (DFT)
follow . Other available types fit either Vimar or Gewiss flush
switch/status panel components . Instructions for these are
included with each flush switch assembly .
6 . Use Dometic DFT touchpad template to mark location of
fastener and access holes . Drill 1 in . (25 mm) hole, then
fasten panel bracket to wall (fig .
12
) .
7 . Route Dometic touchpad cable (fig .
1
E,
p . 2) from ethernet connector on control module
to access hole at touchpad panel location . Attach
cable to touchpad panel, then snap the panel
cover onto the panel bracket (fig .
12
) .
8 . Install control module in cool, dry location
and attach Dometic touchpad cable to ethernet
connector on control module (fig .
13
, p . 10) .
9 . With electrical power off, complete wiring con-
nections to control module . Refer to wiring dia-
gram printed with parts list (packed separately) .
10 . Route 4-wire control module cable (fig .
1
D,
p . 2) to toilet through access hole in floor .
Caution! Hazard of Flooding
If toilet uses raw water for flushing at ANY time, a raw water pump controlled by an automatically operat-
ing demand switch MUST NOT be installed . If the onboard water valve or any plumbing connections
were to leak, the automatically operated pump would start and could flood the boat . Failure to comply
with this warning can cause loss of property and life .
5.3
Toilet system with through-the-floor connections
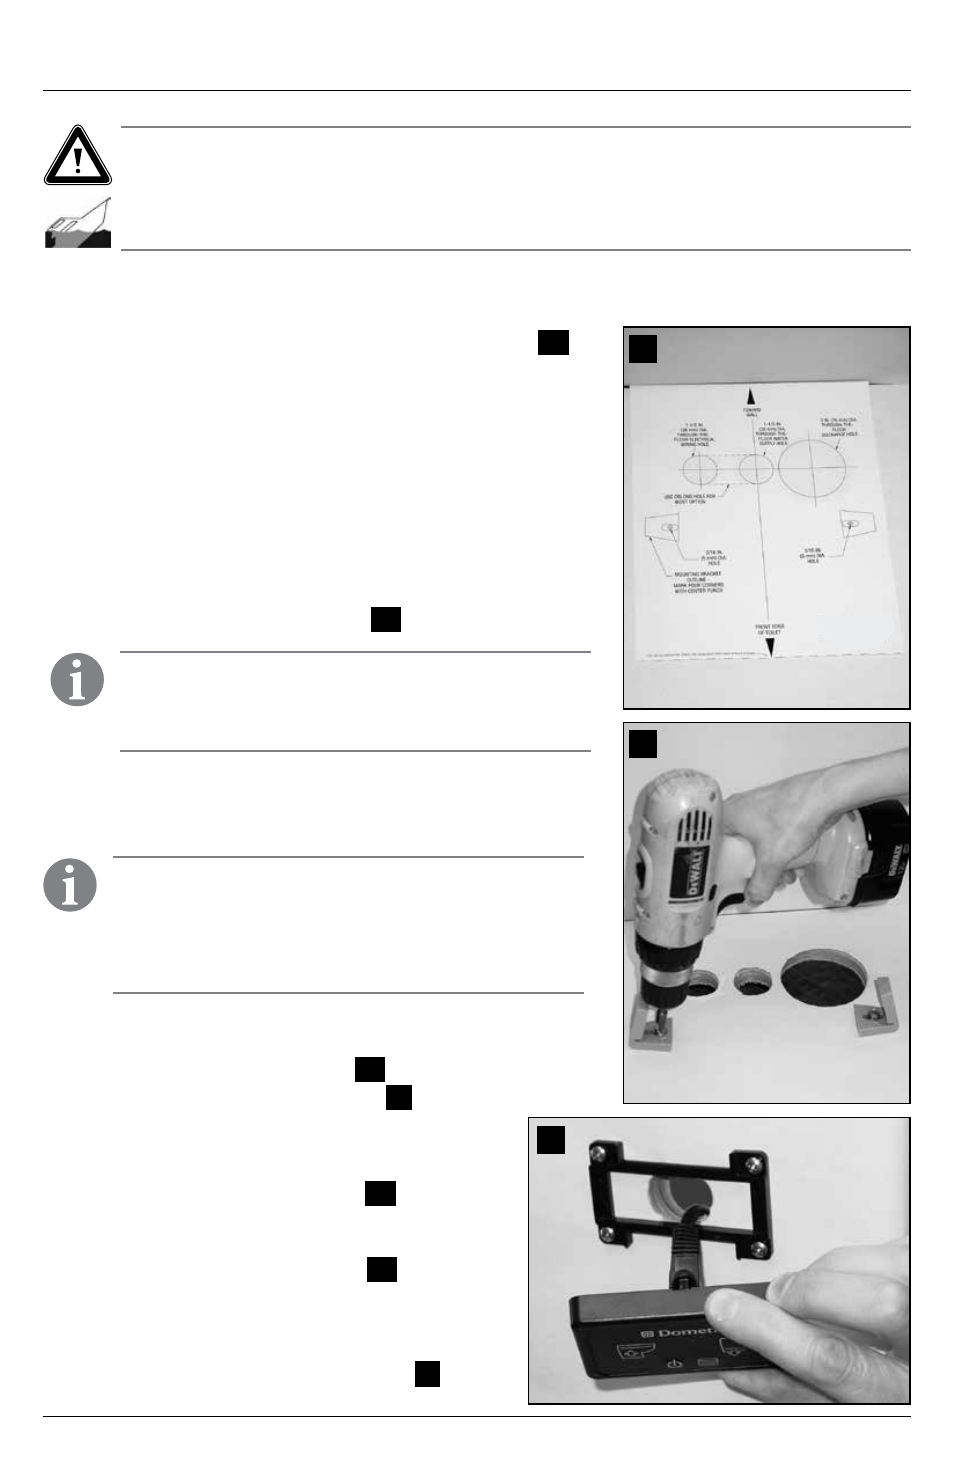
1 . Place floor mounting template in desired location (fig .
10
) .
For optimal user comfort, make sure walls or other interior
fixtures are at least 11 in . (279 mm) away from centerline of
template .
2 . Center punch all holes and mounting bracket corners
through template .
3 . Remove template from floor . Drill all access and fastener
holes as indicated on template . DO NOT drill mounting
bracket corners .
4 . With long hex-head screws from toilet floor bracket kit,
fasten floor brackets with 3/8 in . (10 mm) socket wrench,
using corner marks as guides (fig .
11
) .
12
10
11
Note
Do not completely tighten hex-head screws to floor – allow
brackets to slightly slide . Brackets will tighten when fastening
toilet to brackets .
SeaLand MasterFlush Toilet
Installation