Front seats, Power seats, Power lumbar – Ram Trucks 2013 3500 - User Guide User Manual
Page 22: Getting started
• Route the tether strap to provide the most direct path for the strap between the
anchor and the child seat, preferably between the head restraint posts underneath
the head restraint.
• Attach the tether strap hook of the child restraint to the tether anchor and remove
slack in the tether strap according to the child restraint manufacturer’s
instructions.
NOTE:
Ensure that the tether strap does not slip into the opening between the seatbacks as
you remove slack in the strap.
WARNING!
• In a collision, an unrestrained child, even a tiny baby, can become a projectile
inside the vehicle. The force required to hold even an infant on your lap could
become so great that you could not hold the child, no matter how strong you
are. The child and others could be severely injured or killed. Any child riding in
your vehicle should be in a proper restraint for the child's size.
• Improper installation of a child restraint to the LATCH anchorages can lead to
failure of an infant or child restraint. The child could be severely injured or
killed. Follow the manufacturer’s directions exactly when installing an infant or
child restraint.
• An incorrectly anchored tether strap could lead to increased head motion and
possible injury to the child. Use only the anchor positions directly behind the
child seat to secure a child restraint top tether strap.
• Rearward-facing child seats must never be used in the front seat of a vehicle
with a front passenger air bag. An air bag deployment could cause severe injury
or death to infants in this position.
FRONT SEATS
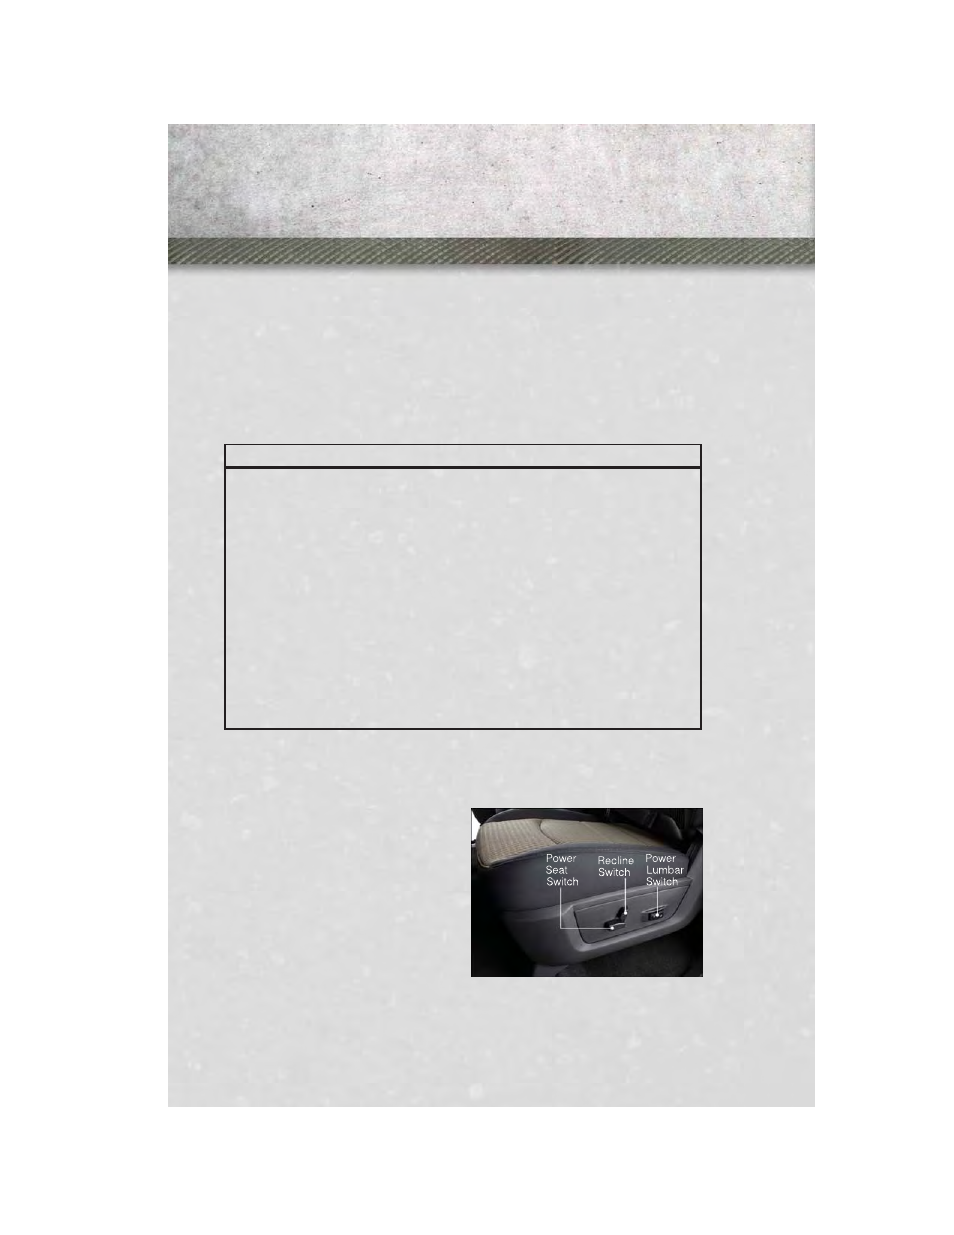
Power Seats
• The seat switch controls forward/
backward and up/down.
• The recline switch controls the angle
of the seatback. Push switch forward
or rearward and the seatback will move
in either direction.
Power Lumbar
• The lumbar controls are located on the
outboard side of the seat cushion. The
lumbar support can be increased by
pressing the front of the switch and
decreased by pressing the back of the switch.
GETTING STARTED
20