Warning – Oberon 1041-00 User Manual
Page 2
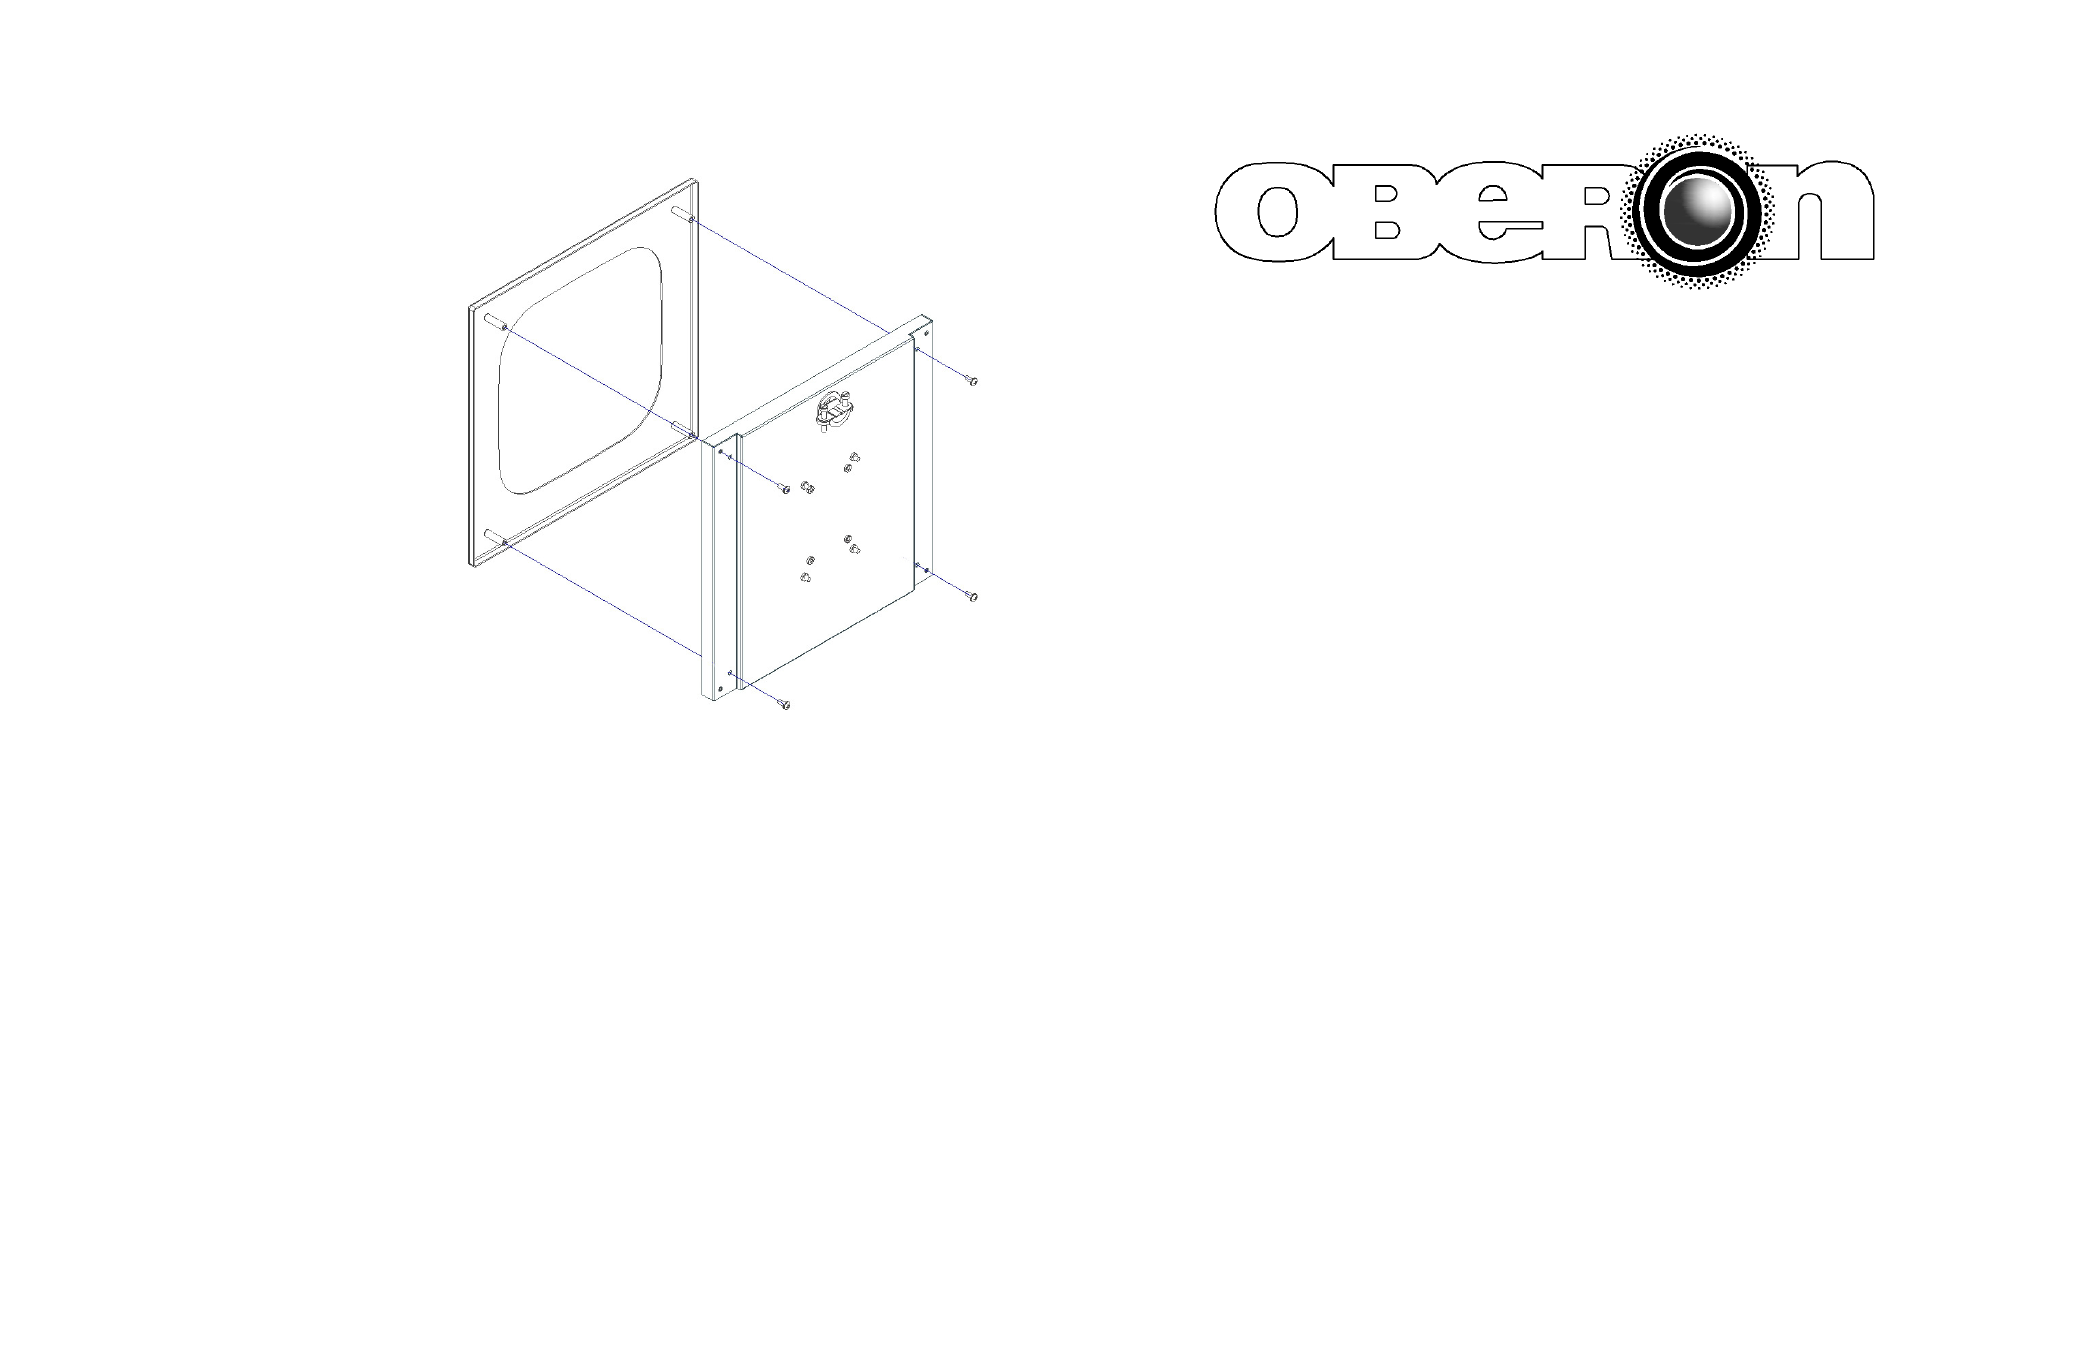
Step 7 – Install the painted front panel
to the assembly by re-installing the
four
(4)
screws
you
previously
removed (ref. Figure 4).
Step 8 - Install the 1041-00 enclosure
assembly in the ceiling as you would
install the ceiling tile you removed.
There is a gap between the front and
back panels to accommodate the
concealed
spline
of
the
ceiling
assembly.
Page 4
MODEL 1041-00
Installation Instructions
**** WARNING ****
Please thoroughly read the product warning
below before installation to provide for a safe
work environment.
1. Always consider the hazard to other people:
a. During installation, use warning signs, etc.
b. Don’t work with people directly below the work area as equipment
could fall and cause an injury
2. Be sure to securely fasten the mount to a permanent structure in the
ceiling to prevent the mount from becoming dislodged.
Page 1
- 1052-00 (2 pages)
- 1052-AN-ANT16 (2 pages)
- 1052-AP105 (2 pages)
- 1052-AP135 (2 pages)
- 1052-AP215 (2 pages)
- 1052-AP225 (2 pages)
- 1052-CCOANT (2 pages)
- 1052-CCOAP (2 pages)
- 1052-DOME (2 pages)
- 1053-01 (2 pages)
- 1057-00 (2 pages)
- 1058-08-ANT5-F (2 pages)
- 1059-00 (2 pages)
- 1064-00 (2 pages)
- 1064-T (2 pages)
- 1066-AP135 (2 pages)
- 1066-AP225 (2 pages)
- 1068-00 (2 pages)
- 1075-AP135 (2 pages)
- 1075-AP225 (2 pages)
- 1075-CCOAP (2 pages)
- 1075-CP (2 pages)
- 1075-WA (2 pages)
- 1077-AP135 (2 pages)
- 1077-AP225 (2 pages)
- 1077-CCOAP (2 pages)
- 1077-CP (2 pages)
- 1077-WA (2 pages)
- 1008-00 (2 pages)
- 1009-00 (2 pages)
- 1010-00 (2 pages)
- 1011-00 (2 pages)
- 1012-00 (2 pages)
- 1013-00 (2 pages)
- 1015-00 (2 pages)
- 1016-00 (2 pages)
- 1028-08-ANT5-B (2 pages)
- 1030-00 (2 pages)
- 1031-00 (2 pages)
- 1051-00 (2 pages)
- 1065-CCOAP (2 pages)
- 1076-AP135 (2 pages)
- 1078-WA (2 pages)
- 1076-CCOAP (2 pages)