Getting started – Cardo G4 User Manual
Page 6
For example, incoming mobile phone calls will interrupt ongoing
Intercom calls, while incoming intercom calls will interrupt the audio
from the built-in FM Radio etc.
Higher Priority
1. Mobile Phone audio or GPS instructions (device
specific)
2. Intercom
3. A2DP audio source
4. FM Radio (built-in)
5. Auxiliary Line-In Port (for corded connection
e.g. MP3 players).
Lower Priority
4.4 SOFTWARE UPGRADES AND SETTINGS
To make the most of your G4, make sure that it is
running the latest software. To download the latest
software updates and take advantage of customizing
settings via the computer, register online at:
d have your
product serial number ready.
After downloading the Cardo Upgrades program, use the USB cable
included in the retail box to connect the G4 to your computer.
Once connected to your computer, you will easily be able to customize
the settings on your G4 following the on-screen instructions.
Future software upgrades and program patches will ensure the software
of your G4 is kept up-to-date and will include additional features, status
announcements and other valuable functions.
Please note that until further notice, upgrades will only be available for
Windows® based PCs running Windows XP™, Vista™ or Windows 7™
operating systems.
4.5 RESETTING THE G4
If the G4 fails to respond despite repeated attempts, you can reset it
by simply charging it. After approximately 10 seconds, remove the G4
from the charger and turn it on again. Your G4 should now respond
as expected.
5. GETTING STARTED
5.1 MOUNTING THE G4 ON A HELMET
The Helmet clamp that includes your microphone and speakers
must first be mounted on the helmet. Once mounted, the G4 unit
can be attached or detached from the clamp at any time (sec. 5.4).
There are two methods that can be used to attach the clamp to the
helmet:
Standard Method: Recommended for most helmet types.
Glue Plate Method: Recommended for helmets
to which the standard method cannot be applied,
using the Glue Plate included in the box.
Glue Plate
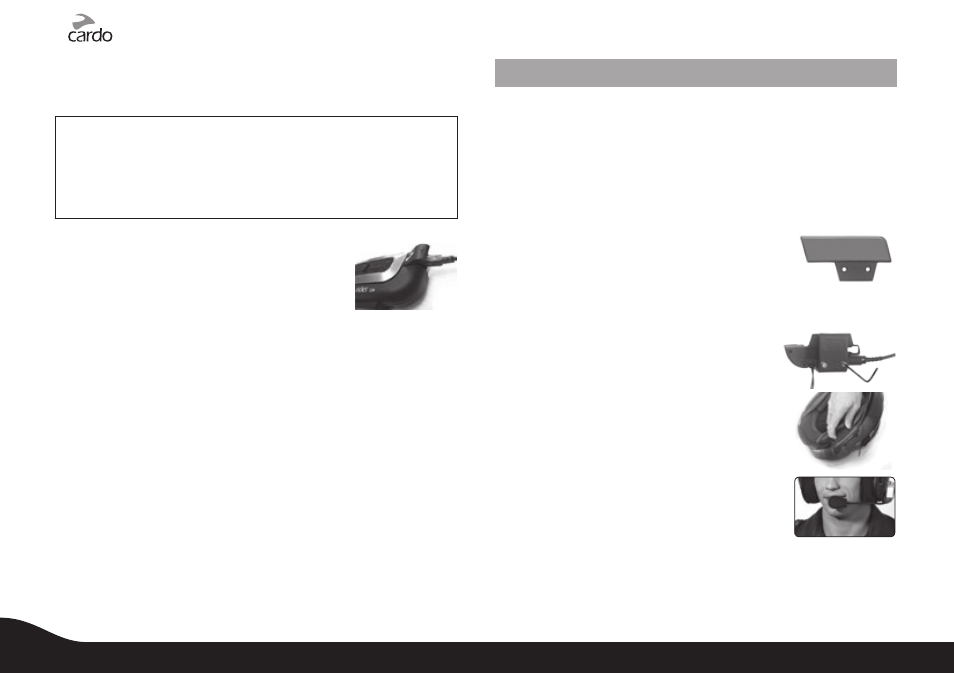
Standard Method: Fastening the Clamp to the Helmet
1. Use the enclosed Allen Wrench to loosen
the two screws on the Back Plate.
2. Slide the Back Plate between the internal
padding and the external shell of the helmet.
3. Adjust the clamp’s location so that the
microphone is located in front of the center of
your mouth, and then tighten the screws. You
may need to reposition the Clamp repeatedly
until you identify the best spot.
If you have purchased a helmet clamp version with
the corded microphone, please refer to section 5.2.
Glue Plate Method:
You have the option to glue the Helmet Clamp onto your helmet
when the above standard method cannot be used, or if you prefer to
secure the Helmet Clamp with adhesive glue.
Caution: This process can be done only once!
6
scala rider
®
G4