Install the wing panels – Great Planes Reactor 3D EP ARF - GPMA1540 User Manual
Page 9
be wide enough to accommodate the thickness of the tab on
the control horn (approximately 1/16" [1.6mm] thick). Do
not cut all the way through the ailerons! A cut 3/16" to 1/4"
[5 to 6.4mm] deep is sufficient.
❏
11. Trim the control horn backplate tabs so that the control
horns seat flat in the slots you made. Coat the backplate tabs
with medium CA and press them into the slots.
❏
12. Use the position of the control horn to adjust the
length of the pushrods as needed. Remove the servo arms
from the aileron servos. Connect the other Z-bend clevises
on the aileron pushrods to the control horns and reattach the
servo arms. Fine-tune the length of the pushrods inside the
clevises so that the ailerons are in the neutral position. Lock
the clevises onto the pushrods by threading a 2 x 4mm
screw into each clevis screw hole. When installed, the
pushrod will be at a slight angle from perpendicular to the
hinge line. The excess length of pushrod can be trimmed off
if desired.
❏
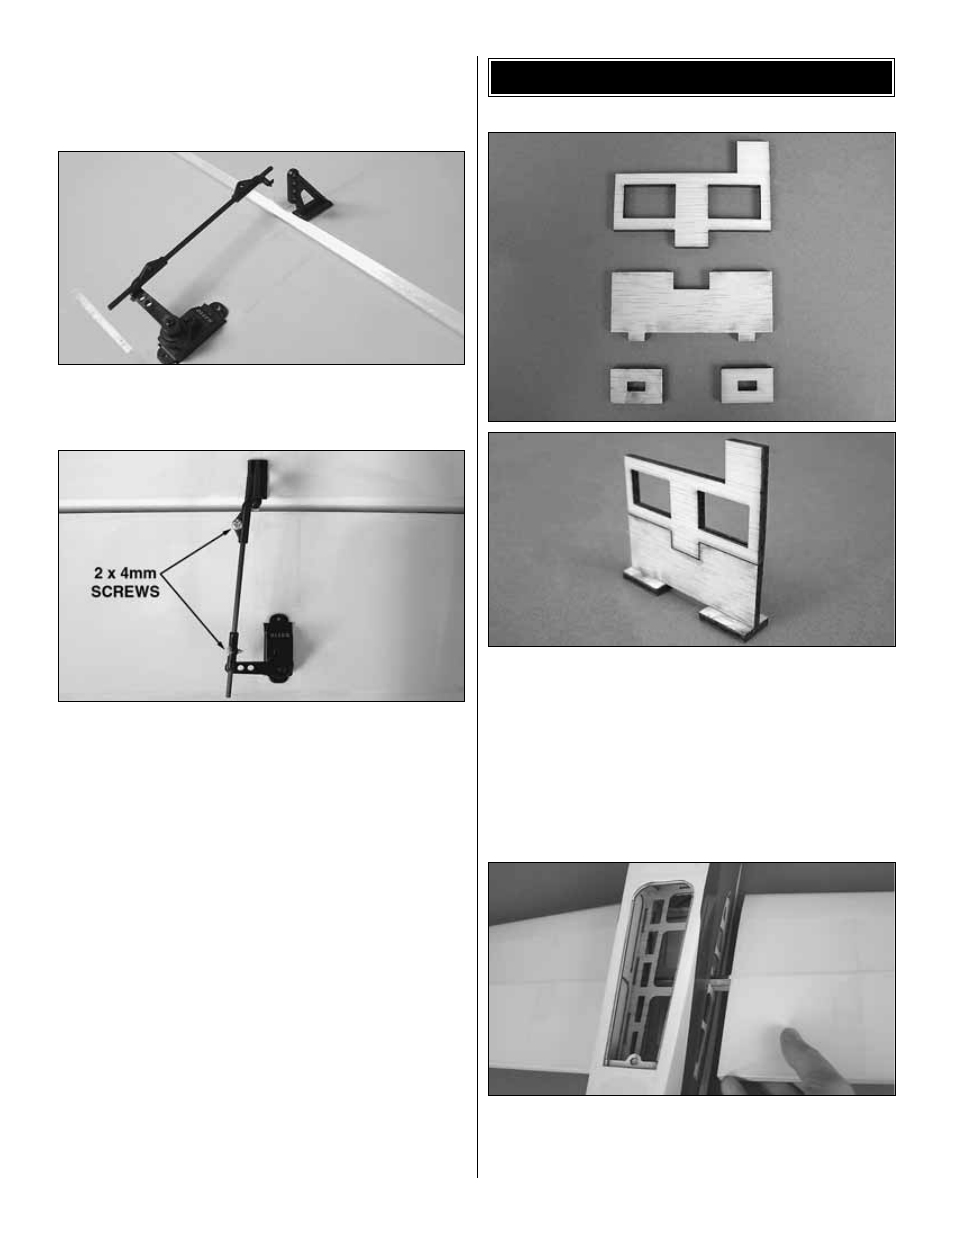
1. Locate the parts for the wing alignment jigs. There
are enough pieces included to make two jigs. Glue the parts
together as shown.
❏
2. In order for the wing panels to be epoxied to the fuselage
straight and level, your work surface must be flat and free of
defects such as drops of dried glue that could interfere with the
fuselage sitting completely flat. You will also need a weight to
hold the fuselage down while the wings are being glued. We
use a sock filled with sand for this purpose.
❏
3. Before gluing, test fit both wing panels into the fuselage
to confirm a proper fit. The center spar of each wing panel
extends into the fuselage and interlocks with the spar of the
other wing panel.
INSTALL THE WING PANELS
9