Build the tail surfaces build the stabilizer – Great Planes Dazzler 40 Kit - GPMA0480 User Manual
Page 6
6
BUILD THE TAIL SURFACES
Build the Stabilizer
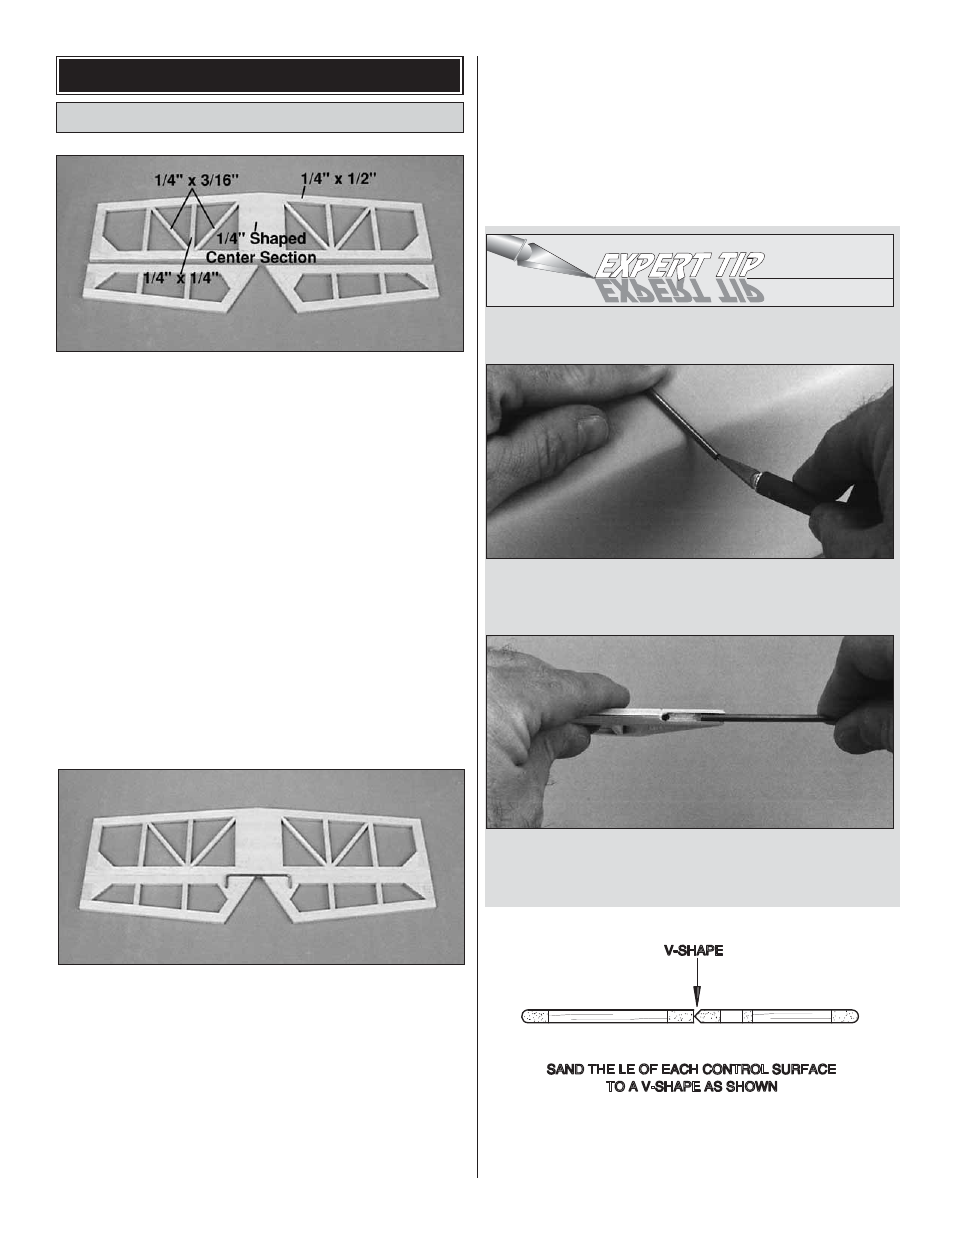
(Refer to this photo for the following 3 steps.)
❏
1. After covering the plan with wax paper, pin the shaped
1/4" balsa stab center section over its location on the plan.
Use 1/4" x 1/2" x 30" balsa to build the outer framework of
the stabilizer and both elevators, gluing each piece in
position as you proceed.
❏
2. Cut and install four corner gussets and two elevator
joiner wire gussets from 1/4" x 1" x 24" balsa.
❏
3. Cut and install the 1/4" x 1/4" and 1/4" x 3/16" internal
bracing as shown on the plan.
❏
4. Remove the stabilizer and elevators from the plan and
attach them with masking tape, making sure the outer
edges are flush. Position the 1/8" elevator joiner wire over
the elevators as shown on the plan. Mark the location of the
joiner wire.
❏
5. While the parts are taped together, round off all
outside edges around the perimeter of the assembly.
❏
6. Remove the elevators. Drill a 1/8" hole (1" deep) through
the center of each elevator’s leading edge at the locations
you marked in step #4. Cut a groove from the hole you
drilled to the root end of each elevator. The groove will allow
the joiner wire to fit flush with the elevator’s leading edge.
Use the expert tip shown below to assist you in cutting
the groove.
HOW TO CUT A GROOVE FOR A TORQUE ROD
A. Use a hobby knife to sharpen the inside of a piece of
1/8" brass tube. Roll the tube as you carve the end.
B. Use the sharpened tube to carefully gouge the leading
edge. You’ll have to make several passes to make the
recess deep enough for the torque rod.
❏
7. Draw a centerline on the leading edge of both
elevators. Refer to the cross section on the plan, then sand
the elevator leading edges to a “V” shape.