Great Planes Piper J-3 Cub 60 Kit - GPMA0162 User Manual
Page 13
D 6 Sand the leading edges of the stabilizer, fin and the
trailing edges of the rudder and elevators to a rounded
shape, as shown in the cross-sections on the plan.
D 7. Sand the elevator joiner with 150-grit sandpaper for
good glue adhesion then liberally pack the holes in the
elevators with 30-minute epoxy Insert the joiner and wipe
away epoxy before it cures.
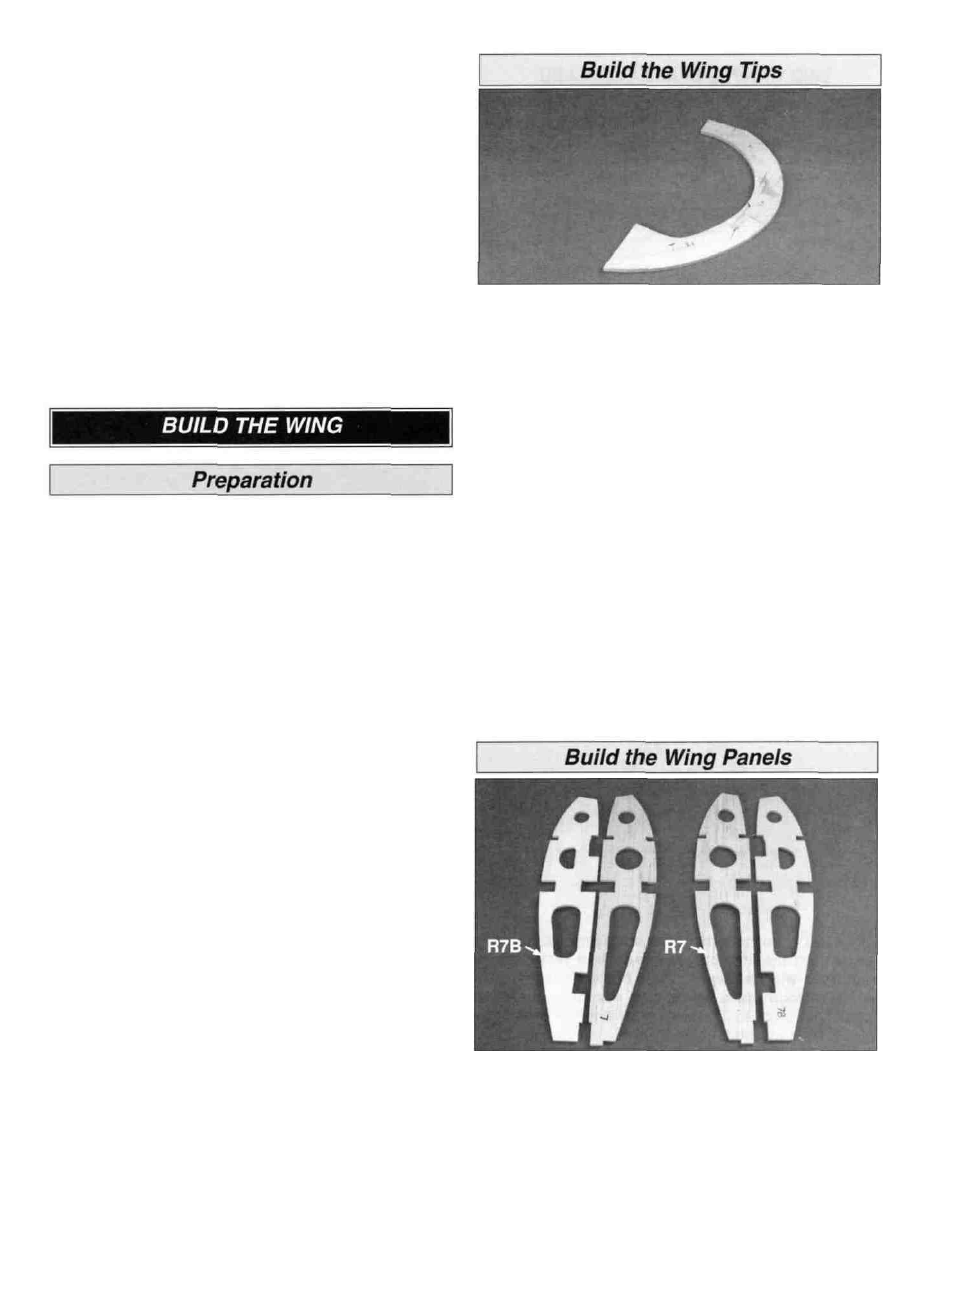
D D 1. Place the die-cut 1/4" balsa wing tip parts T1, T2
and T3 over the plan and check all joints for proper fit.
Make adjustments if necessary Pin the parts over the
plan, gluing with thick CA as you proceed.
D D 2 Remove the wing tip from the building board and
inspect all the glue joints Add thin CA to all tight joints and
thick CA to all open joints.
IMPORTANT: For an airplane to fly well with no
unexpected tendencies, all good modelers understand that
each assembly - especially the wing - must be built on a
flat surface This is important advice for new builders Also,
a relatively soft, flat building board that you can stick "T"
pins into is required. This is for pinning down individual
parts that make up the completed assembly A suitable
building board is a sheet of ceiling tile or "Celotex" used in
home construction This material may be found at
hardware or home improvement stores. If the building
board is not flat, it must be clamped to your flat building
table. Now we're ready to begin!
D D 3 Place the wing tip on your work surface and lightly
sand both sides flat and smooth with a sanding block and
150-grit sandpaper.
D 4. Return to step 1 and build the other wing tip.
NOTE: The plan shows the two different wing types
which may be built from this kit. You may choose the
standard wing or the clipped wing version Generally, the
clipped wing will be more aerobatic than the standard wing
If you decide to build the clipped wing, cut the plan on the
dashed line between the two R4 ribs Overlap the plan
towards the center of the wing and match the registration
marks as indicated. Keep the plan straight, then tape it
together when you have the registration marks aligned
Check the alignment with a straightedge. No change is
necessary for the standard wing.
NOTE: One R4 rib is eliminated from each wing panel if
building the clipped wing.
Build one wing "half or panel at a time. You may cut each
wing panel from the plan sheet to place on your building
board. Tape the right wing plan to your flat work surface,
and cover it with waxed paper.
D 1 Carefully punch out all the die-cut 1/8" balsa R2
through R8 wing ribs and the die-cut 1/8" plywood rib
doublers R7B Sand the edges slightly to remove any
die-cutting irregularities. Use thick CA to laminate the
R7Bs to ribs R7. Don't forget to make a RIGHT and
a LEFT.
13