Preparations build the fuselage – Great Planes Super Stearman 1.20 ARF - GPMA1350 User Manual
Page 11
❏
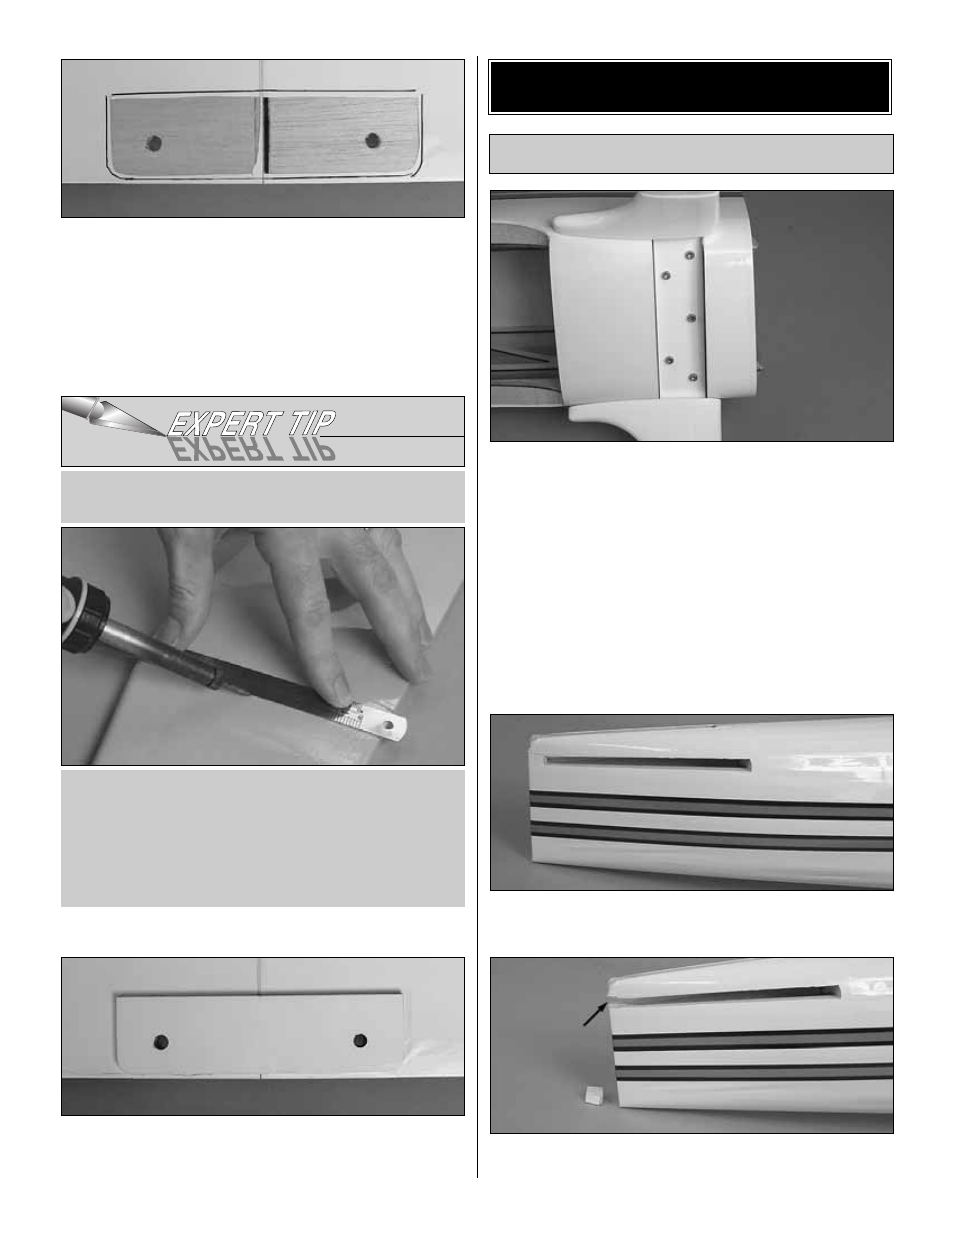
14. Place the wing bolt plate in position over the holes in the
bottom wing. Use the nylon wing bolts to help you align the
holes in the plate with the holes in the wing. Trace the outline of
the plate onto the covering with a felt-tip pen. Use a sharp #11
blade or the expert tip that follows to cut the covering inside the
lines you have drawn. Use caution not to cut through the
surface of the wing skin. Remove the covering.
❏
15. Glue the wing bolt plate to the wing using epoxy. Use
small clamps to hold the wing bolt plate in position while the
glue cures.
❏
1. Remove the belly pan from the bottom of the fuselage.
Install the landing gear to the fuselage with five 8-32 x 3/4"
[19mm] socket head cap screws. Apply a drop of thread
locker to each bolt before installing them.
❏
2. Glue the belly pan back in place with a few dabs of
silicone glue. Using silicone will allow you to remove the
belly pan easily should you ever have to get access to the
landing gear bolts.
We will come back and do the installation of the wheels and
wheel pants later. Having the landing gear installed at this time
will make it easier to handle the fuselage on the workbench.
❏
3. Cut the covering from the fuselage where the
horizontal stabilizer fits into the fuselage.
❏
4. Cut the covering and the wood block from the back of
the horizontal stabilizer saddle.
Preparations
BUILD THE FUSELAGE
Use a soldering iron to cut the covering. The tip of the
soldering iron doesn't have to be sharp, but a fine tip does
work best. Allow the iron to heat fully. Use a straightedge
to guide the soldering iron at a rate that will just melt the
covering and not burn into the wood. The hotter the
soldering iron, the faster it must travel to melt a fine cut.
Peel off the covering.
HOW TO CUT COVERING FROM BALSA.
11