Golden Lighting 2081-M1L CH User Manual
Parts & assembly sheet, Parts list
Mounting Strap
1 ea
4"*3"*H1.5mm
Canopy
1 ea
Φ115*19MM
Swivel Joint
1 ea
3/8"*H57mm
Deco Nut
2 ea
5/32"*9mm
Rods
3 ea
Ø
1/2"*H12"
Green Ground
Screw
1 ea
#8-32n*10mm
Rod
1 ea
Ø
1/2"*H6"
Xenon Bulb
1 ea
14*13*44MM
Spacer
3 ea
Ø25*H26mm
Mounting Screw
2 ea
5/32"*28mm
Junction Box
Screw
2ea
#8-32N*25mm
Wire Connector
3 ea
P3
Socket Tool
1 ea
Φ28*93MM
Part Needed
Part Needed
Quantity
Reason why
( missing, scratched, broken glass, bent, bad finish)
Comments
Notice:
Please review the parts listing and check for all parts before assembling the fixture. If any parts are missing
or damaged, please note on this sheet and contact the place of purchase to arrange for replacement parts.
PARTS LIST
Company Name:_______________________Co. Account #:_____________
below to be filled out by retailer
PARTS & ASSEMBLY SHEET
This fixture assembled PO:__________ Date: ________
Fixture Name: Baxley 2081-MIL CH
2081-MIL CH
Read and review installation instruction sheet before
assembling the fixture.
F
IXTURE
A
SSEMBLY
I
NSTRUCTIONS
For Customer Service, contact the place of purchase to arrange for replacement parts.
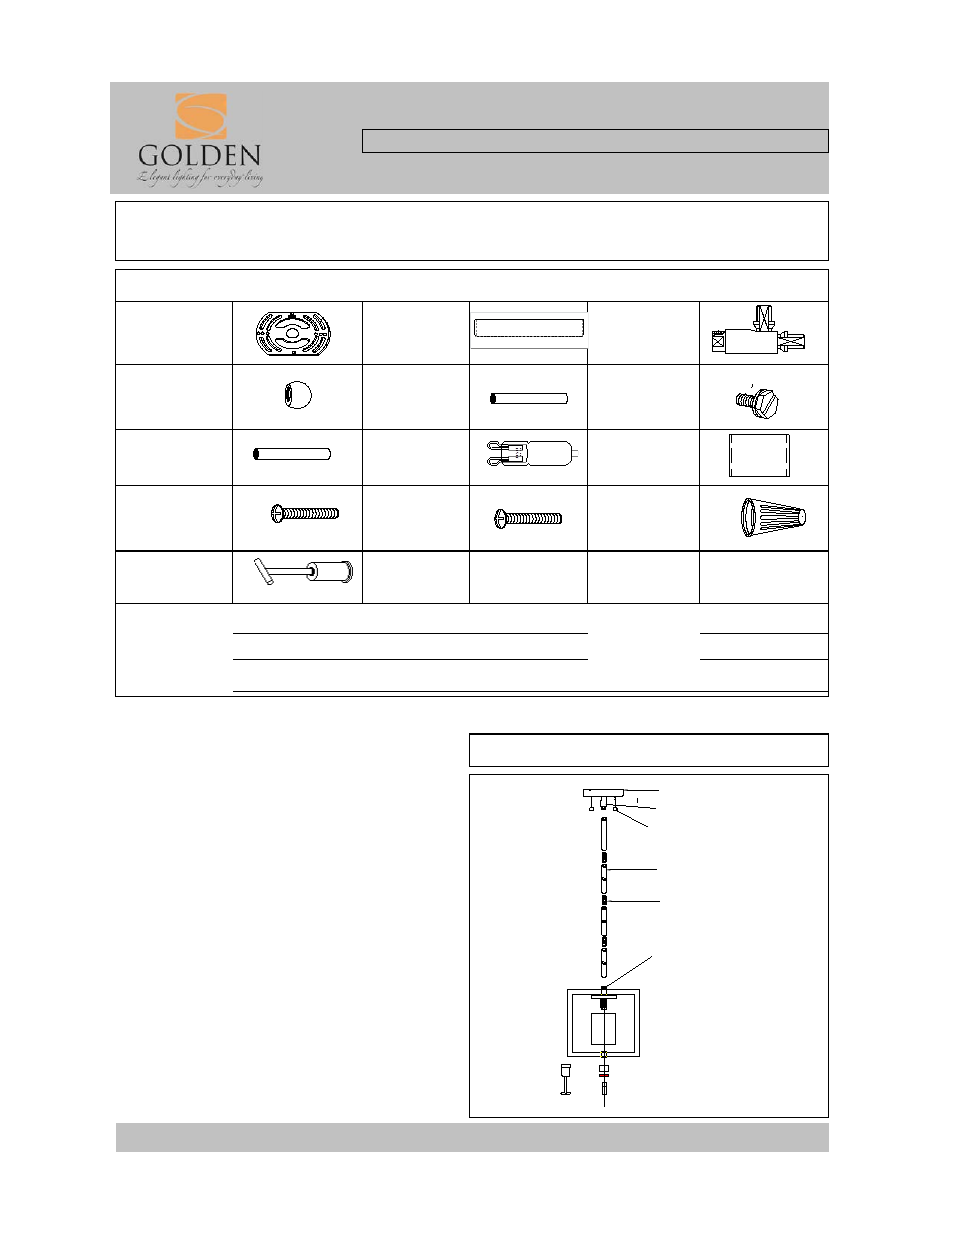
1. For adjusting the hanging height of the fixture, this carton
contains quantity 3, 12" rods and quantity 1, 6" rod. First,
decide the height required. Then, thread Threaded Rod
Nipples (I) into the Fixture Coupler (J), and thread Rods (H) to
Threaded Rod Nipples (I). Redo this step for the rest of Rods
(H).
2. Once attached, connect the top of Threaded Rod Nipple (I)
to Universal Joint (G)
3. Connect Rods (H) and Threaded Rod Nipples (I) together
and feed the fixture wires through Rods (H). Pull the
fixture wires until taut.
DO NOT EXCEED THE MAXIMUM WATTAGE RATING
Fig. 4
J
H
I
F
G
E