FingerTec R3 User Manual
Quick start guide, Terminal overview • r3
Quick Start Guide
Setting the Date and Time
Press
Menu
, select
Date/Time
under Systems.
Insert the current date and time and press
OK
to save.
Enrolling Fingerprints
Press
Menu
, go to
User Manage
and select
New User
.
Key in a
User ID
, select
Enroll FP
and place the finger on the scanner 3
times, according to the instructions.
Press
OK
to save then press
ESC
. Press
OK
again, and then
ESC
again to
return to the main screen.
Enrolling Cards
Press
Menu
, go to
User Manage
and select
New User
.
Key in a
User ID
, select
Enroll Card
.
Wave the card until the
Card ID
is displayed on screen. Press
OK
to save
and
Esc
to return to the main screen.
1
2
3
4
The Quick Start Guide is intended to provide the user with simple instructions on how to
setup the terminal date/time and communication as well as to perform fingerprint and
card enrollment and verification. For more details on other topics of terminal management,
refer to the terminal’s hardware user manual available in the package or online at
• i-Kiosk 100 Plus:
http://info.fingertec.com/ikiosk100p-4
• Q2i:
http://info.fingertec.com/q2i-4
• R3:
http://info.fingertec.com/r3-4
©
2014
Timetec Computing Sdn Bhd. All rights reserved.• 102014
Default set value:
IP address - 192.168.1.201
Subnet mask - 255.255.255.0
Gateway - 192.168.1.1
Dev ID - 1
Password - 0
Communication Settings
Press Menu > COMM > Network > Set value
for IP/Subnet mask/Gateway > OK (Save) >
Security > Device ID > Set 0 > OK (Save) >
ESC to return to main screen > Restart to
apply changes.
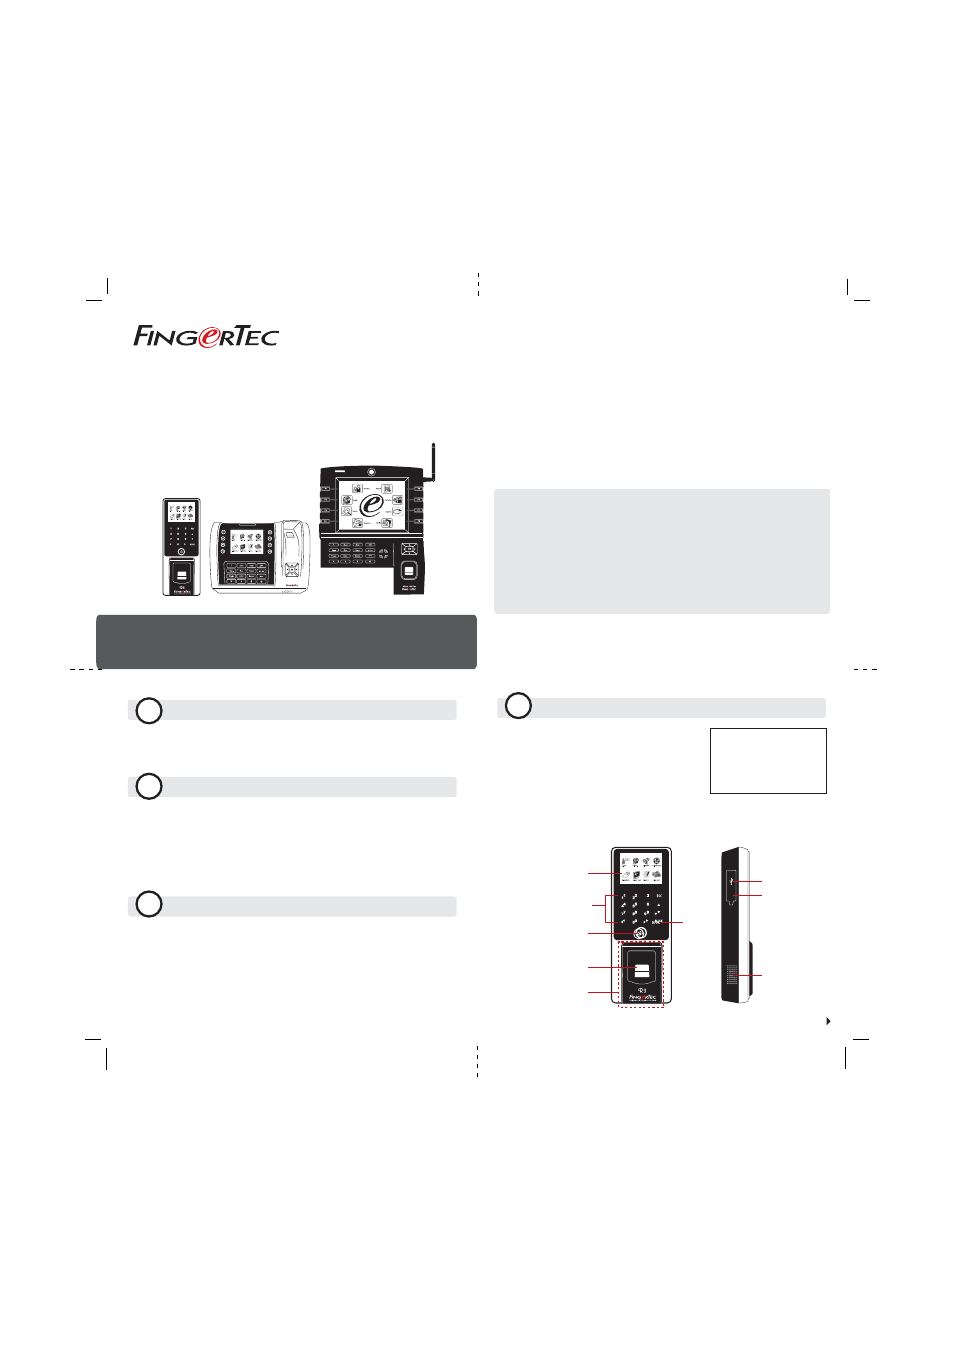
R3
Q2i
i-Kiosk 100 Plus
L.E.D Display
LCD Screen
RFID Card
Induction Area
Speaker
Fingerprint
Sensor
Reset Button
USB Port
RESET
Keypad
M/OK
Button
Terminal Overview • R3