FingerTec Face Recognition Face ID 4 User Manual
Quick start guide, Tcms
1
2
3
4
5
s u p p o r t @ f i n g e r t e c . c o m
w
01101101100010010
10111010111010001
0111001101000101
01101101110010101
0100100101110010
0110110110001110
1011101011101010
0111001101001001
01101101110010101
0101010101101001
TCMS
V2
Quick Start Guide
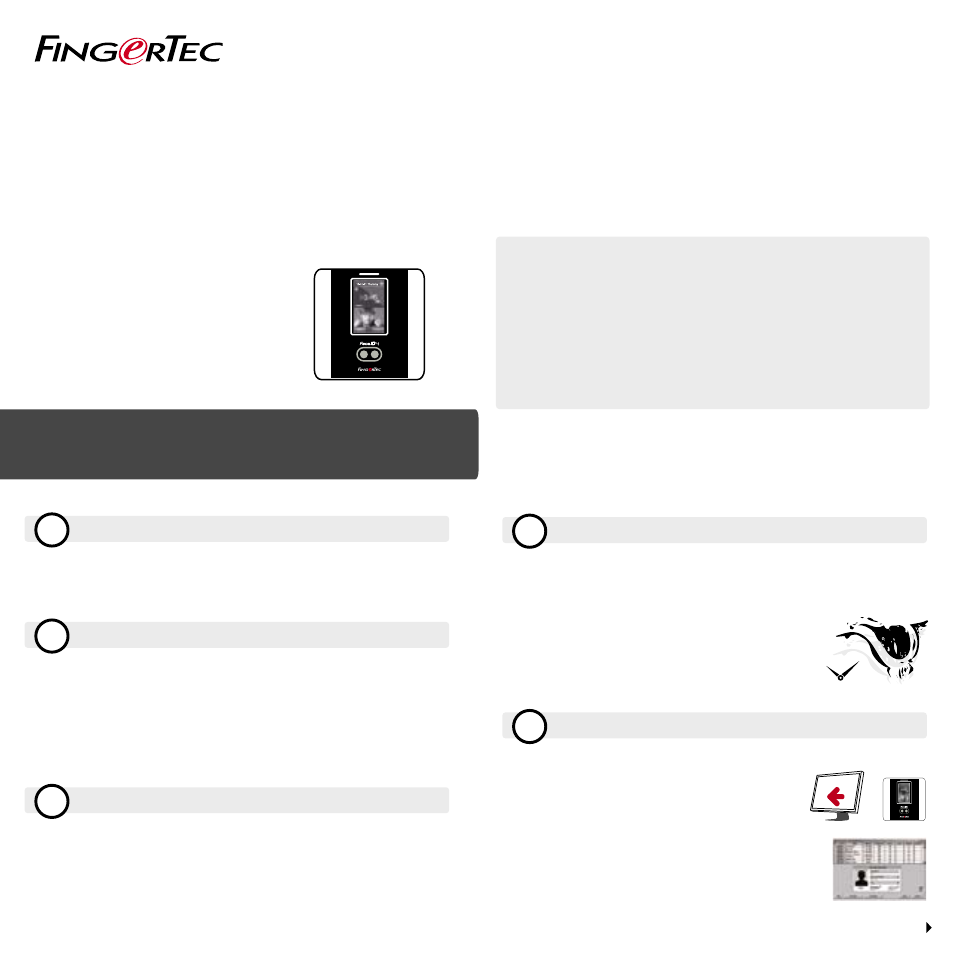
Face ID 4
The Quick Start Guide is intended to provide the user with simple instructions on how
to setup the terminal date/time and communication as well as to perform face enroll-
ment and verification. For more details on other topics of terminal management, refer
to the terminal’s hardware user manual available in the package or online at:
• http://info.fingertec.com/faceid4-2
© 2015 Timetec Computing Sdn Bhd. All rights reserved • 012015
Setting the Date and Time
Press
Menu
, select
Date/Time
and set the value.
You have two options for time format, 12-hour format or
24-hour format.
Enrolling Face
Refer to hardware user manua
Press
Menu
and select
User
.
Enter your
User ID
and select
Face
.
Follow the instructions and align your eye position to the green
rectangle on the screen to enroll your face.
Once the enrollment process is done, select the suitable
Privilege
level, and
press
Save
.
Communication Settings
To input the IP address:
Press Menu > Connection > Connection > IP Addr > Key in IP address.
To input Subnet mask:
Press Menu > Connection > Connection > NetMask > Insert the numbers.
To input Gateway:
Press Menu > Connection > Connection > Gateway > Insert the numbers.
Activating the Terminal on the TCMS V2 Software
Double click the TCMS V2 software icon.
Click on
Devices
and double click
Setup FingerTec Terminals
.
Click
Add
and enter your TCMS V2 Product Key :
Refer to the reverse side of the DVD.
Select the terminal under
Model
.
Insert the
Device ID
and
IP Address
into the columns.
Uncheck the
Disabled
checkbox column.
Wait for the software to link to the terminal.
Enter your Activation Key and click
OK
.
Download User and Data from Terminal
Click
Devices
and double click
Employee Management
.
Click
Download Employee
.
At the User ID column, select
All
.
At Selected Data please tick on the following
check boxes: Face, Fingerprint, Card ID, Username +
Privilege + Password.
Click
Apply
and
Save Employee
.
Click
Devices
and double click
Download Data From Terminal
.
Click
Apply
to start the download.