Security settings, Other operations – FingerTec H3i Manual User Manual
Page 2
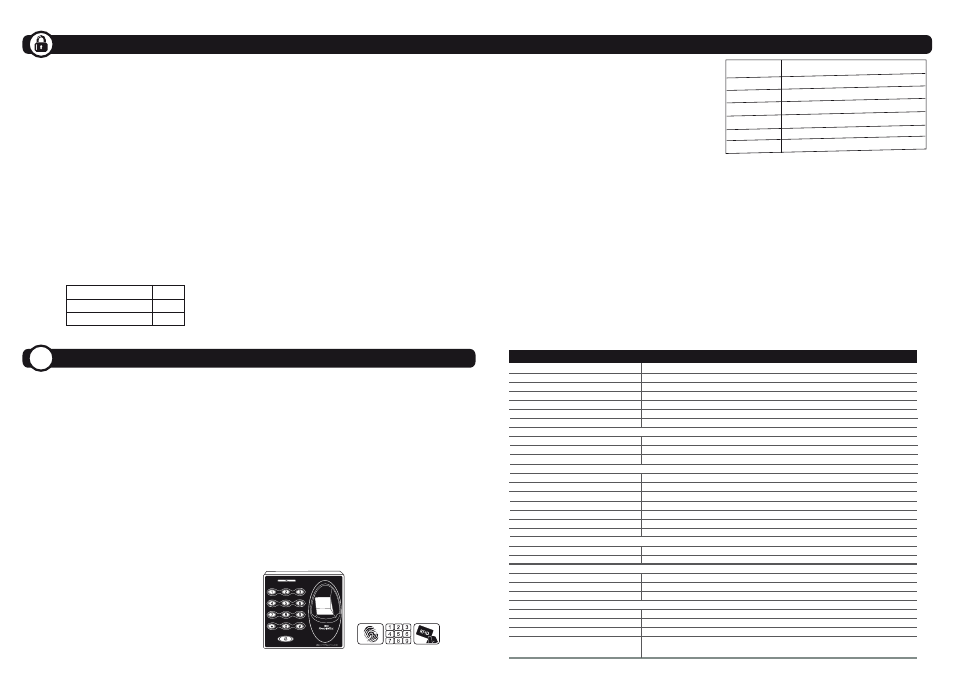
H3i
Stand-alone Fingerprint &
Card Access Control System
SPECIFICATIONS
Card
Fingerprint Password
SECURITY SETTINGS
ADJUST DOOR UNLOCK TIME
Adjust time for device to unlock according to your
preference.
Operation: Verify your Admin password > Press 4 >
Green LED blinks > Buzzer emits long beep > Insert time
in seconds, i.e. 10 > Green LED blinks > Buzzer emits long
beep > Timer adjusted successfully
Note: The maximum unlock time is 254s. If you want to insert values
less than 3-digits, hash (#) is required. I.e.: 10 will be keyed in as 10#.
SELECT DOOR SENSOR TYPE
Installing a door sensor is important to monitor door
activity. Select the type (NO or NC) before it starts to work.
Operation: Verify your Admin password > Press 0 >
Green LED blinks > Buzzer emits long beep > Press 5 >
Green LED blinks > Buzzer emits long beep > Press
number to select type of door sensor > Green LED blinks
> Buzzer emits long beep > Changes done successfully
Note:
NO Type
0
NC Type
1
Disable door sensor
2
OTHER OPERATIONS
RESET TO DEFAULT FACTORY SETTINGS
You can reset the device back to its default factory
settings (including the default admin password, 1234).
Operation: Dismantle device > Look for the tamper
switch at the back of device > Wait for 30s > Buzzer emits
long beep > Press and release the tamper switch 3 times
> Install the device back to its position > Press the
RESTART button (at the bottom of device)
UNLOCK DOOR ADMIN PASSWORD
On top of using the admin password as a key to start any
operation, you can also use the admin password to
unlock doors.
Operation: Verify your Admin password > Press 0 >
Green LED blinks > Buzzer emits long beep > Press 0 >
Green LED blinks > Buzzer emits long beep > Door
unlocked successfully
ADJUST DOOR SENSOR DELAY TIME
Set time to allow door to remain open after unlocking.
The device alerts you with a buzzer sound when the
allowed time runs out.
Operation: Verify your Admin Password > Green LED
blinks > Buzzer emits long beep > Press 0 > Green LED
blinks > Buzzer emits long beep > Press 4 > Green LED
blinks > Buzzer emits long beep > Insert time in
seconds, i.e. 10 > Green LED blinks > Buzzer emits long
beep > Changes done successfully
Note: The maximum delay time is 254s. If you want to insert
values less than 3-digits, hash (#) is required. I.e.: 10 will be keyed in
as 10#.
ENABLE ALARM OUTPUT FROM DEVICE
It is optional to link H3i to an alarm or siren to amplify
its alerts. Make sure you enable the alarm output
feature after linking up with the siren or alarm system.
Operation: Verify your Admin password > Press 0 >
Green LED blinks > Buzzer emits long beep > Press 1 >
Green LED blinks > Buzzer emits long beep > Press 0 to
enable > Green LED blinks > Buzzer emits long beep >
Changes done successfully
Note: Press 1 to disable this feature if you do not want to link up
H3i with an alarm or siren system.
To turn off alarm output: Verify your Admin password > Press #
ENABLE ILLEGAL DISMANTLE ALARM
H3i will trigger the alarm or siren system immediately
if somebody tries to dismantle it.
Operation: Verify your Admin password > Green LED
blinks > Buzzer emits long beep > Press 7 > Green LED
blinks > Buzzer emits long beep > Press 0 > Green LED
blinks > Buzzer emits long beep > Changes done
successfully
Note: Press 1 to disable this feature if you do not want to use it.
APPLY MULTI VERIFICATION METHOD
You can increase your access control’s security level by
applying multiple verification methods.
Operation: Verify your Admin password > Press 5 >
Green LED blinks > Buzzer emits long beep > Insert
number to represent the type of multi verification (as
per table shown) > Green LED blinks > Buzzer emits
long beep > Multi verification applied successfully
NUMBER
MULTI VERIFICATION
1
Password only
2
Card only
3
Fingerprint only
4
Fingerprint/card/password
5
Card + Password
6
Fingerprint + Password
ENABLE FAIL VERIFICATION ALARM
Enable device to trigger alarm or siren system when a
user fails to verify more than 3 continuous times.
Operation: Verify your Admin password > Press 0 >
Green LED blinks > Buzzer emits long beep > Press 2
> Green LED blinks > Buzzer emits long beep > Press
0 > Green LED blinks > Buzzer emits long beep >
Changes done successfully
Note: Press 1 to disable this feature if you do not want to use it.
?
ENABLE/DISABLE LED BLINKS DURING
IDLE MODE
The LED on H3i will blink during verification. However,
you can disable the LED blinks of the device during
other operations.
Operation: Verify your Admin password > Press 0 >
Green LED blinks > Buzzer emits long beep > Press 3 >
Press 0 (to enable) or 1 (to disable) > Green LED blinks >
Buzzer emits long beep > Changes done successfully
MODEL
SURFACE FINISHING
TYPE OF SCANNER
PROCESSOR
MEMORY
ALGORITHM
PRODUCT DIMENSION (L X W X H), mm
STORAGE
• Fingerprint template
• Card
• Password
ENROLLMENT & VERIFICATION
• Methods
• Recommended fingerprint per user ID
• Fingerprint placement
• Password length
• Verification time (sec)
• FAR (%)
• FRR (%)
CARD TECHNOLOGY
• RFID: 64-bit, 125kHz
• MIFARE: MFIS50/S70, 13.56MHz
OPERATING ENVIRONMENT
• Temperature (°C)
• Humidity (%)
• Power input
ACCESS CONTROL
• EM lock driving output
• Alarm output
• Door sensor
GROUP VERIFY TYPE
H3i
Acrylonitrile Butadiene Styrene (ABS)
Optical & Card
400 MHz microprocessor
32MB flash memory
BioBridge VX 10.0 only
88 x 88 x 25
200
500
8 sets (max length 4-digits per password)
Fingerprint, card or password
1
Any angles
Max 4-digits
< 1
< 0.0001
< 1
Yes (default)
Made to order
0 ~ 45
20 ~ 80
DC 12V 3A
Relay output/12VDC
NO only
Yes (NO/NC)
Yes (6 types): • password only • card only • fingerprint only • fingerprint/card/password
• card + password • fingerprint + password