Procedure for adjusting or replacing drive belt, Procedure for attaching a vacuum – EDCO 2GC-NG-11H User Manual
Page 12
E-2ECGCNG-I-0513
Printed in USA
©2013
Page 12
100 Thomas Johnson Drive, Frederick, MD 21702-4600 USA
Phone (301) 663-1600 • 1-800-638-3326
Fax (301) 663-1607 • 1-800-447-3326
Website: www.edcoinc.com • Email: [email protected]
PROCEDURE FOR ADJUSTING OR REPLACING DRIVE BELT
NOTE: The following applies to all machines. They all adjust in
the same manner.
To adjust the drive belt loosen four (4) cap screws securing the
motor mount to the frame.
Slide the motor mount to the rear of the machine to increase belt
tension.
Tighten the four (4) cap screws loosened earlier maintaining
pressure on the motor mount to prevent loosening.
To replace the belt, remove the front cover by removing two (2)
cap screws on front top of the machine.
Loosen the four (4) cap screws as in the first step and slide the
motor mount all the way forward.
Tilting the machine back so handle rests on the floor and having
someone hold it down will help aid in tightening the belts.
Remove the belt from the motor and pinion shaft sheaves as
shown in the photo on the left.
Reverse the previous step to install new belt. Slide motor mount
towards the rear of the machine and adjust belt tension, tighten
all four (4) cap screws as explained above. Replace front cover
and tighten bolts.
New belts should be retensioned after grinder has been used for
4 hours.
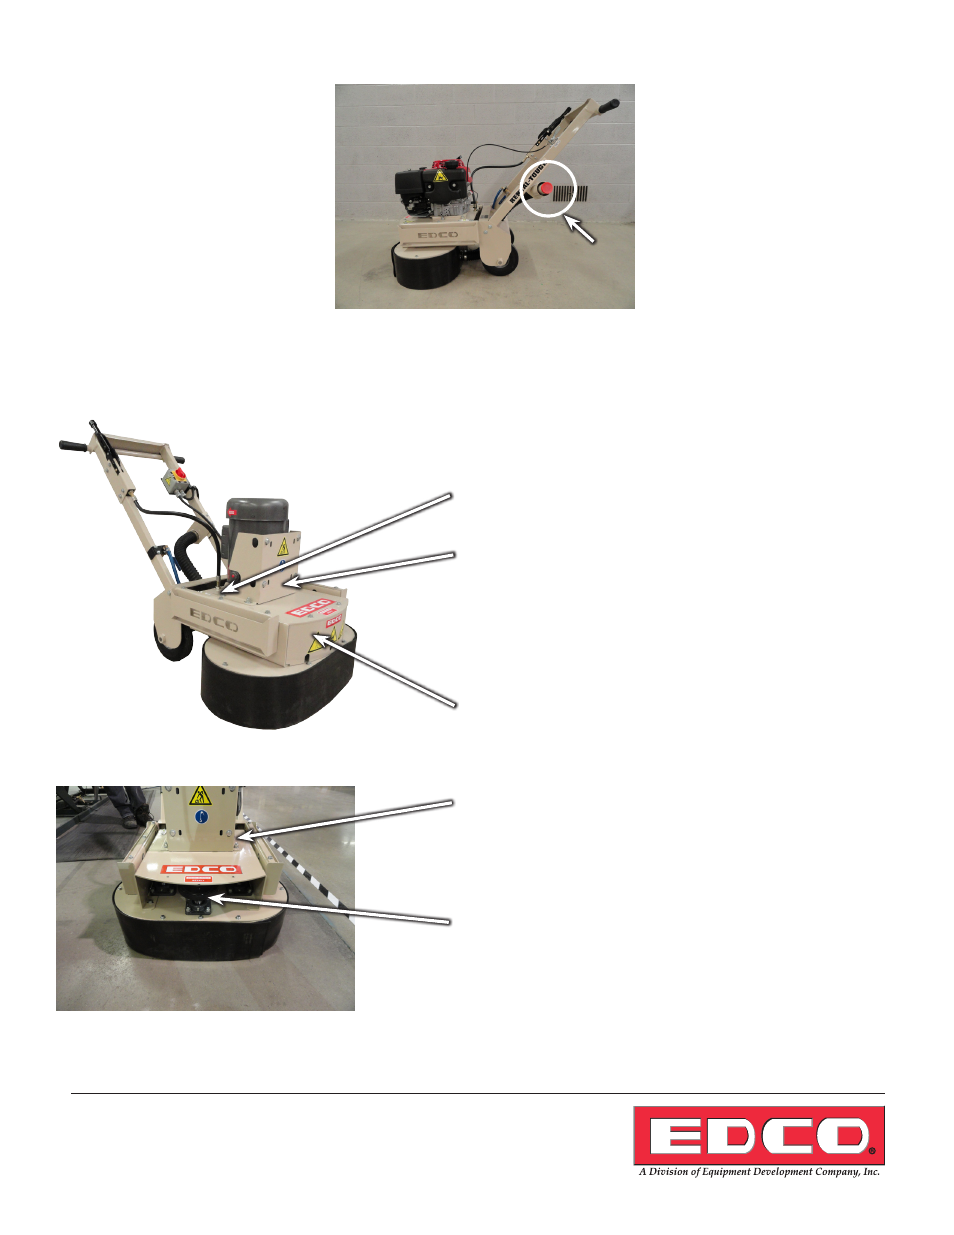
PROCEDURE FOR ATTACHING A VACUUM
If using a vacuum for dust control attach it to the vacuum port at the rear of the machine which is on the handle as pic-
tured above, securing it with clamps. The port is circled in the above photo. The vacuum port is in the same location on
both the gas and electric models.
Vac
Port